

Simple DIY Raised Garden Beds
With planting season upon us it seems like the perfect time to share a post that I've been meaning to write for 3 years! I've had tons of requests by readers and friends for a DIY of our raised garden beds, so here it is. Better late than never...right? Some of these photos are really old, so don't get confused. That's little Lucy! These pics are making me so excited for our Garage Makeover on a Budget, coming this summer!
With planting season upon us it seems like the perfect time to share a post that I've been meaning to write for 3 years! I've had tons of requests by readers and friends for a DIY of our raised garden beds, so here it is. Better late than never...right? Some of these photos are really old, so don't get confused. That's little Lucy! These pics are making me so excited for our Garage Makeover on a Budget, coming this summer!
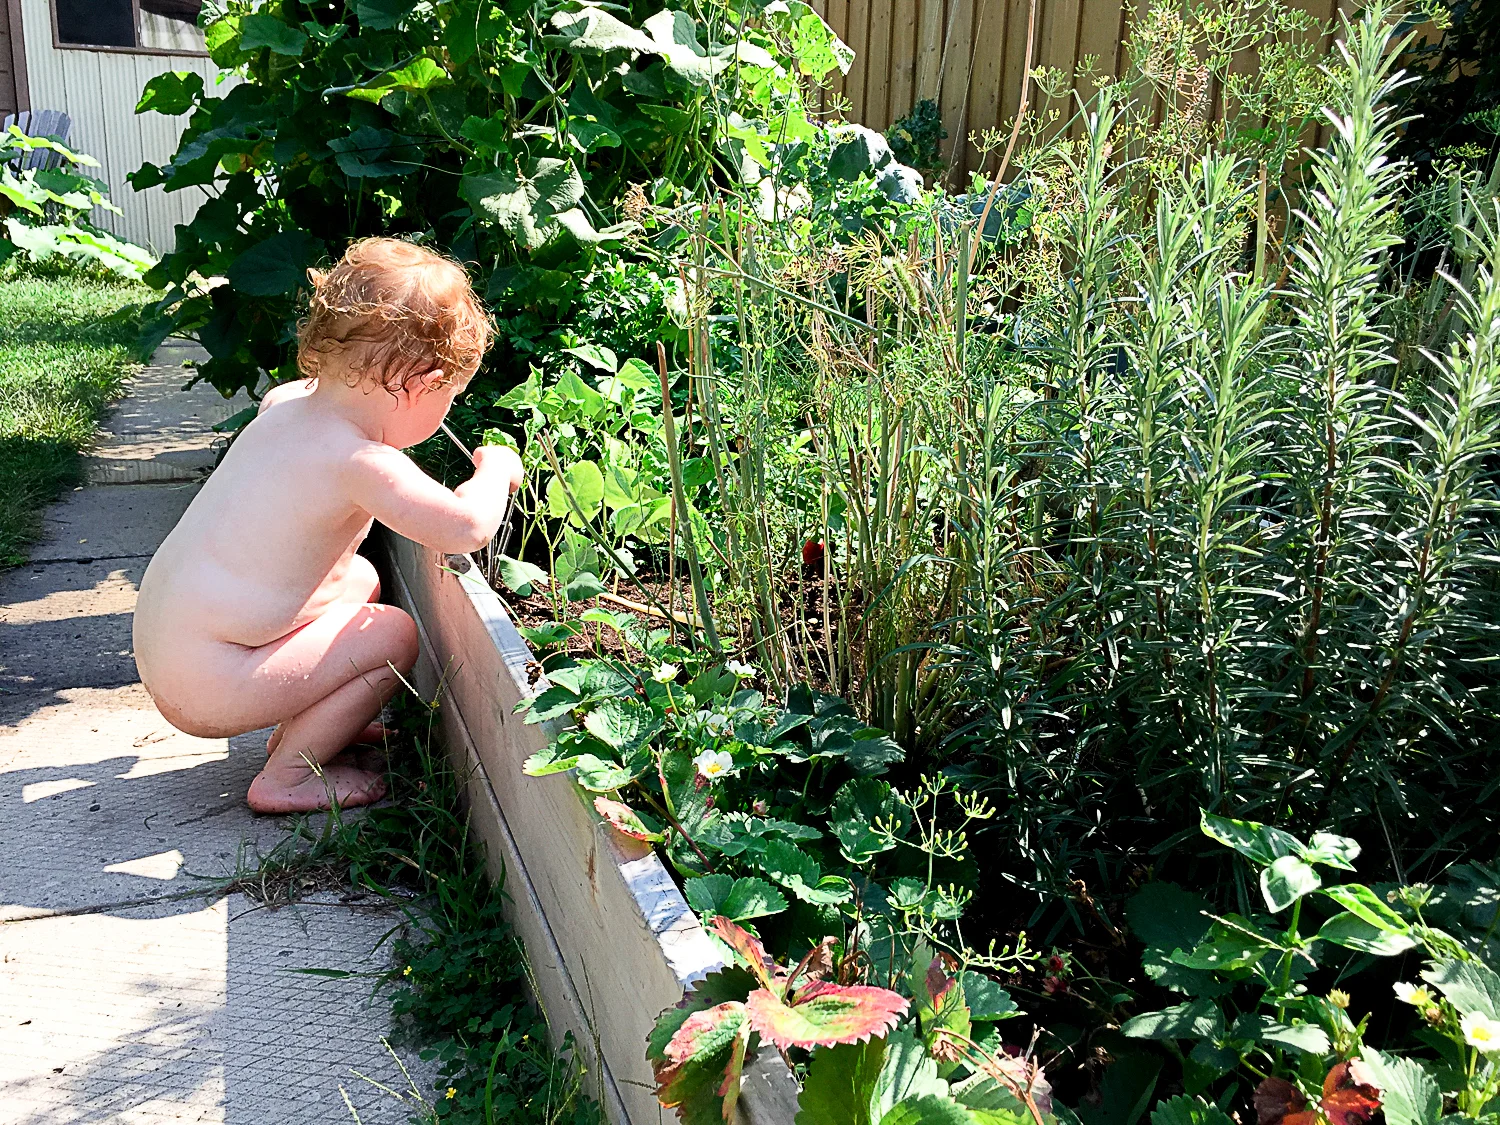
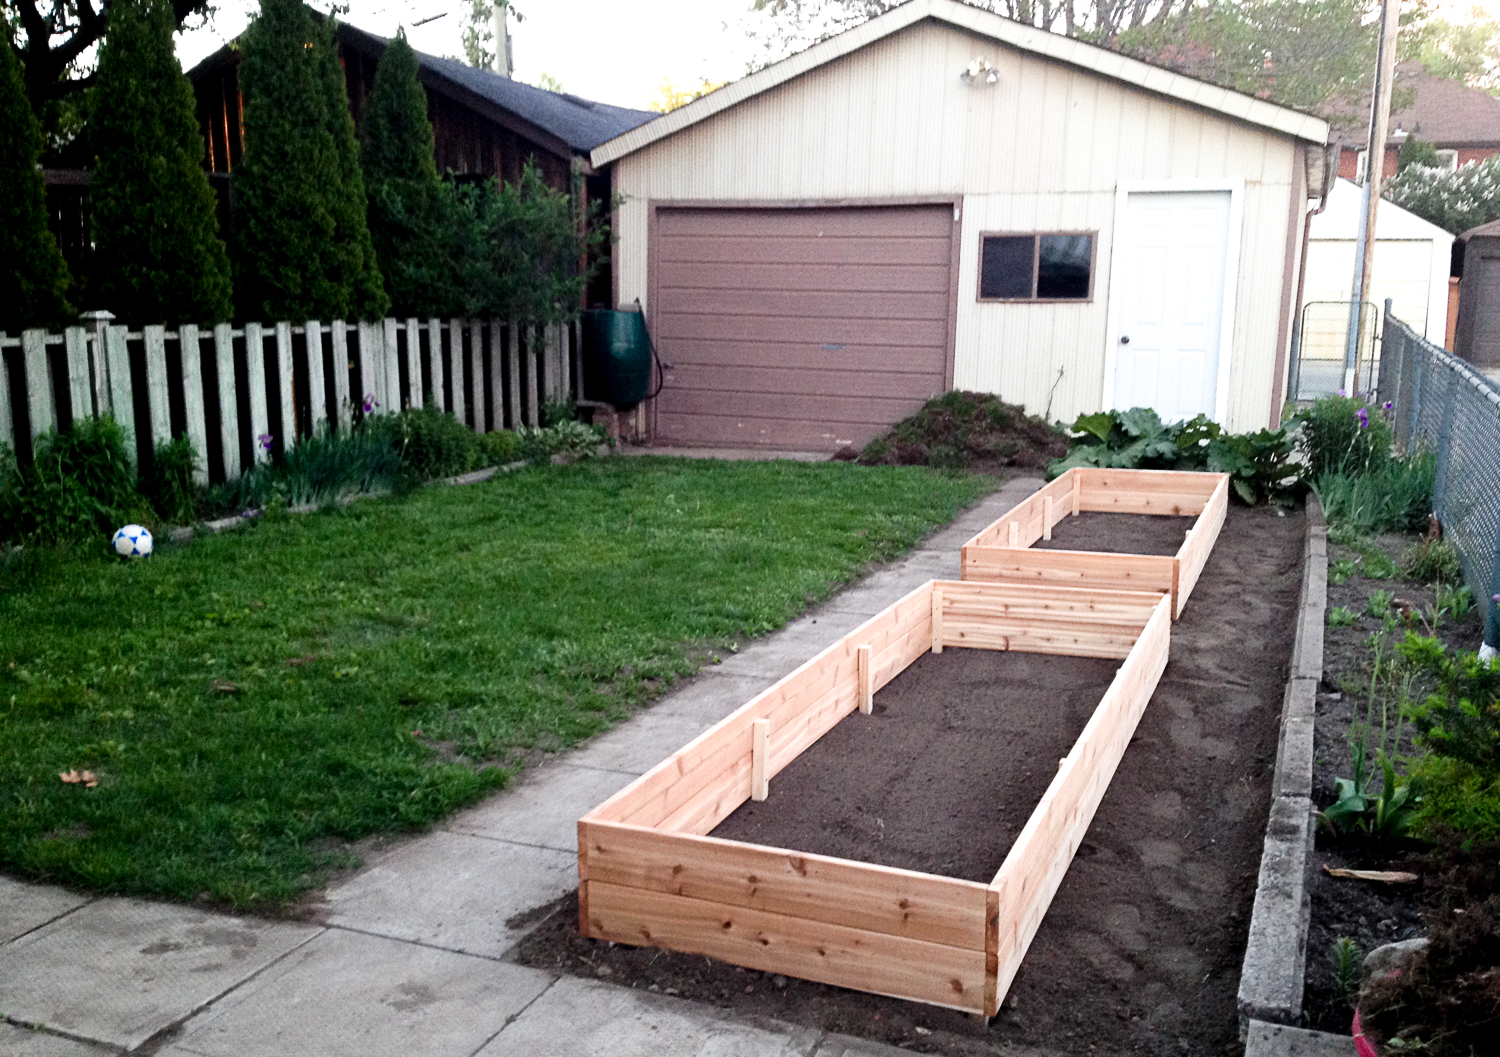
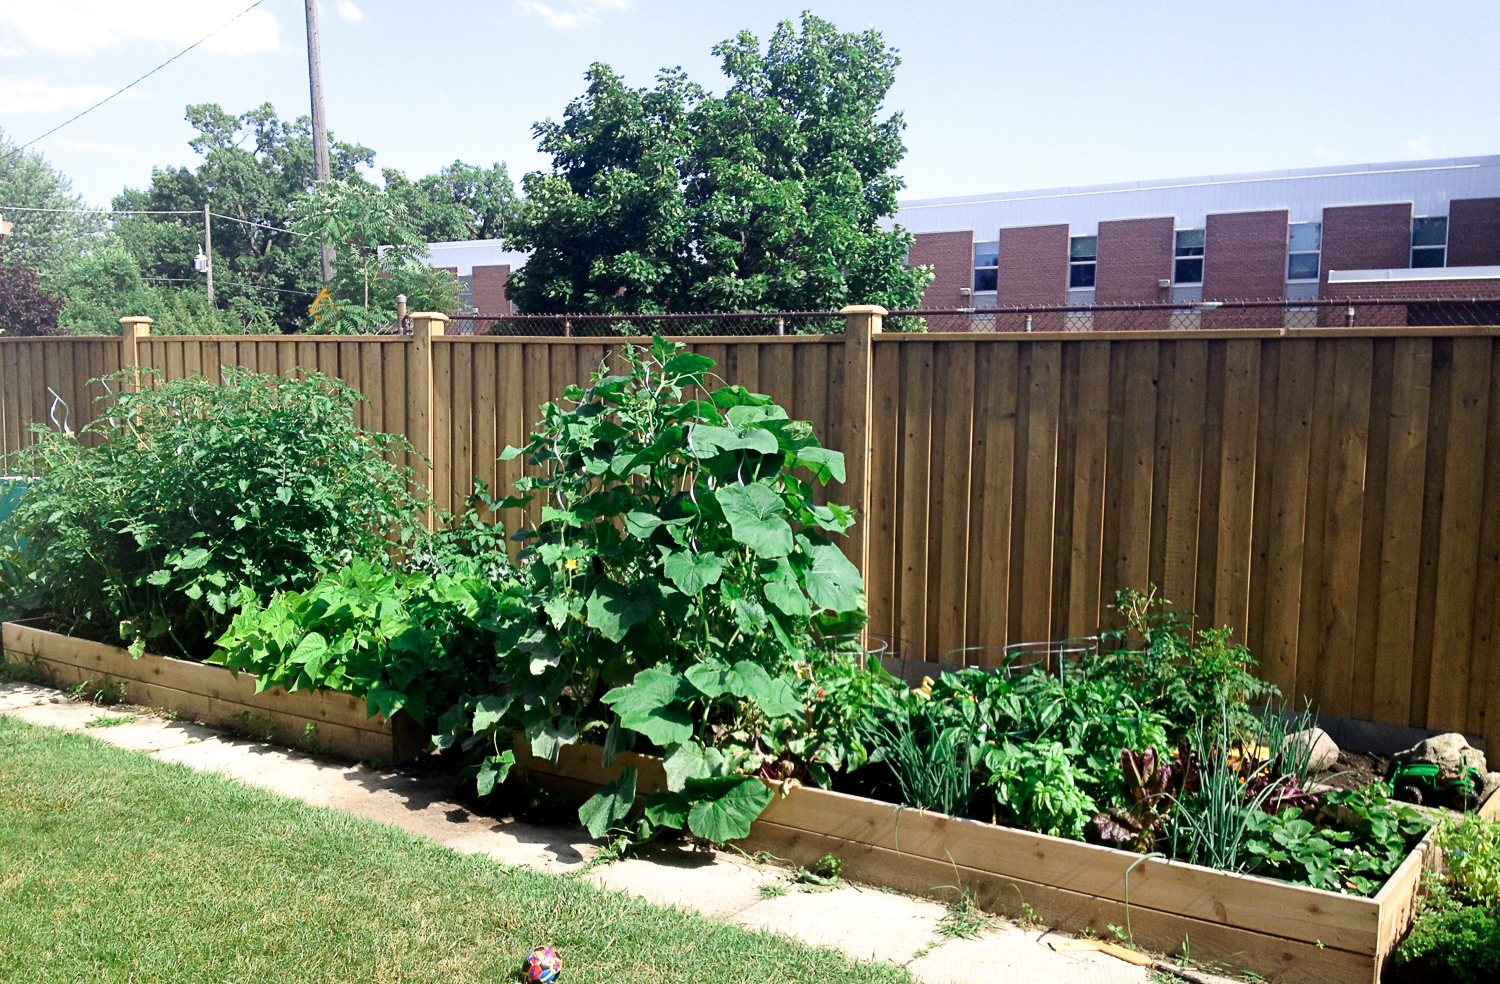
These raised beds are so simple to make and such a great addition to any garden. You can make them in whatever size and shape works best for your individual space. Keep in mind that it's ideal to be able to crouch, kneel or sit by each side of your garden bed, and be able to reach at least half way across, so you don't have to hurt your back while caring for and harvesting your plants.

Why use raised beds?
You can grow a lot of high quality produce in a small area
They prevent soil compaction a.k.a. keep your kids from falling onto your plants and on the soil ...most of the time ;)
They provide a space to top up with high quality soil which helps your plants grow (Especially important in big cities like Toronto where our soil has been depleted of many minerals and nutrients and filled with many heavy metals and toxins)
The soil warms up faster than than in the ground, so most plants can be added earlier
They keep weeds out of your growing area, and are a barrier for slugs and snails
They provide good drainage. Most vegetables need lots of sun, lots of water, and good drainage with loosely packed soil to grow optimally. *Keep in mind that raised beds will dry out quicker than the ground, but this is good for vegetable crops. Consider a rain barrel to help with your water needs. See my post from a few years ago for 3 Must Haves for Veggie Gardening Success.
Supplies:
Cedar Lumber to make up the 4 sides of your beds
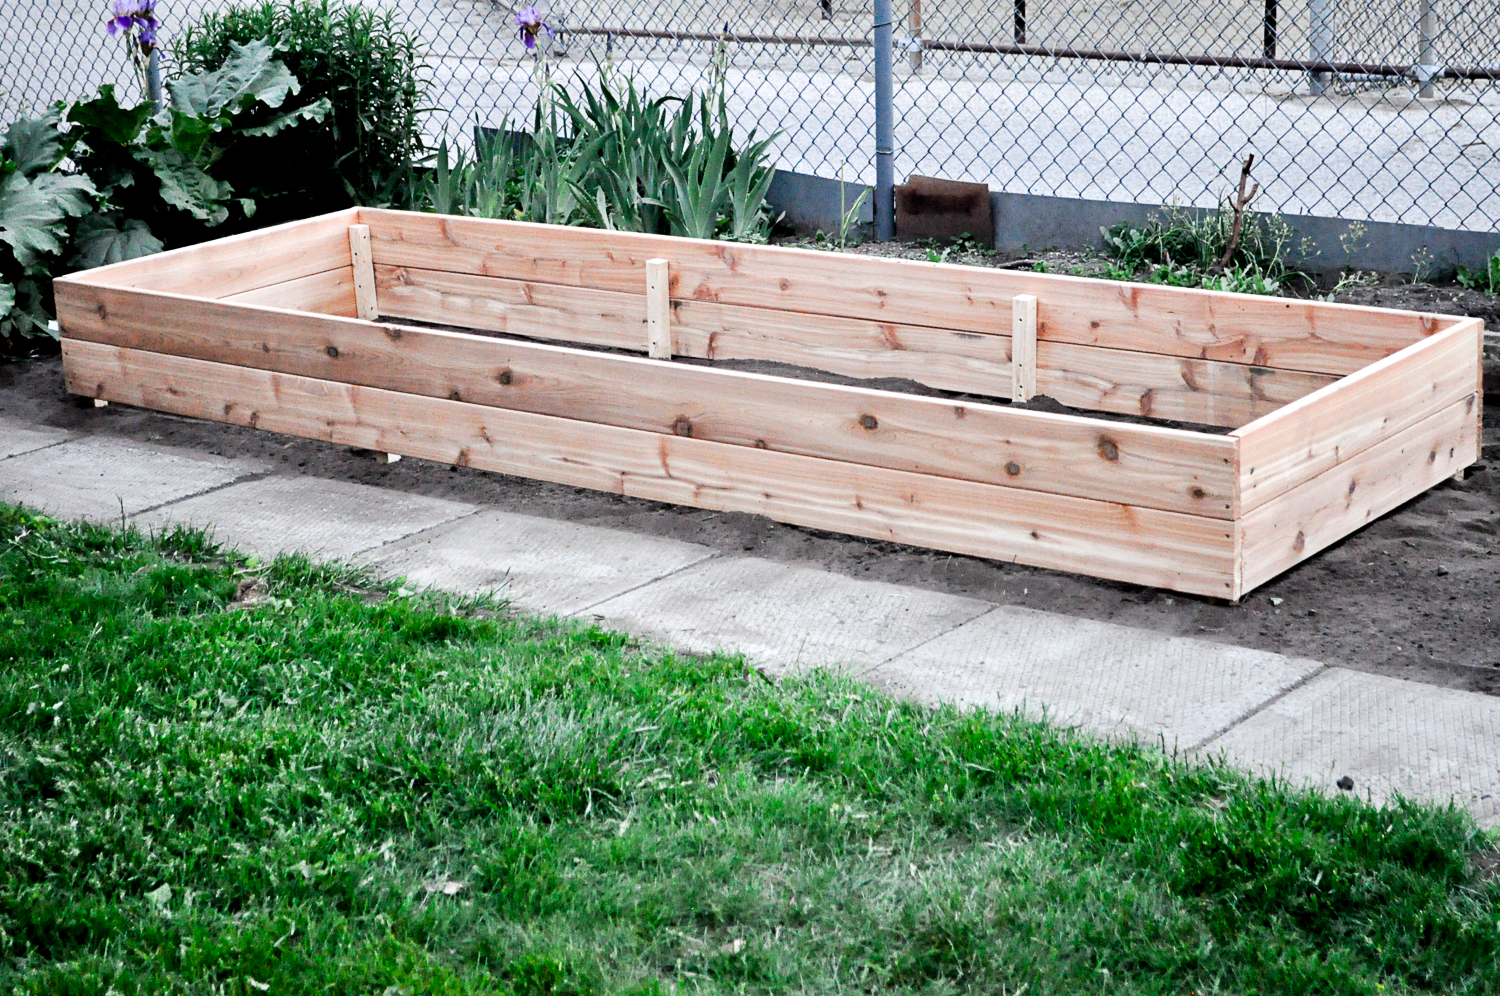
You needs 2 boards per side for a stacked box like ours. We used 1"x6" boards and made 10' long beds, so we used 12' long boards for the sides and cut them down to size. Our beds are 3' wide so we used a 6' board for each end and cut it in half to make 2 perfect size boards. You will have to choose the appropriate length and width for your space and plan accordingly. Please note that lumber isn't actually the width it says, which is so weird. A 1"x6" board is typically more like 5.25" - 5.5" wide, so keep this in mind with any projects. You could also do 1"x8" boards, or a single board instead of stacking 2 boards. That's the best part about these, you can totally customize them.
2"x2"x8' Framing Lumber
To be cut down to lengths for corner and side supports. We used a support in each corner and then 2 more evenly spaced along each long side. We cut our supports down to about 11.5" in length and constructed our beds upside down so we could offset the stakes (not level with top and bottom of the main boards). This means that when you turn your beds the right way the stakes go down into the ground creating stability and keeping your beds in place. We were able to get all 8 stakes for each bed out of one 8' long piece of framing. You lose a little length when you make your cuts, so we just cut 8 equal pieces and ended up with pieces approximately 11.5" long.
8x2" Deck Screws
Soil & Plants to fill beds
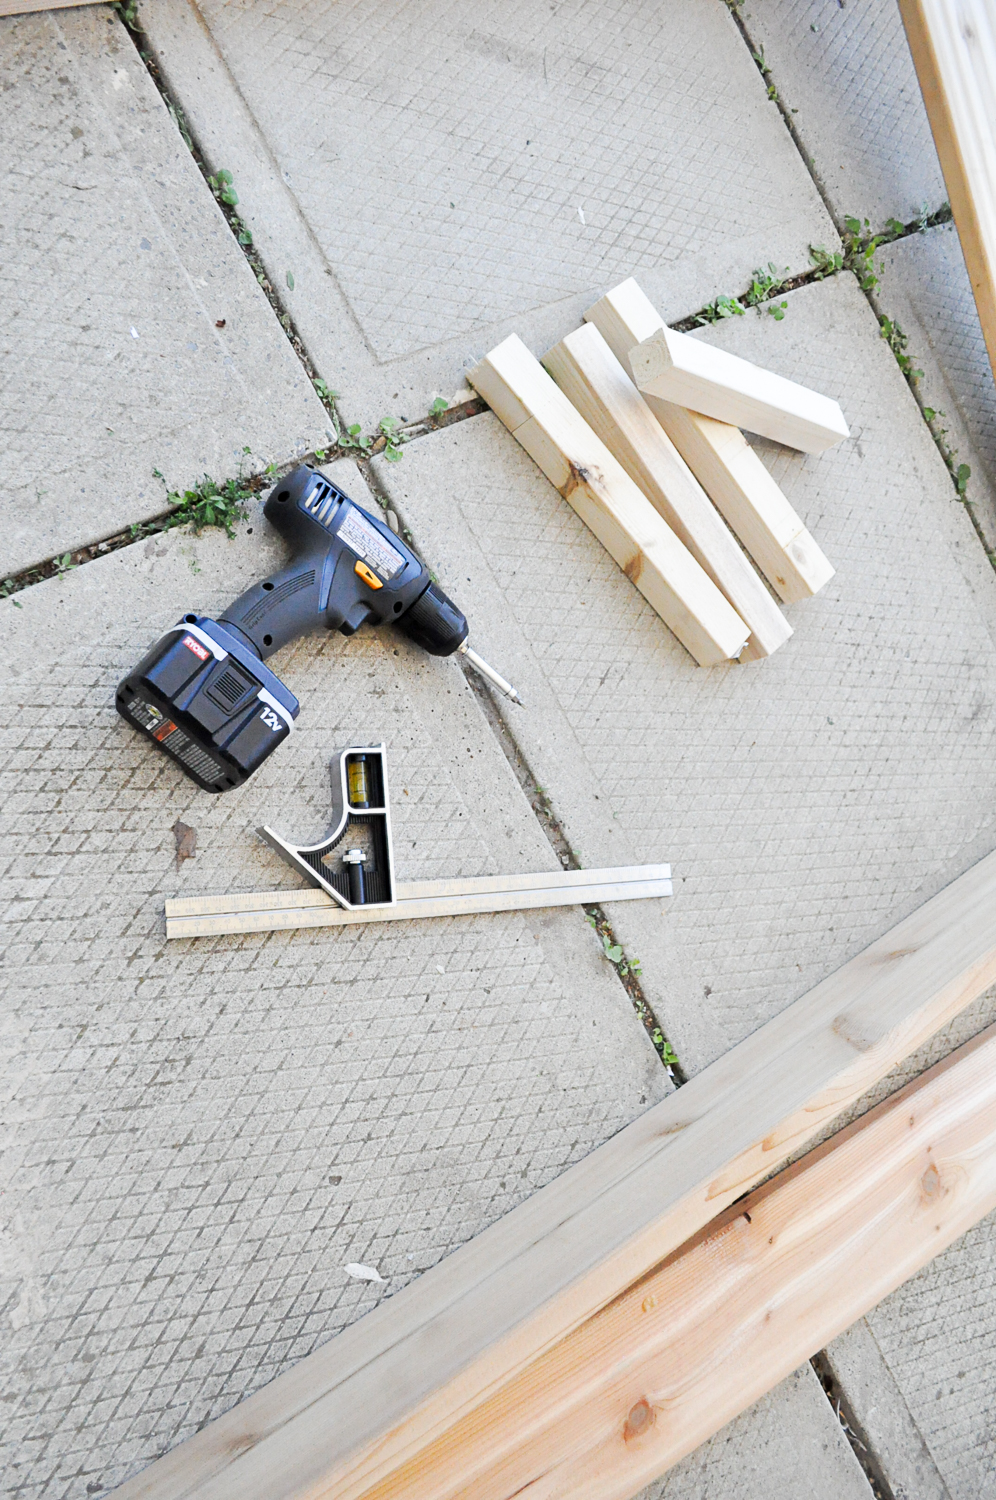
Tools:
Saw (or get the hardware store to cut it for you)
Drill and bits
Square
Rubber Mallet
Instructions: *It's best to have 2 people for assembly
Plan your raised bed(s) and size of all lumber needed (Measurements for our 10'x3' beds are included in the supplies section)
Cut all lumber to size (or have them do it for you at the lumber area of the hardware store)
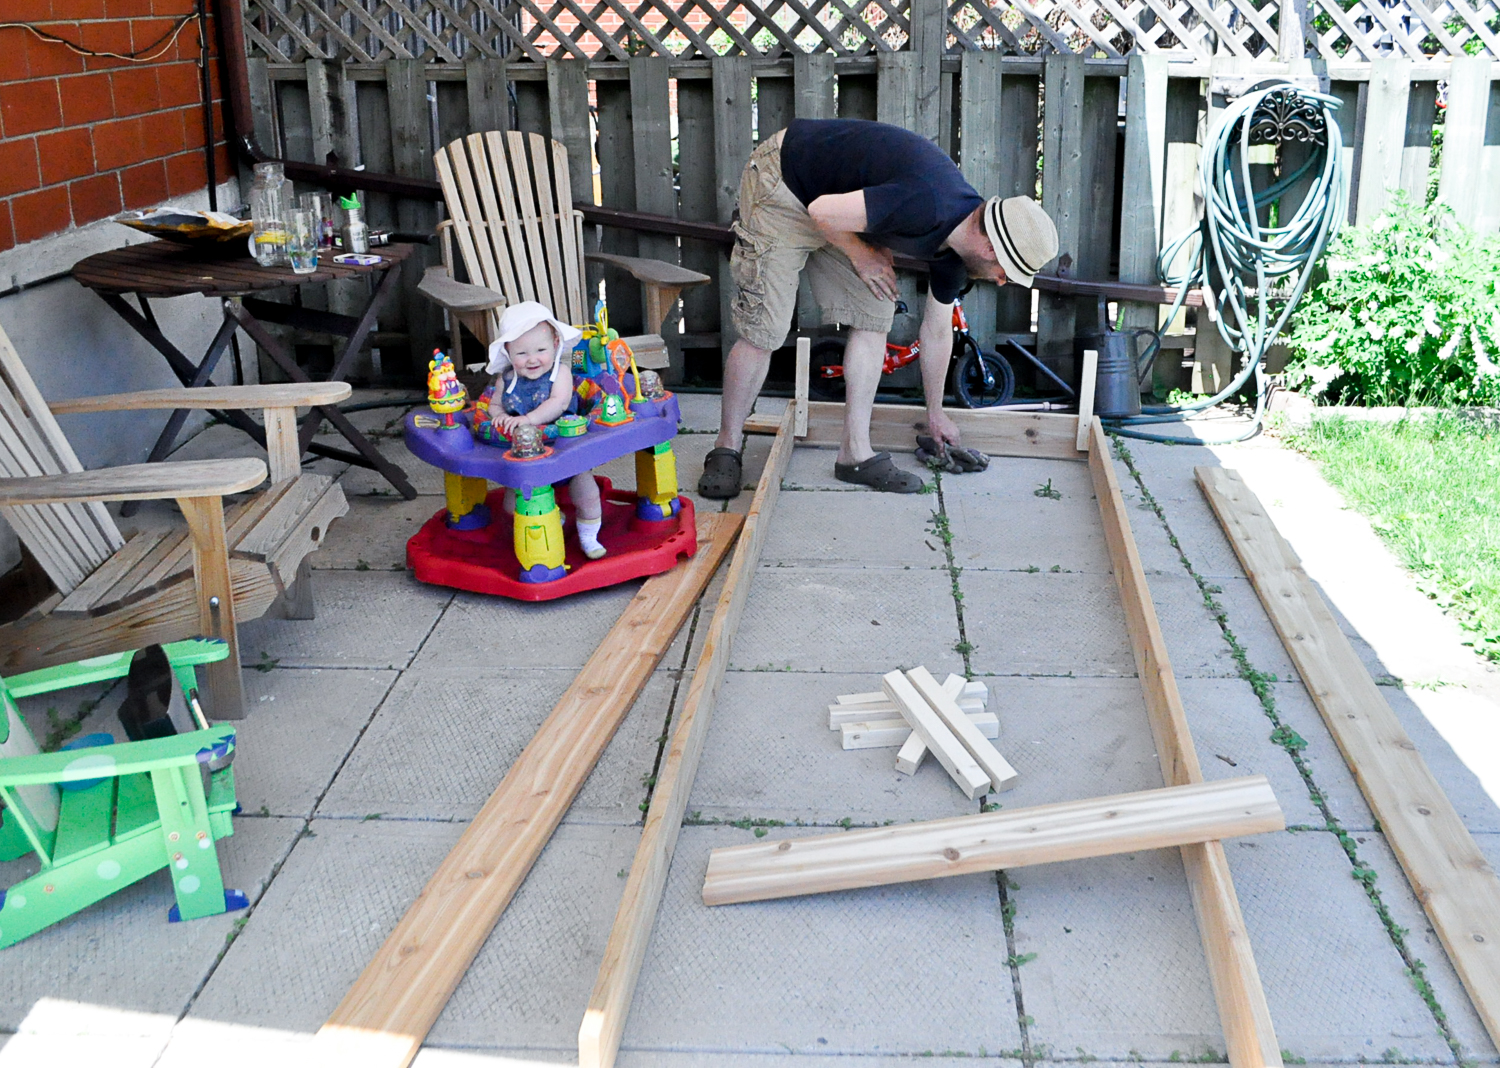
Lay bed out and ensure all pieces are ready
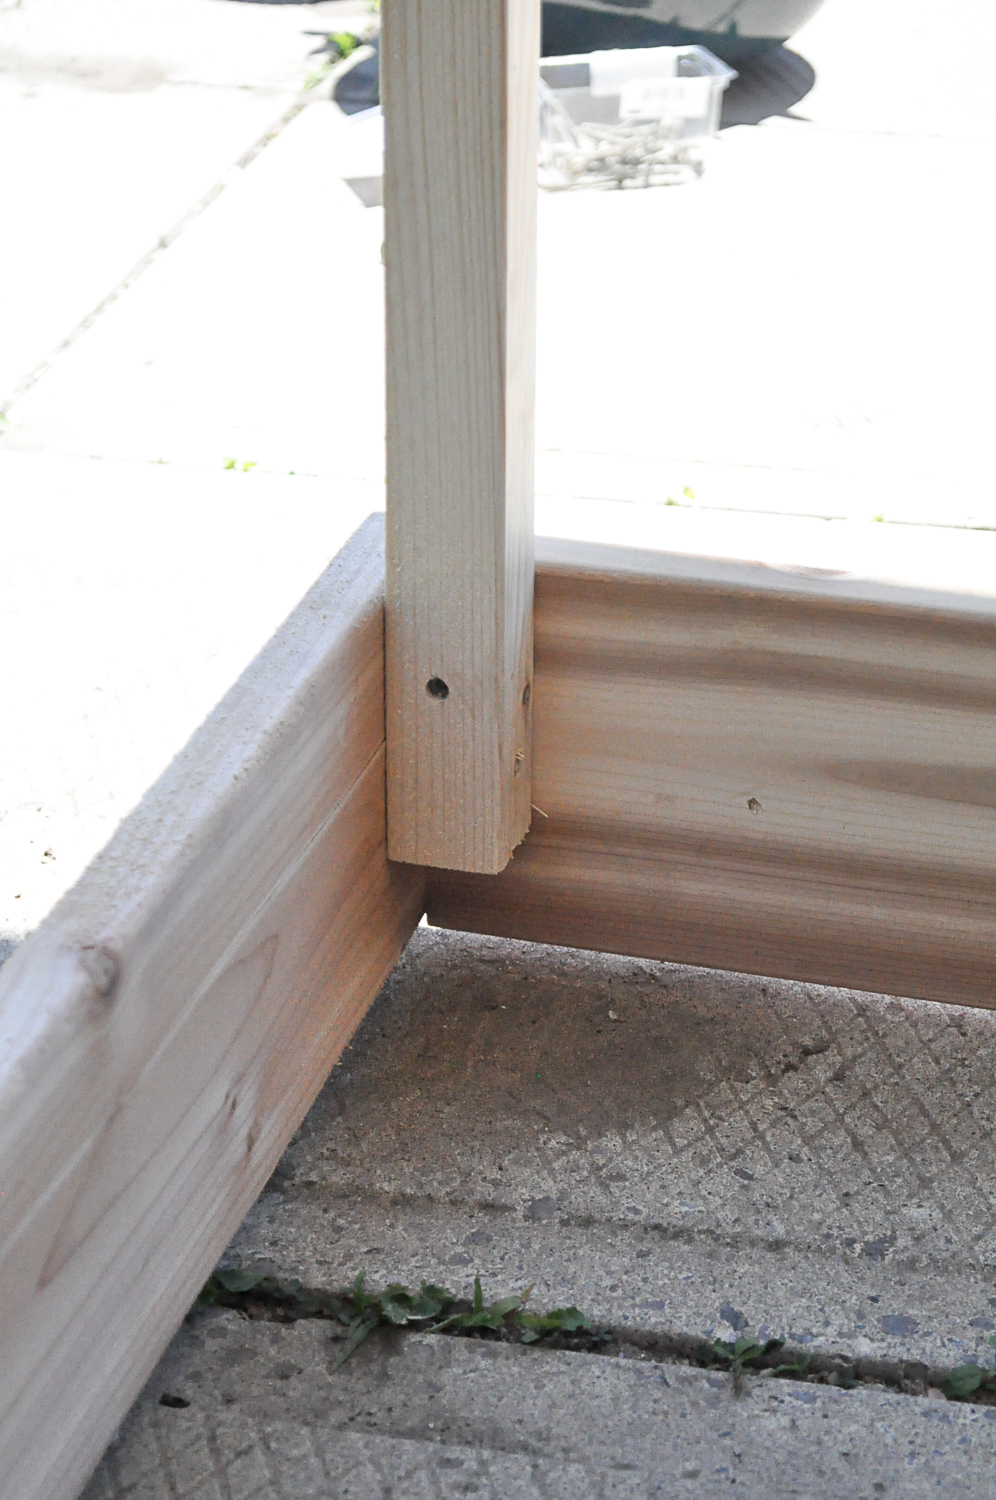
Begin assembly by having one person hold the top long board upright in place (this board will be siting on the ground as we're working upside down).
Have the 2nd person screw one of the measured support stakes into the end of the board, flush with the end of the support stake. *Remember to offset the stake a few inches so they will be sunken down when you turn your beds over to install them. This means your stakes should be about 1.5" off the ground. *See photos
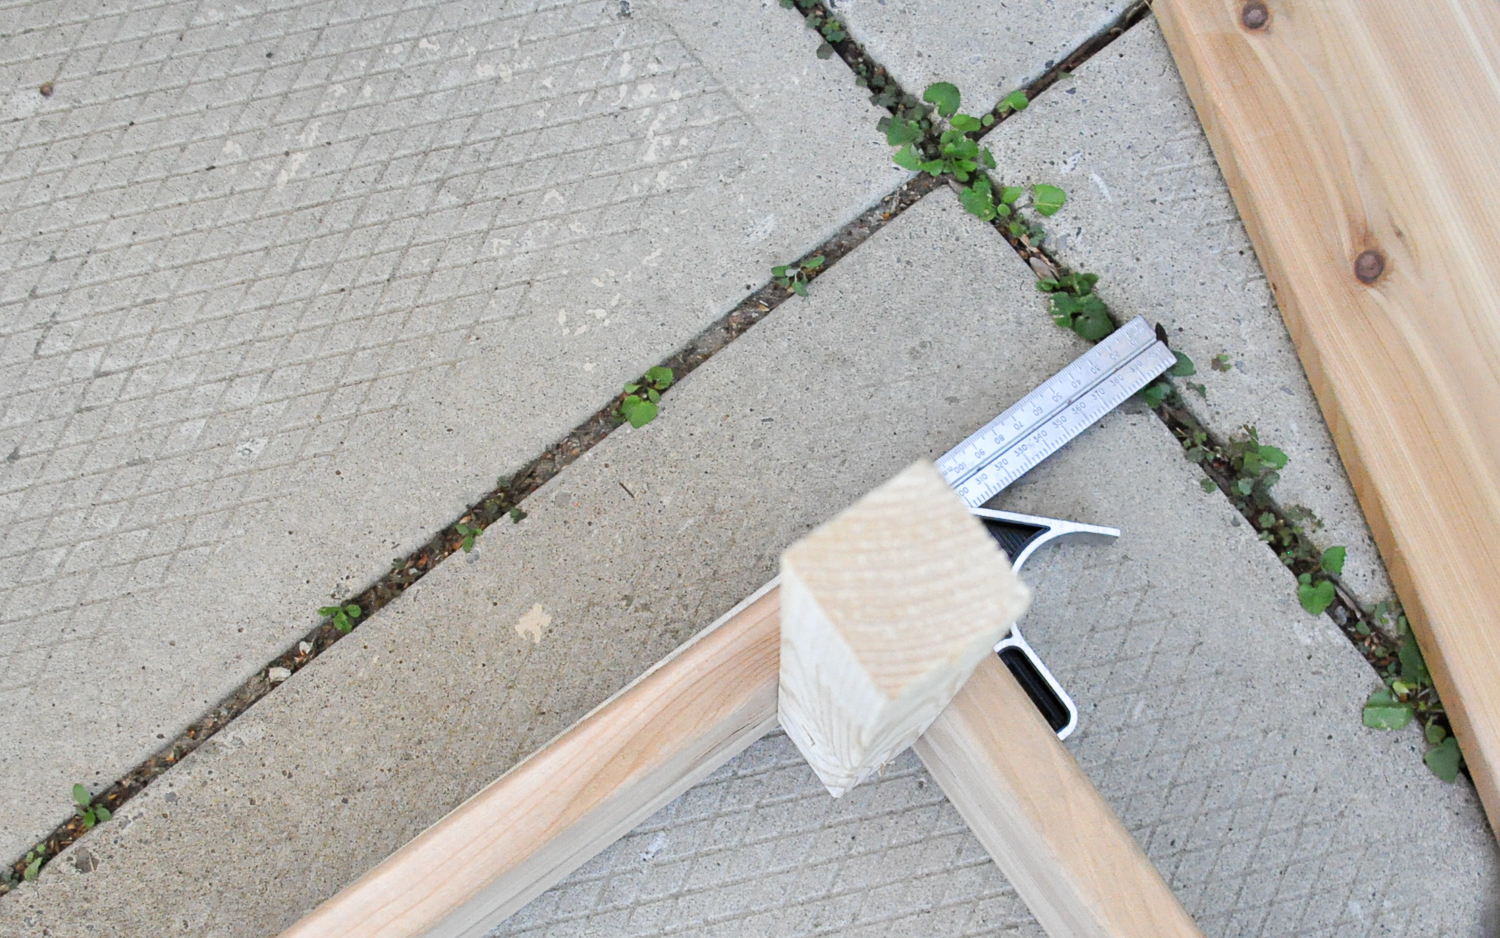
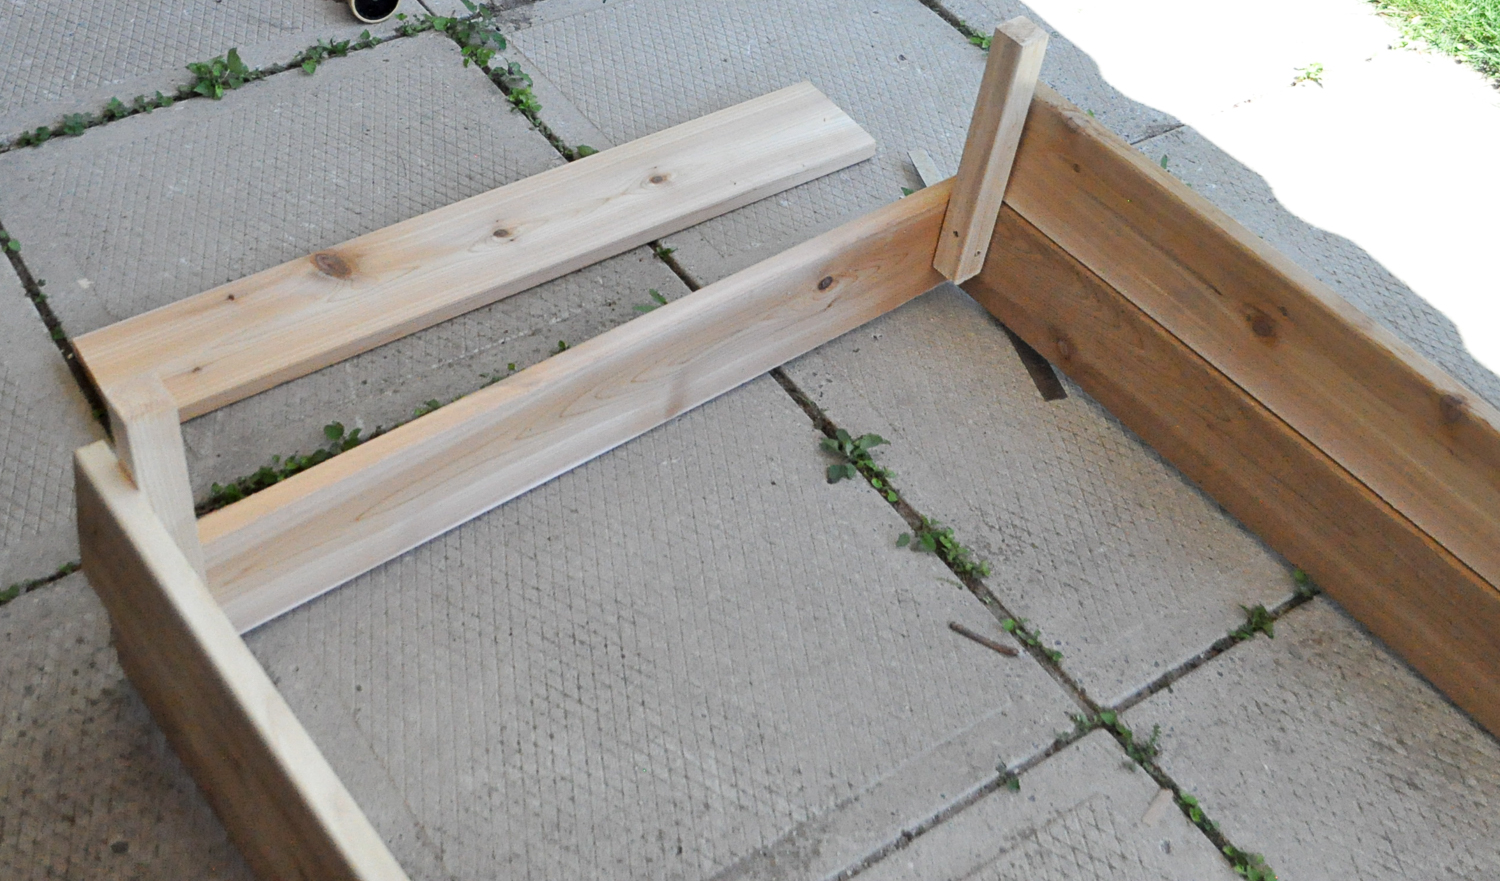
Next, attach the short board to the same stake to create your first corner. Use your square to get an even corner each time.
Continue to work your way around your bed screwing in each corner support to your 4 top boards
Then add your 4 bottom boards (which are on top right now). *Your support stakes should be sticking up above the top of this 2nd row of boards
Screw in additional support stakes spaced evenly along the long sides of beds. We did 2 extra supports on each long side at just over 3' apart each. Depending on the size of your beds you may use more or less.
To reinforce the corners and keep the boards flush together go around the planters and screw through the end of each long board directly into the short end board from the outside in.
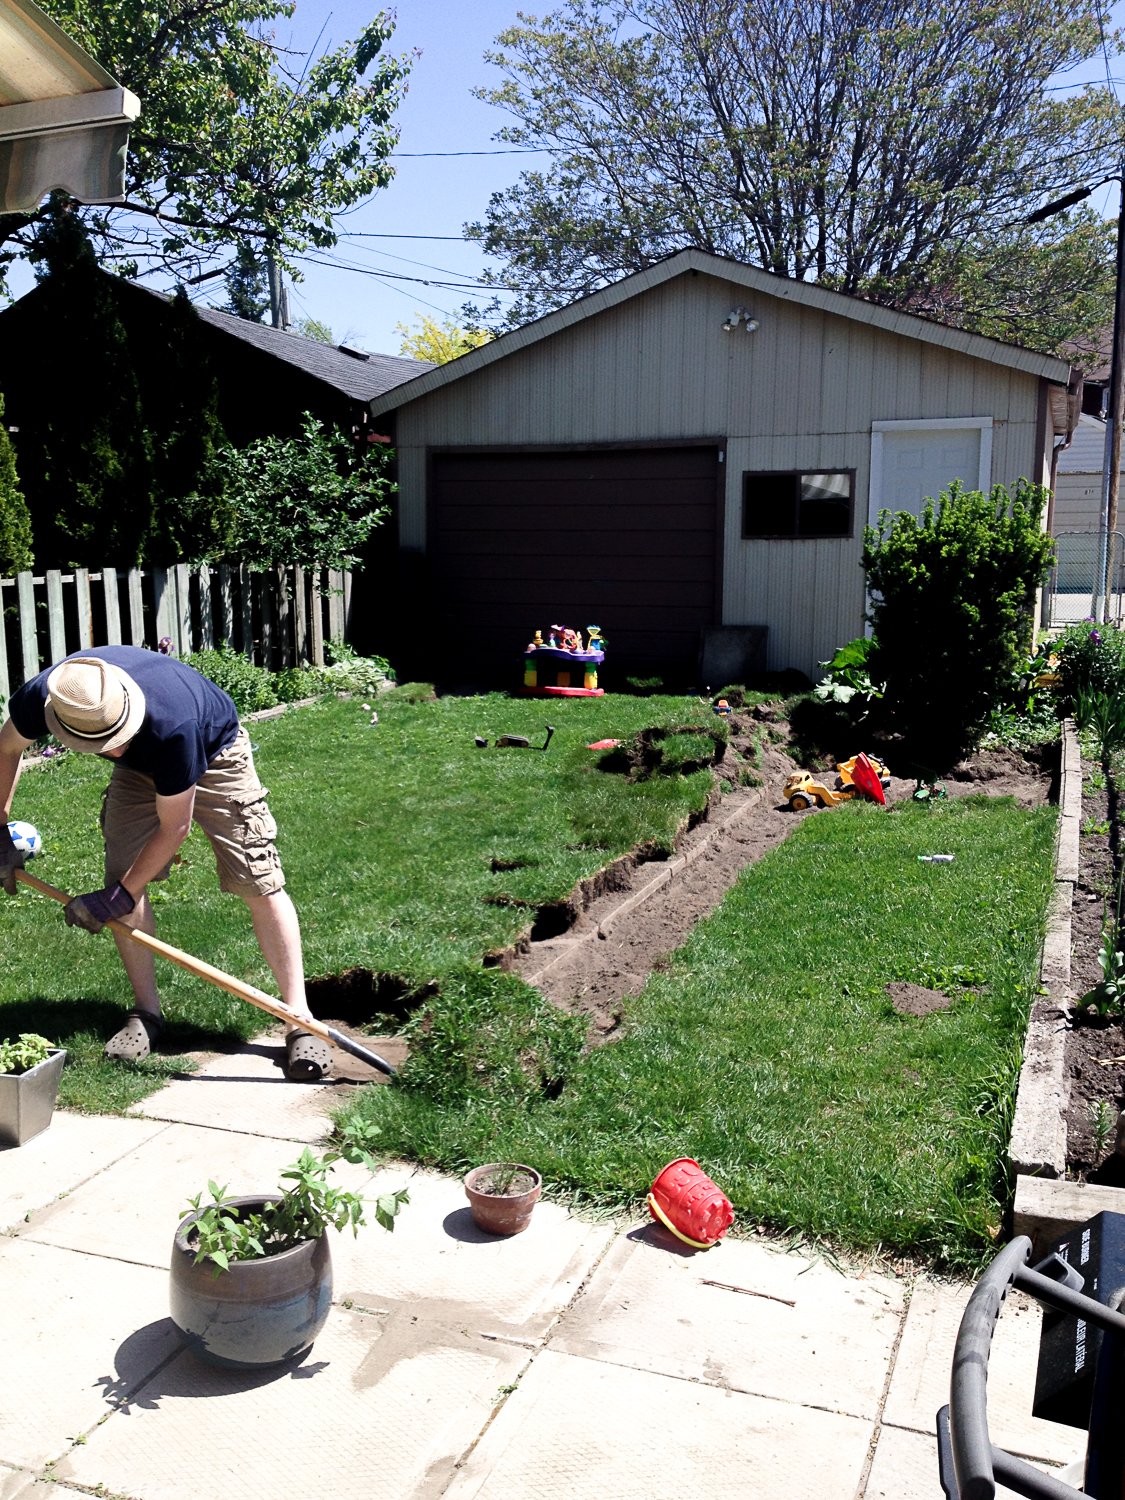
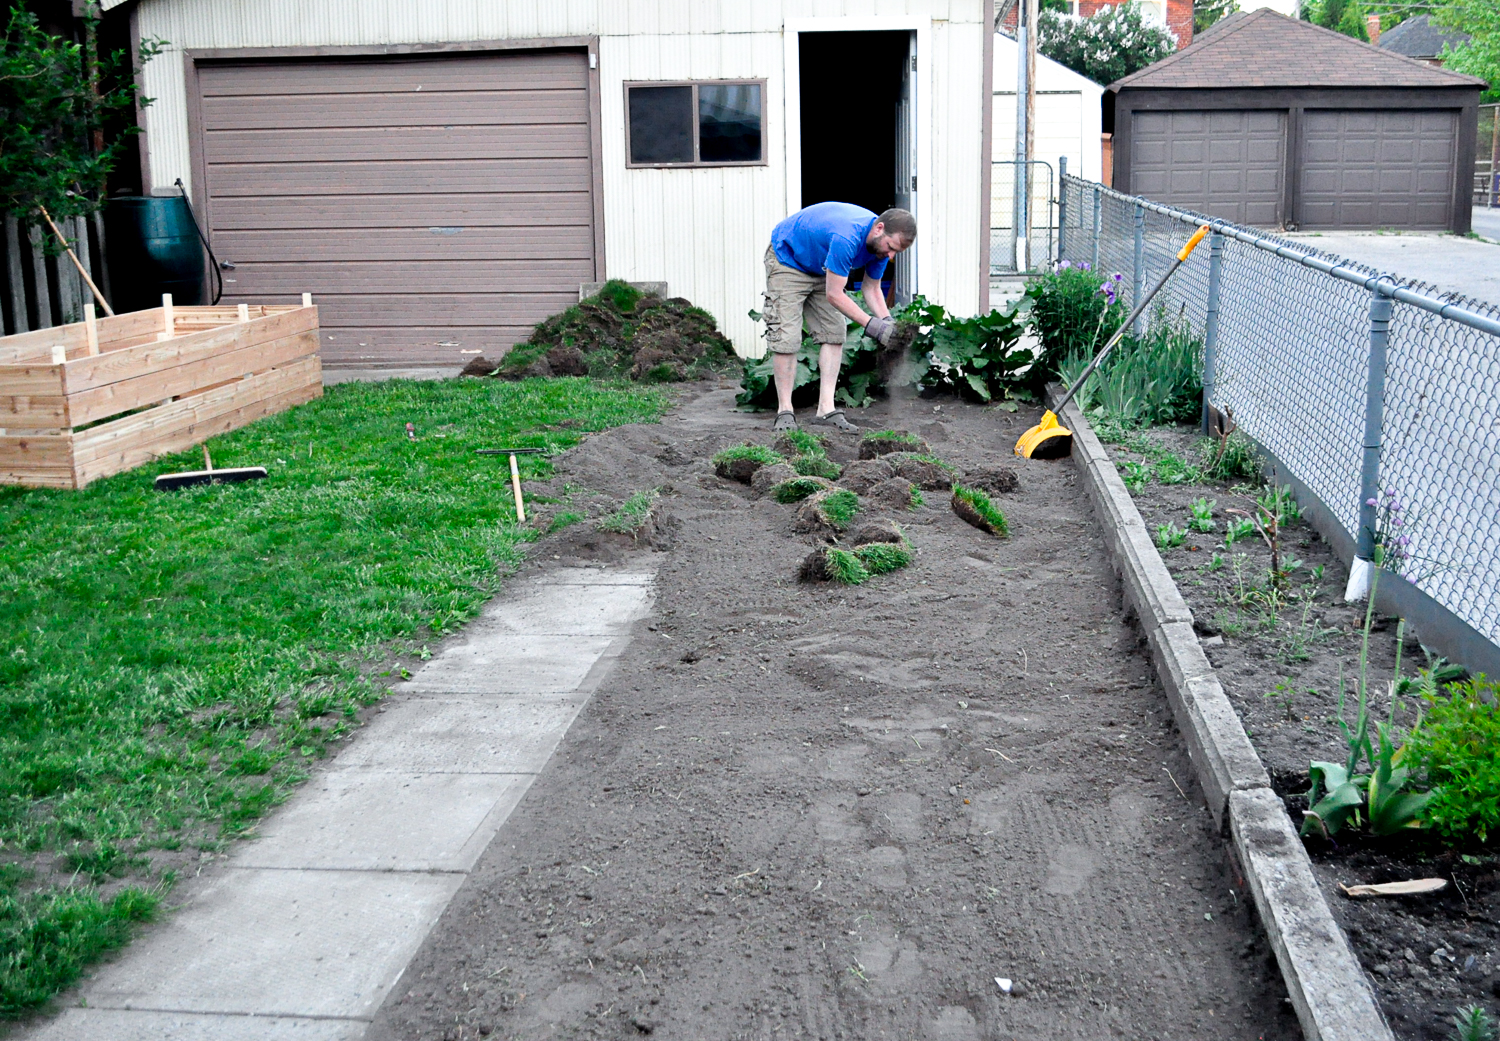
When all of your support stakes and boards are screwed into place you'll need to till up the earth where they are to be placed. This is the most time consuming and tiring parts of the project.
Once area is all prepped, flip beds over and set in place. Tap down each corner and edge gently with a rubber mallet to stabilize.
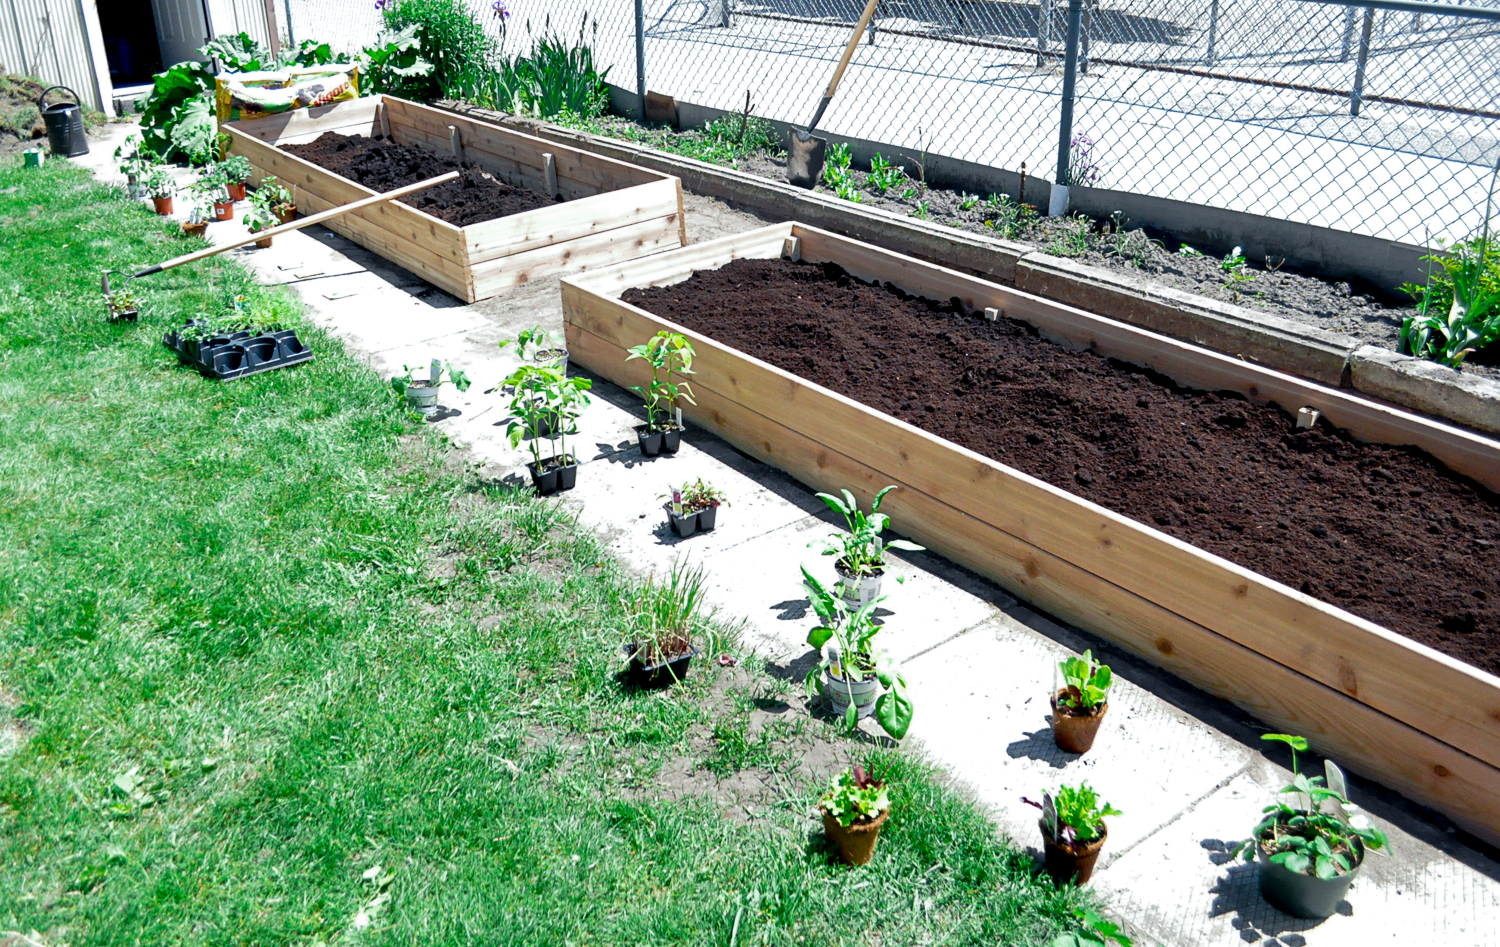
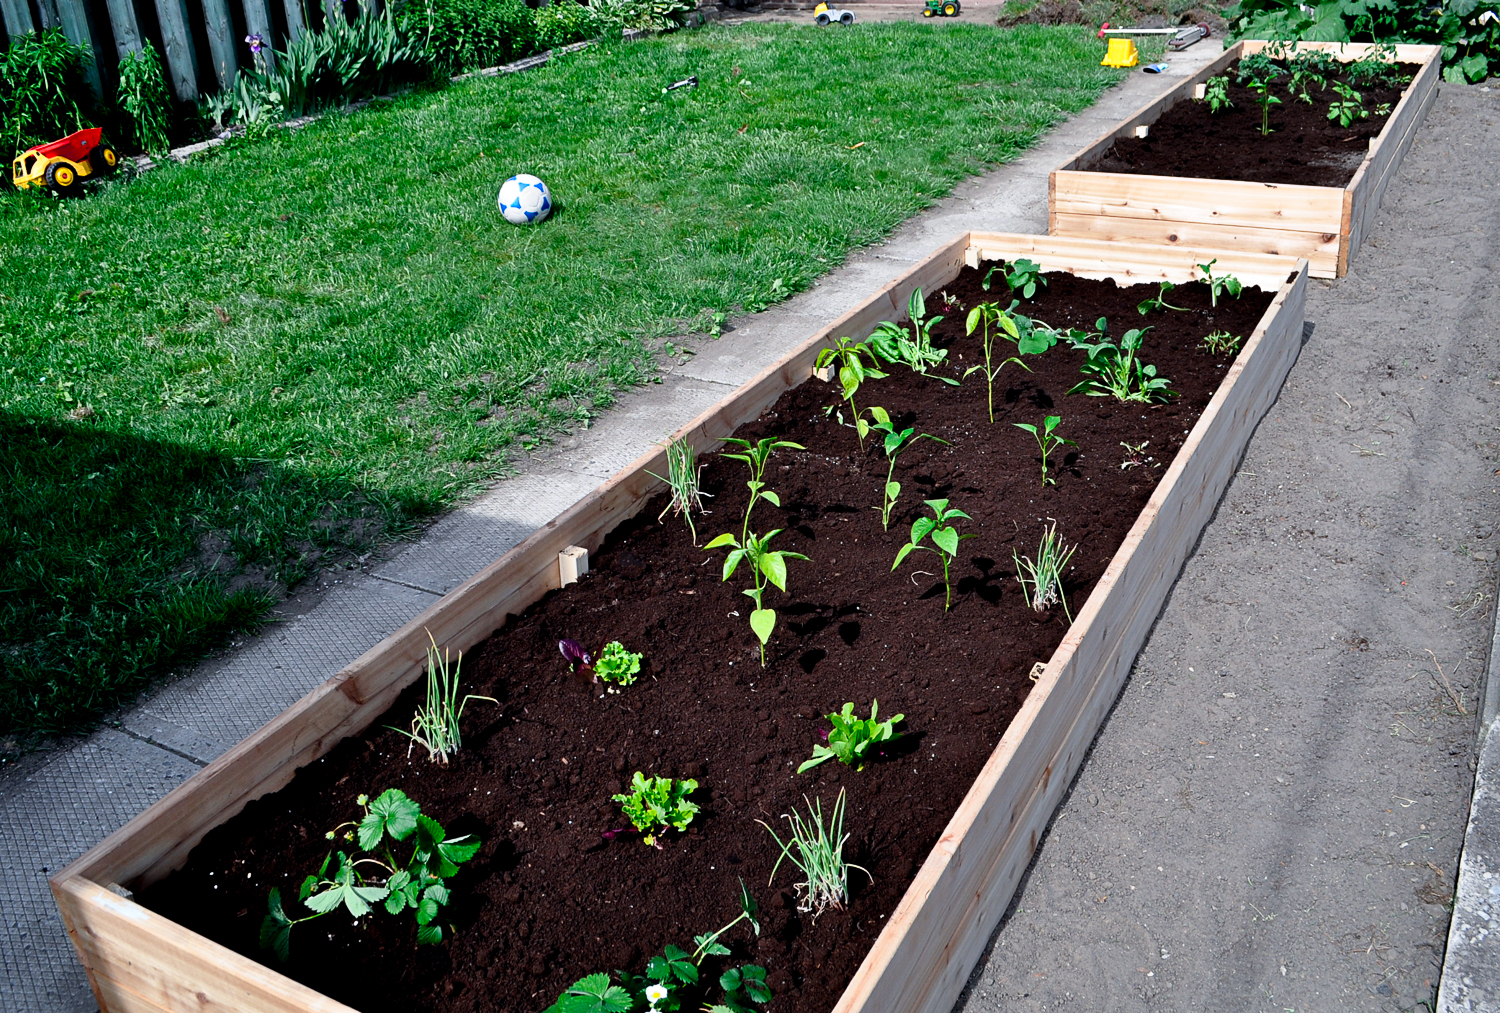
Fill with fresh soil, add plants & water.
We love using our raised beds with our favourite Garden Covers from Lee Valley.
Hope this gives you a little garden inspiration. Remember you can make these to fit any space, big or small. Don't hesitate to send along questions or projects you would like to see featured.
Care

Simple DIY Floor Cushions
If your kids are anything like mine, they probably don't actually sit on furniture the way it's intended. Mine seem to sit on the floor most of the time, so I decided to make them some oversized floor pillows to make a cozy spot for reading books or watching a movie.

If your kids are anything like mine, they probably don't actually sit on furniture the way it's intended. Mine seem to sit on the floor most of the time, so I decided to make them some oversized floor pillows to make a cozy spot for reading books or watching a movie.
I searched high and low on the good old internet for some appropriate cushions, but the prices were ridiculous. $150-$300 for a big cushion with cover! Not exactly what I wanted to spend on cushions that I knew would be covered in peanut butter and apple juice within hours. I wanted something that I could machine wash and toss on the floor without concern for ruining them. I even looked at dog beds, but turns out people spend A LOT on their dogs. Not that I don't love my kids, but seriously, I just couldn't justify that kind of money on floor cushions. So I decided I would make them myself.
I found an amazing textile place in West Toronto, Nusso Textiles, that has an incredible selection of pillows and cushions, as well as options for custom orders. If you oder more than $100 at a time it's considered wholesale and much cheaper. I ordered a dozen throw pillows of various sizes for our screened in porch bench seats and 4 giant 32" x 32" pillows for the kids. I opted to upgrade to the polycotton covering so they would stand up to any necessary laundering. They came to $22 each and were ready to pick up in about 4 days.
Next I wanted to make covers for the pillows, but again wanted to keep it simple and affordable. I chose some durable cotton canvas fabric (I recommend a cotton canvas or cotton twill, something with a little more strength than a soft quilting or craft cotton) from my favourite local fabric store Fabric Fabric. This place might seem a little rough around the edges, but I promise it has great fabrics and even better prices. I find I get my best deals from the ladies there when I'm pregnant or toting around a cute baby. Just a tip ;)
I found this dead simple envelope pillow case tutorial online and set to work. This is definitely a project appropriate for a beginner, and can be adapted to fit any cushion size. The project involves:

- cutting one piece of fabric
- ironing said fabric
- hemming two ends of the fabric
- folding the fabric into the appropriate shape &
- sewing a straight edge along 2 sides.
For each of my 32" cushions I needed 2 meters of fabric, which left me with extra fabric for smaller cushion covers or other projects. I cut 1 piece of fabric 32" x 72" (32"x2 +8" for overlap and seam allowance) and created my cover. Once I figured out my measurements each pillow case only took about 20 kid free minutes to make...if a baby or child is around this could be extended to several days ;)
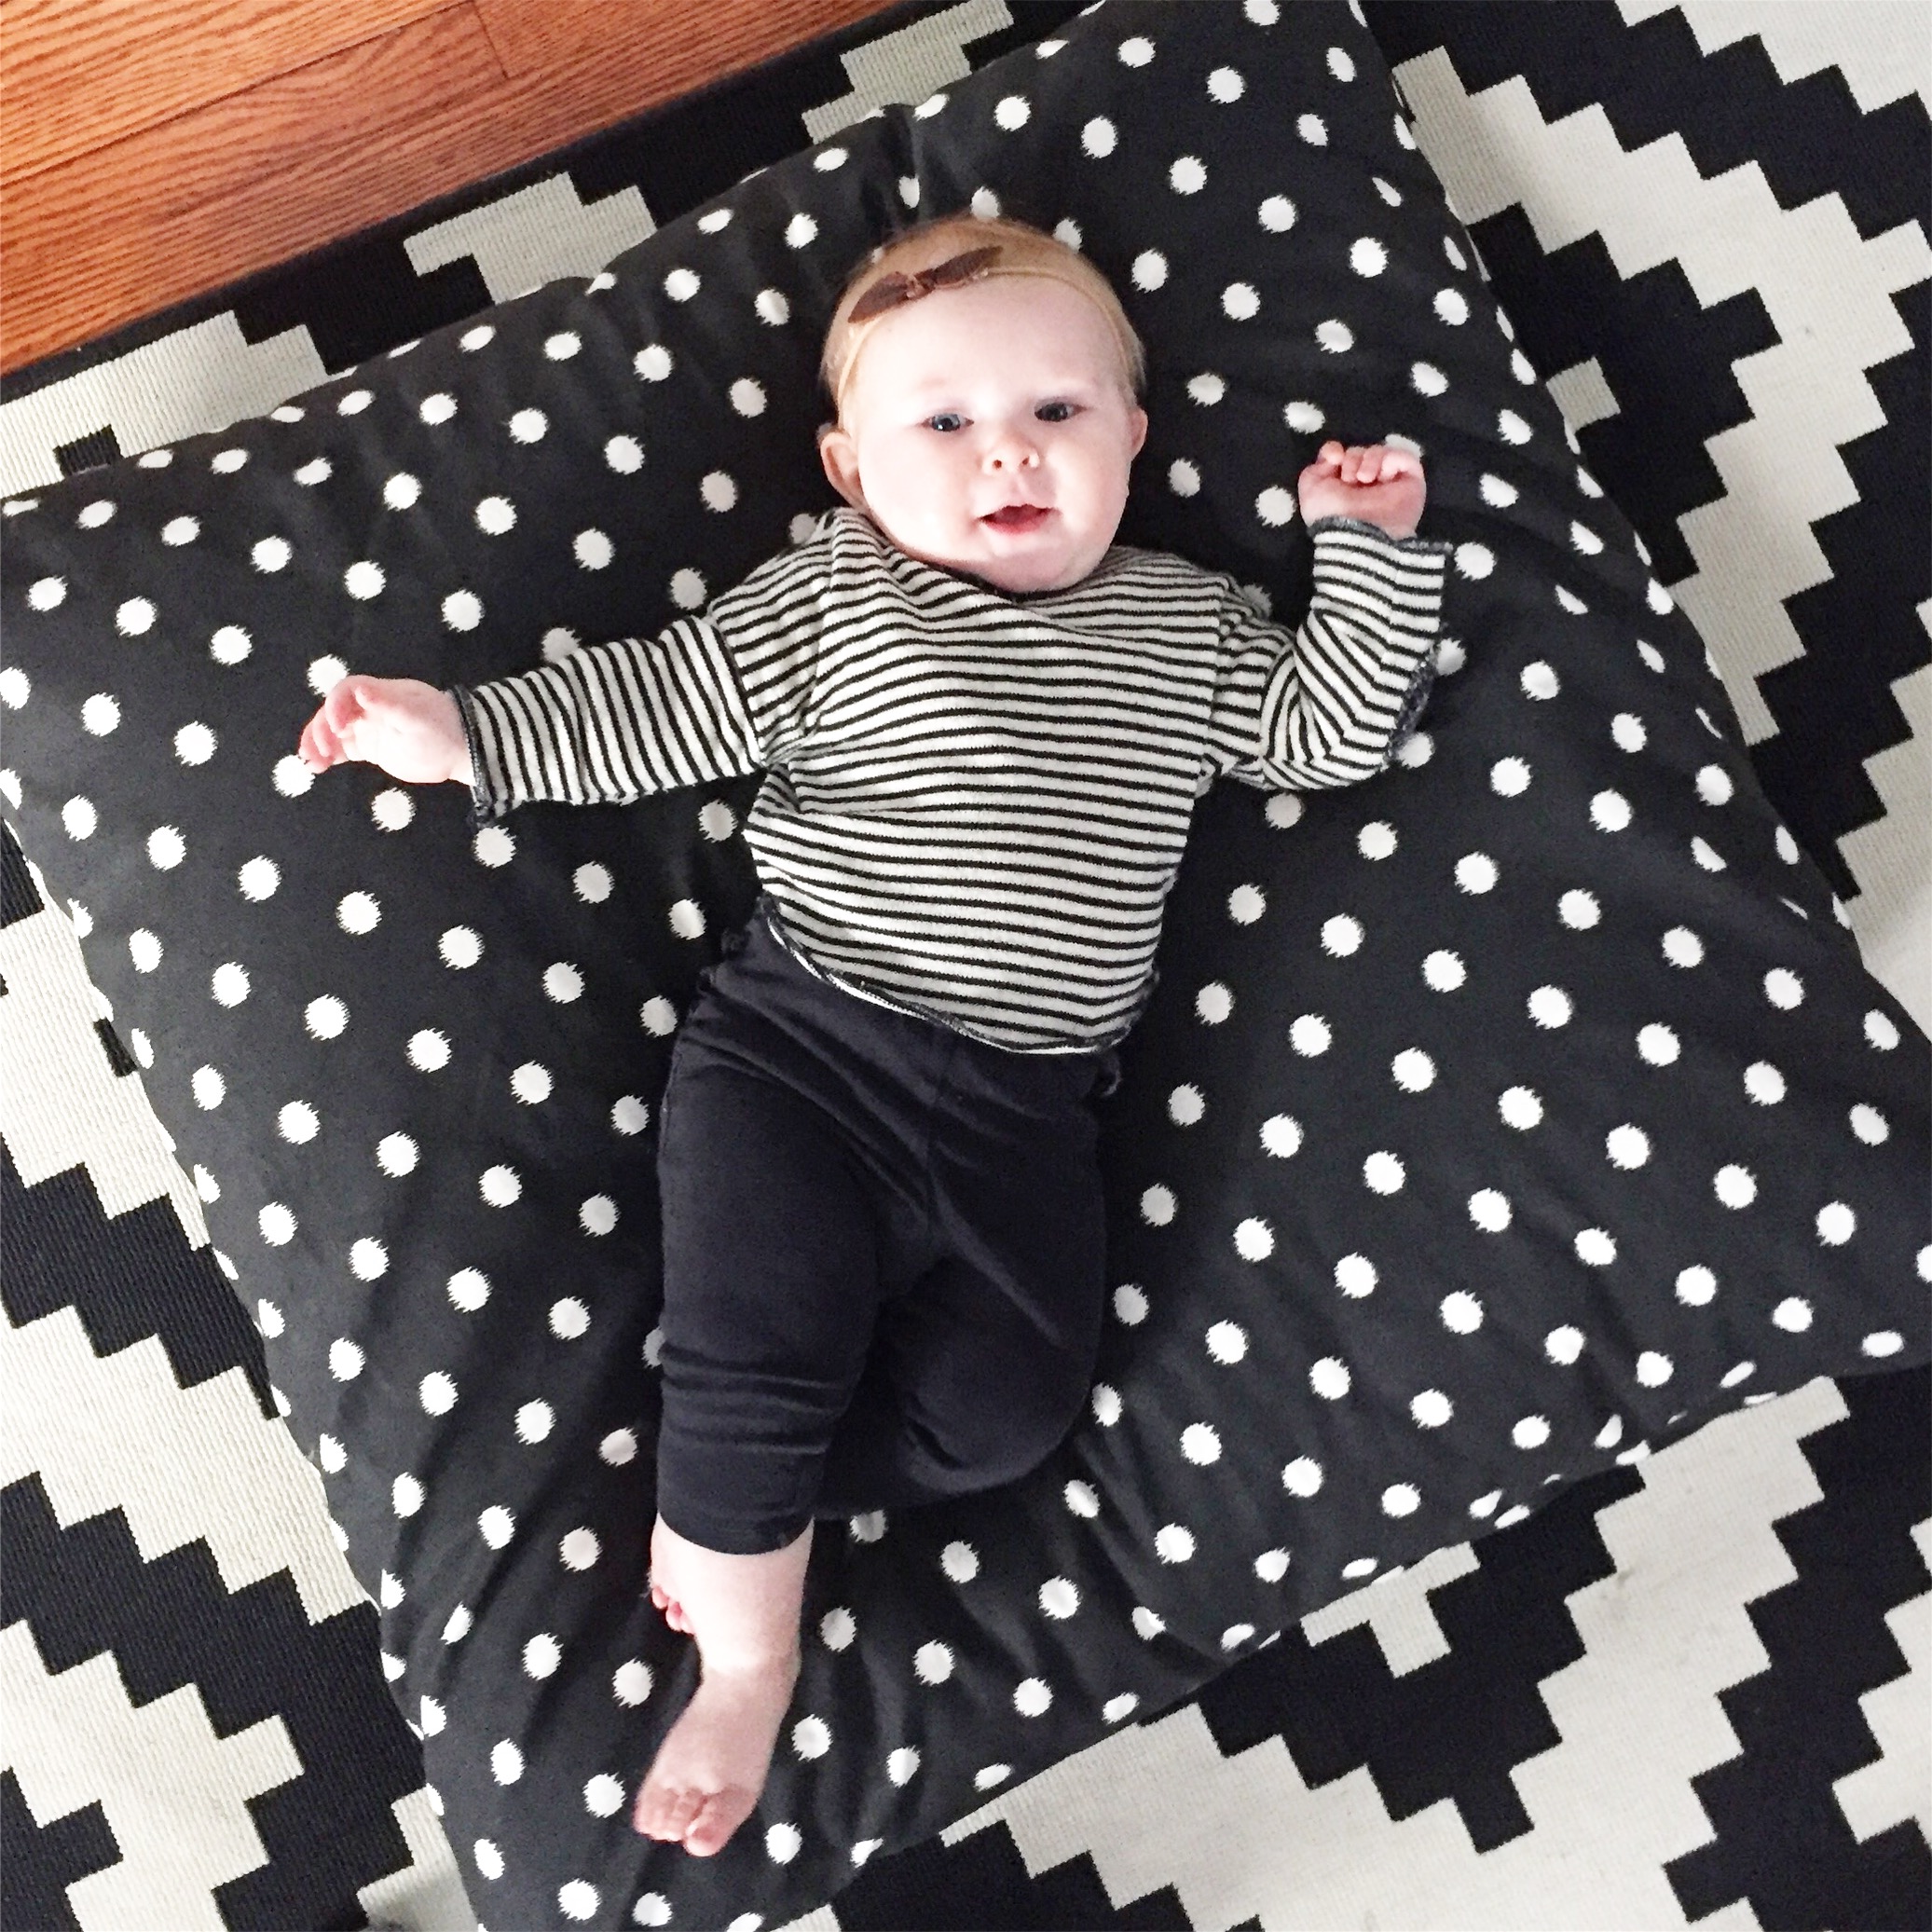
As you can see the kids are loving the finished project. The best part is that they cost about $40 each to make. A huge savings from the original ones I found on Etsy and other sites, not to mention you can customize them to suit your style. Hope this inspires you to make some cozy floor cushions for your family.
Care