

Grandma's Homemade Cinnamon Bread & Chelsea Recipe
Every year on Christmas Eve my mom would spend the day baking the most delicious cinnamon bread, buns, and chelsea to enjoy on Christmas day. It was always such a wonderful treat and a tradition I looked forward to every year, and I am so happy I get to continue it with my kiddos.
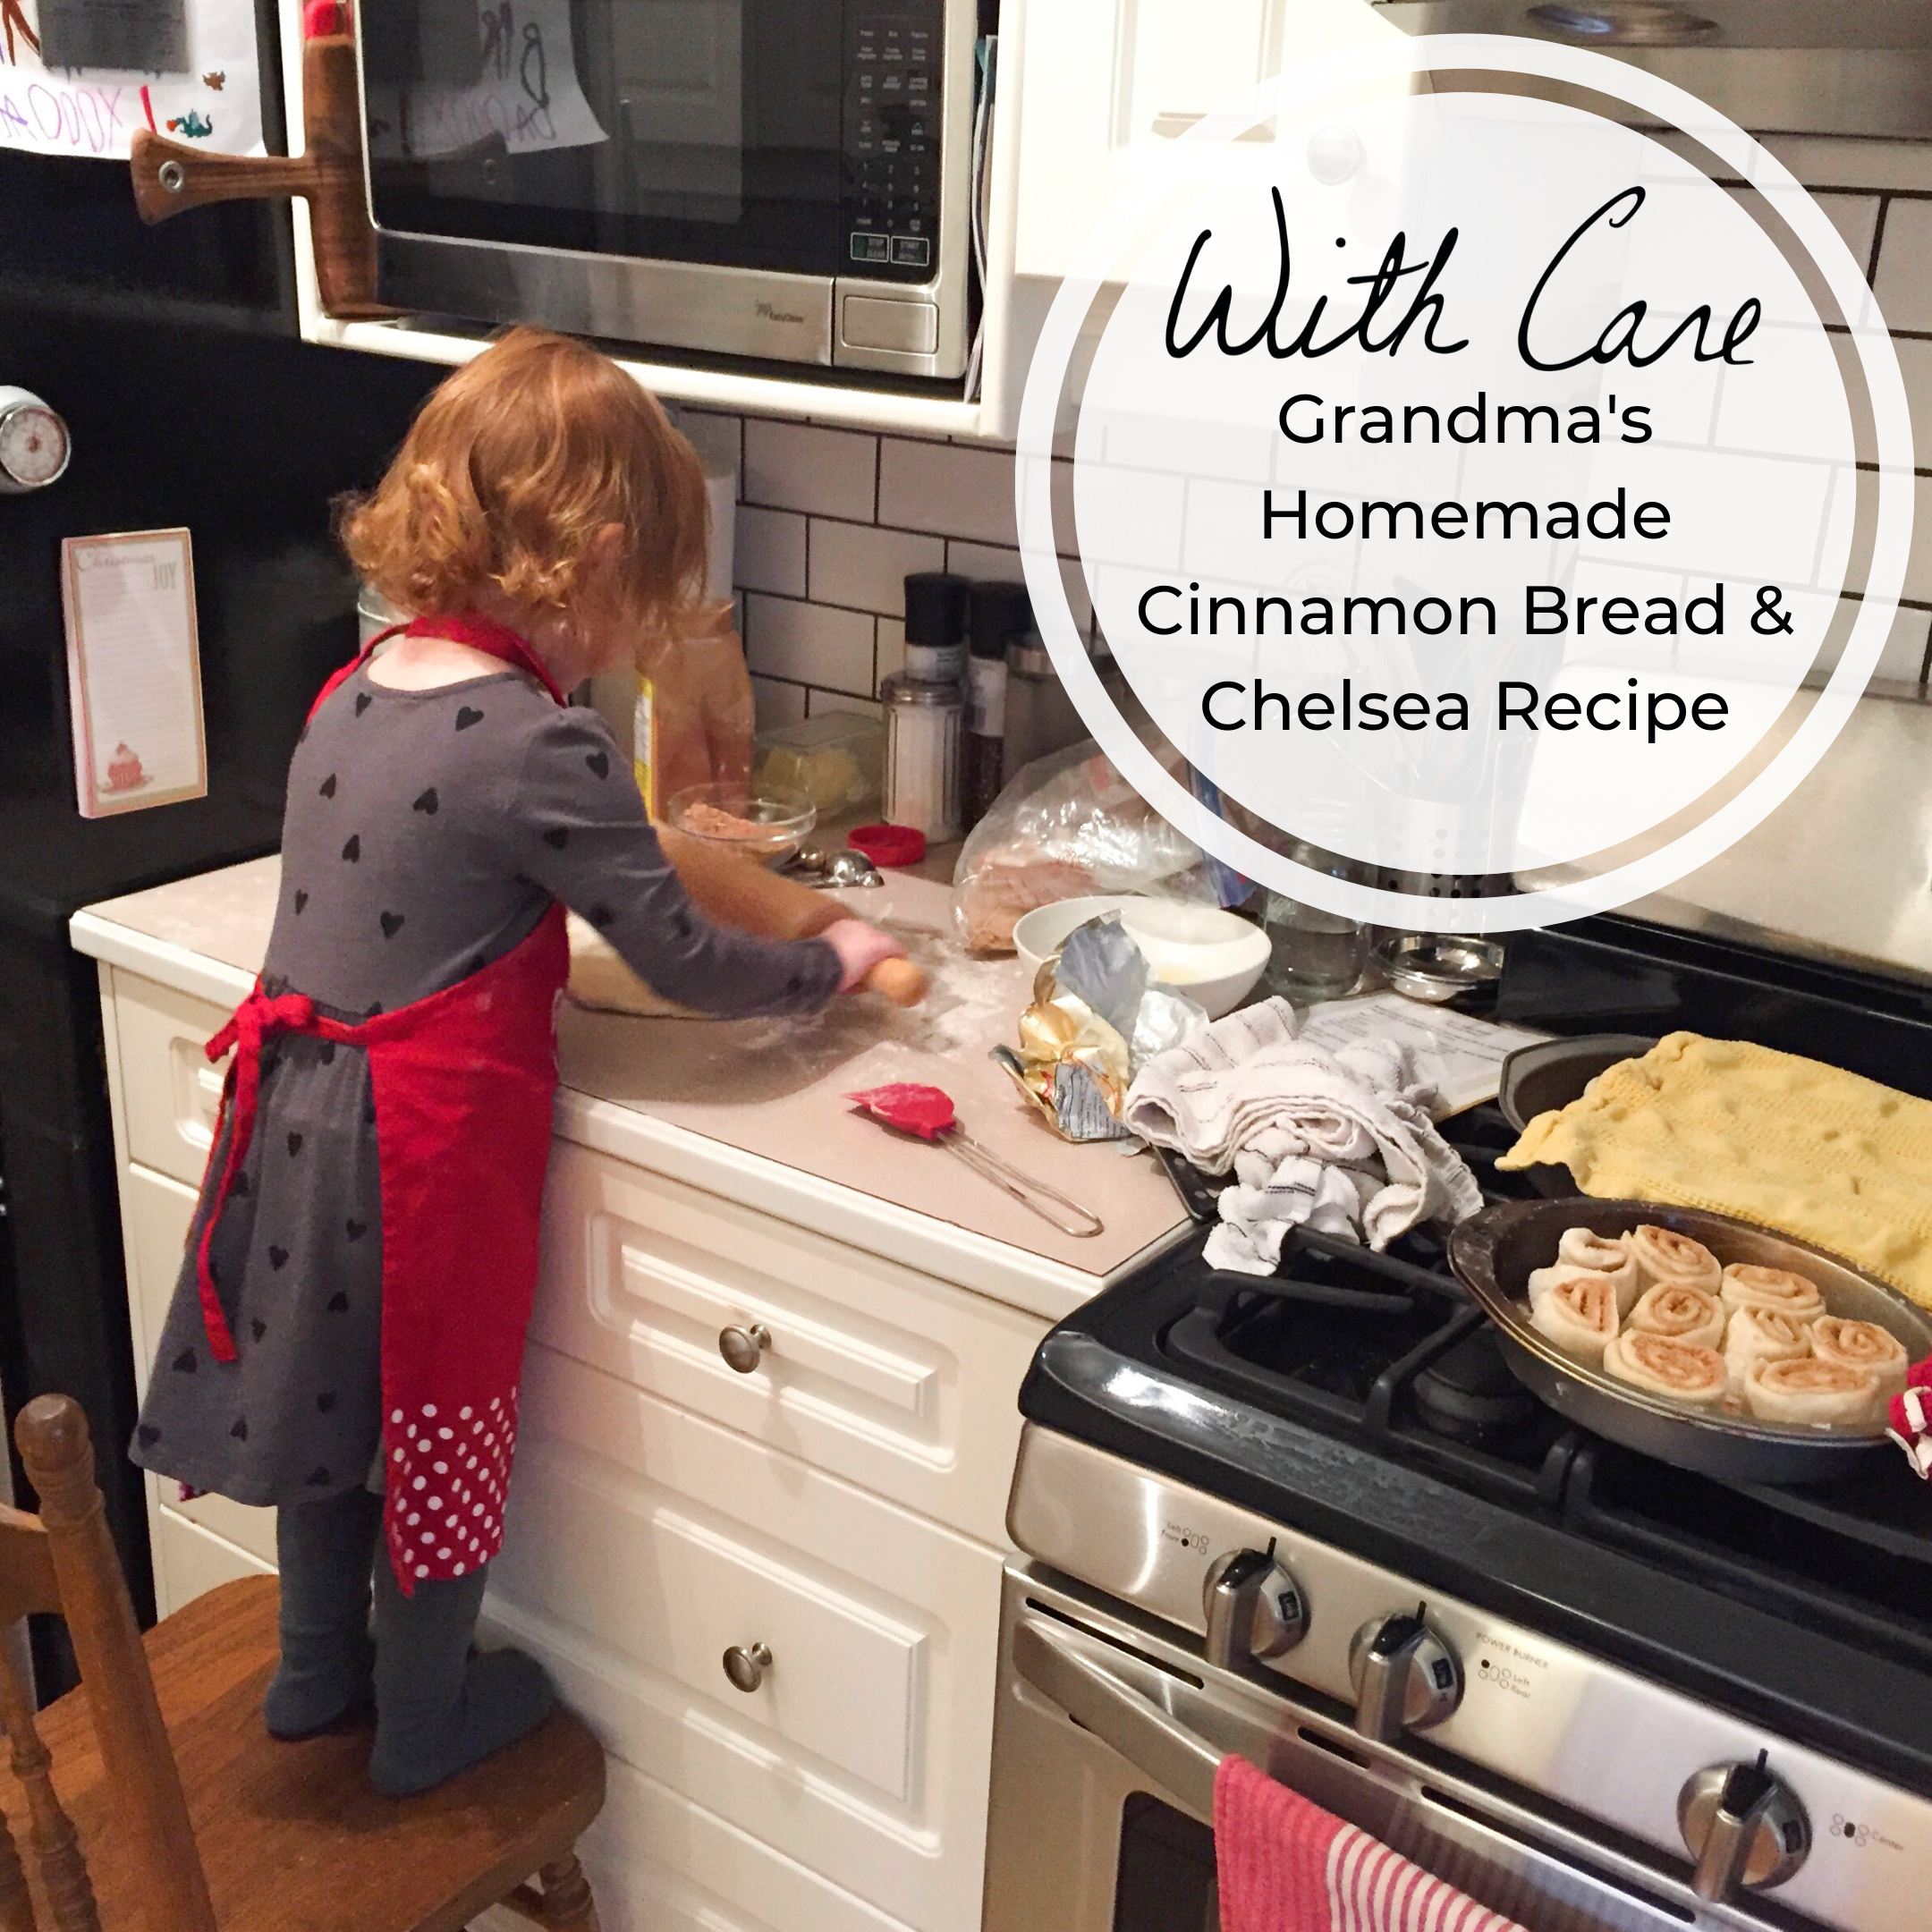
Every year on Christmas Eve my mom would spend the day baking the most delicious cinnamon bread, buns, and Chelsea to enjoy on Christmas day. A recipe passed down from her mother. It was always such a wonderful treat, and a tradition I’m so happy I get to continue it with my kiddos.
The recipe is a basic sweet dough and can be made into regular buns, cinnamon bread, or chelsea buns (aka cinnamon buns). It isn’t difficult to make, but the steps take 5 hours in total because of multiple risings. You won’t be working that whole time, but it’s usually best to start early in the day and work your schedule around the different steps. You might be thinking, what the heck? Just buy some freaking bread and call it a day! … and to you I say “Go for it!” If this isn’t your thing and you want something a little quicker check out my 6 Simple Last Minute DIY Holiday Gifts. There is some serious deliciousness in there, and all it takes is melting and blending. If you’re looking for something with a little more time commitment give this family recipe a try and let me know what you think.


For all the parents out there wondering how I bake with 4 kiddos, let me start by saying that I choose very specific baking tasks for each kid to assist with (at their particular level eg. Penny at 3.5 years old spreads sugar, but Ben at 8 year old helps measure stuff and make the dough) and Daddy is there to keep the other's occupied. Also, it’s not all cupcakes and sprinkles, but it’s pretty amazing to watch their excitement when they eat something they helped make.
I hope you enjoy whatever sweet traditions you do with your loved ones this holiday season.
- Care
Simple No Knead Artisan Bread
I often yearn for fresh baked bread as the fall weather settles in and we start making more soups, stews and warm hearty meals. My mom introduced me to Artisan bread baking years ago when I was in university, but at the time I didn't truly appreciate how amazing and easy the method was.

I often yearn for fresh baked bread as the fall weather settles in and we start making more soups, stews and warm hearty meals. My mom introduced me to Artisan bread baking years ago when I was in university, but at the time I didn't truly appreciate how amazing and easy the method was. Last week a fellow babywearing Instagram mom of 3 @ellerowley (owner of Sollybaby Wraps) shared her favourite simple artisan bread recipe and it peaked my interest. I had to try it. **Please note: the original recipe used is no longer available. Here is a similar 4 ingredient no-knead artisan bread recipe version.
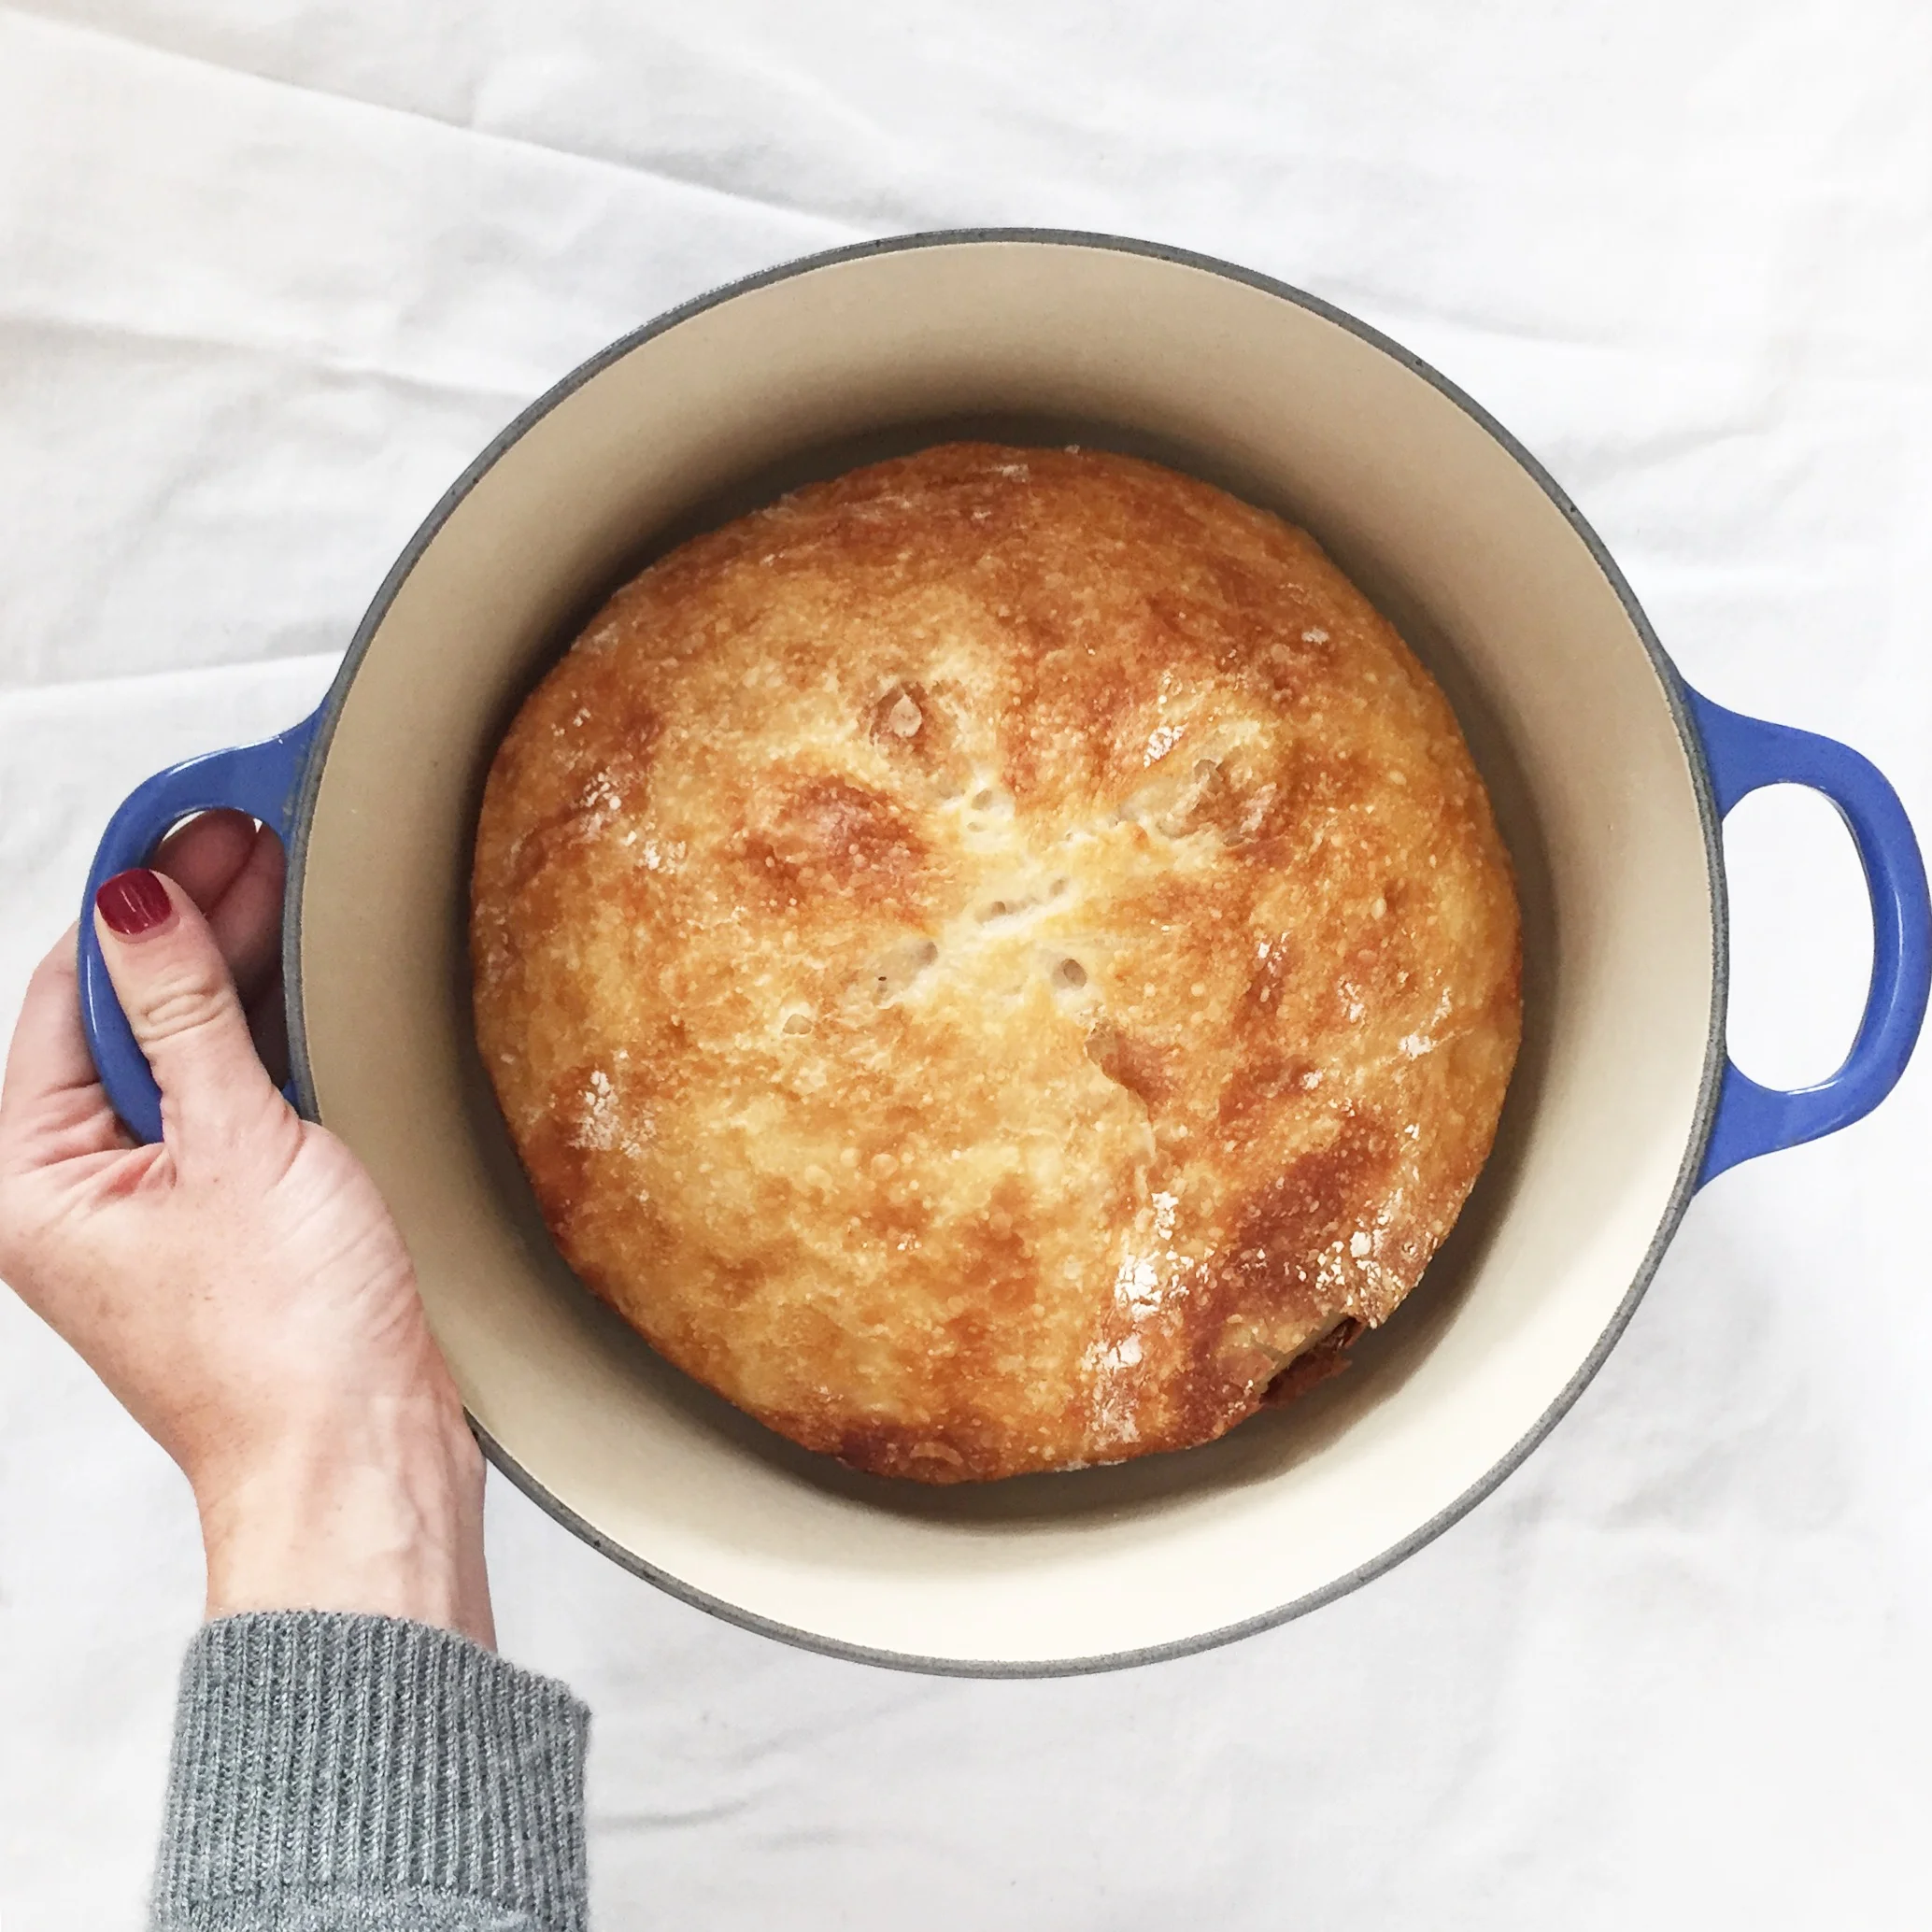
Last night I made a batch of dough (a 5 minute process that involves mixing 4 ingredients with a spoon, no kneading!), I let it rise overnight, and today I baked it. All I can say is, you won't be disappointed if you make this bread. It is absolutely delicious. It has a perfect crusty shell with a soft light centre that melts in your mouth. Plus your house will smell like a french bakery. Mmm...
I baked the bread it in our Le Creuset Enamel Cast Iron French Oven. I was concerned about the handle of the lid and couldn't find solid advice on whether it could withstand the 475 degree temp, so I decided to play it safe and used tin foil to cover the pot instead. It worked brilliantly. Hope your family enjoys this bread as much as ours did.
Happy Baking!
- Care
*In case you need something to go with your bread...Here's a delicious Roasted Squash Soup recipe from a few years ago that is still a favourite in our house. Enjoy!

Delicious Honey Whole Wheat Banana Bread
Today is feeling like a perfect day for baking. This gloomy grey weather calls for the oven to be on and the sweet smell of cinnamon to be wafting through the house, so I decided to whip up some banana bread while the kids were content colouring and playing.
Today is feeling like a perfect day for baking. This gloomy grey weather calls for the oven to be on and the sweet smell of cinnamon to be wafting through the house, so I decided to whip up some banana bread while the kids were content colouring and playing.
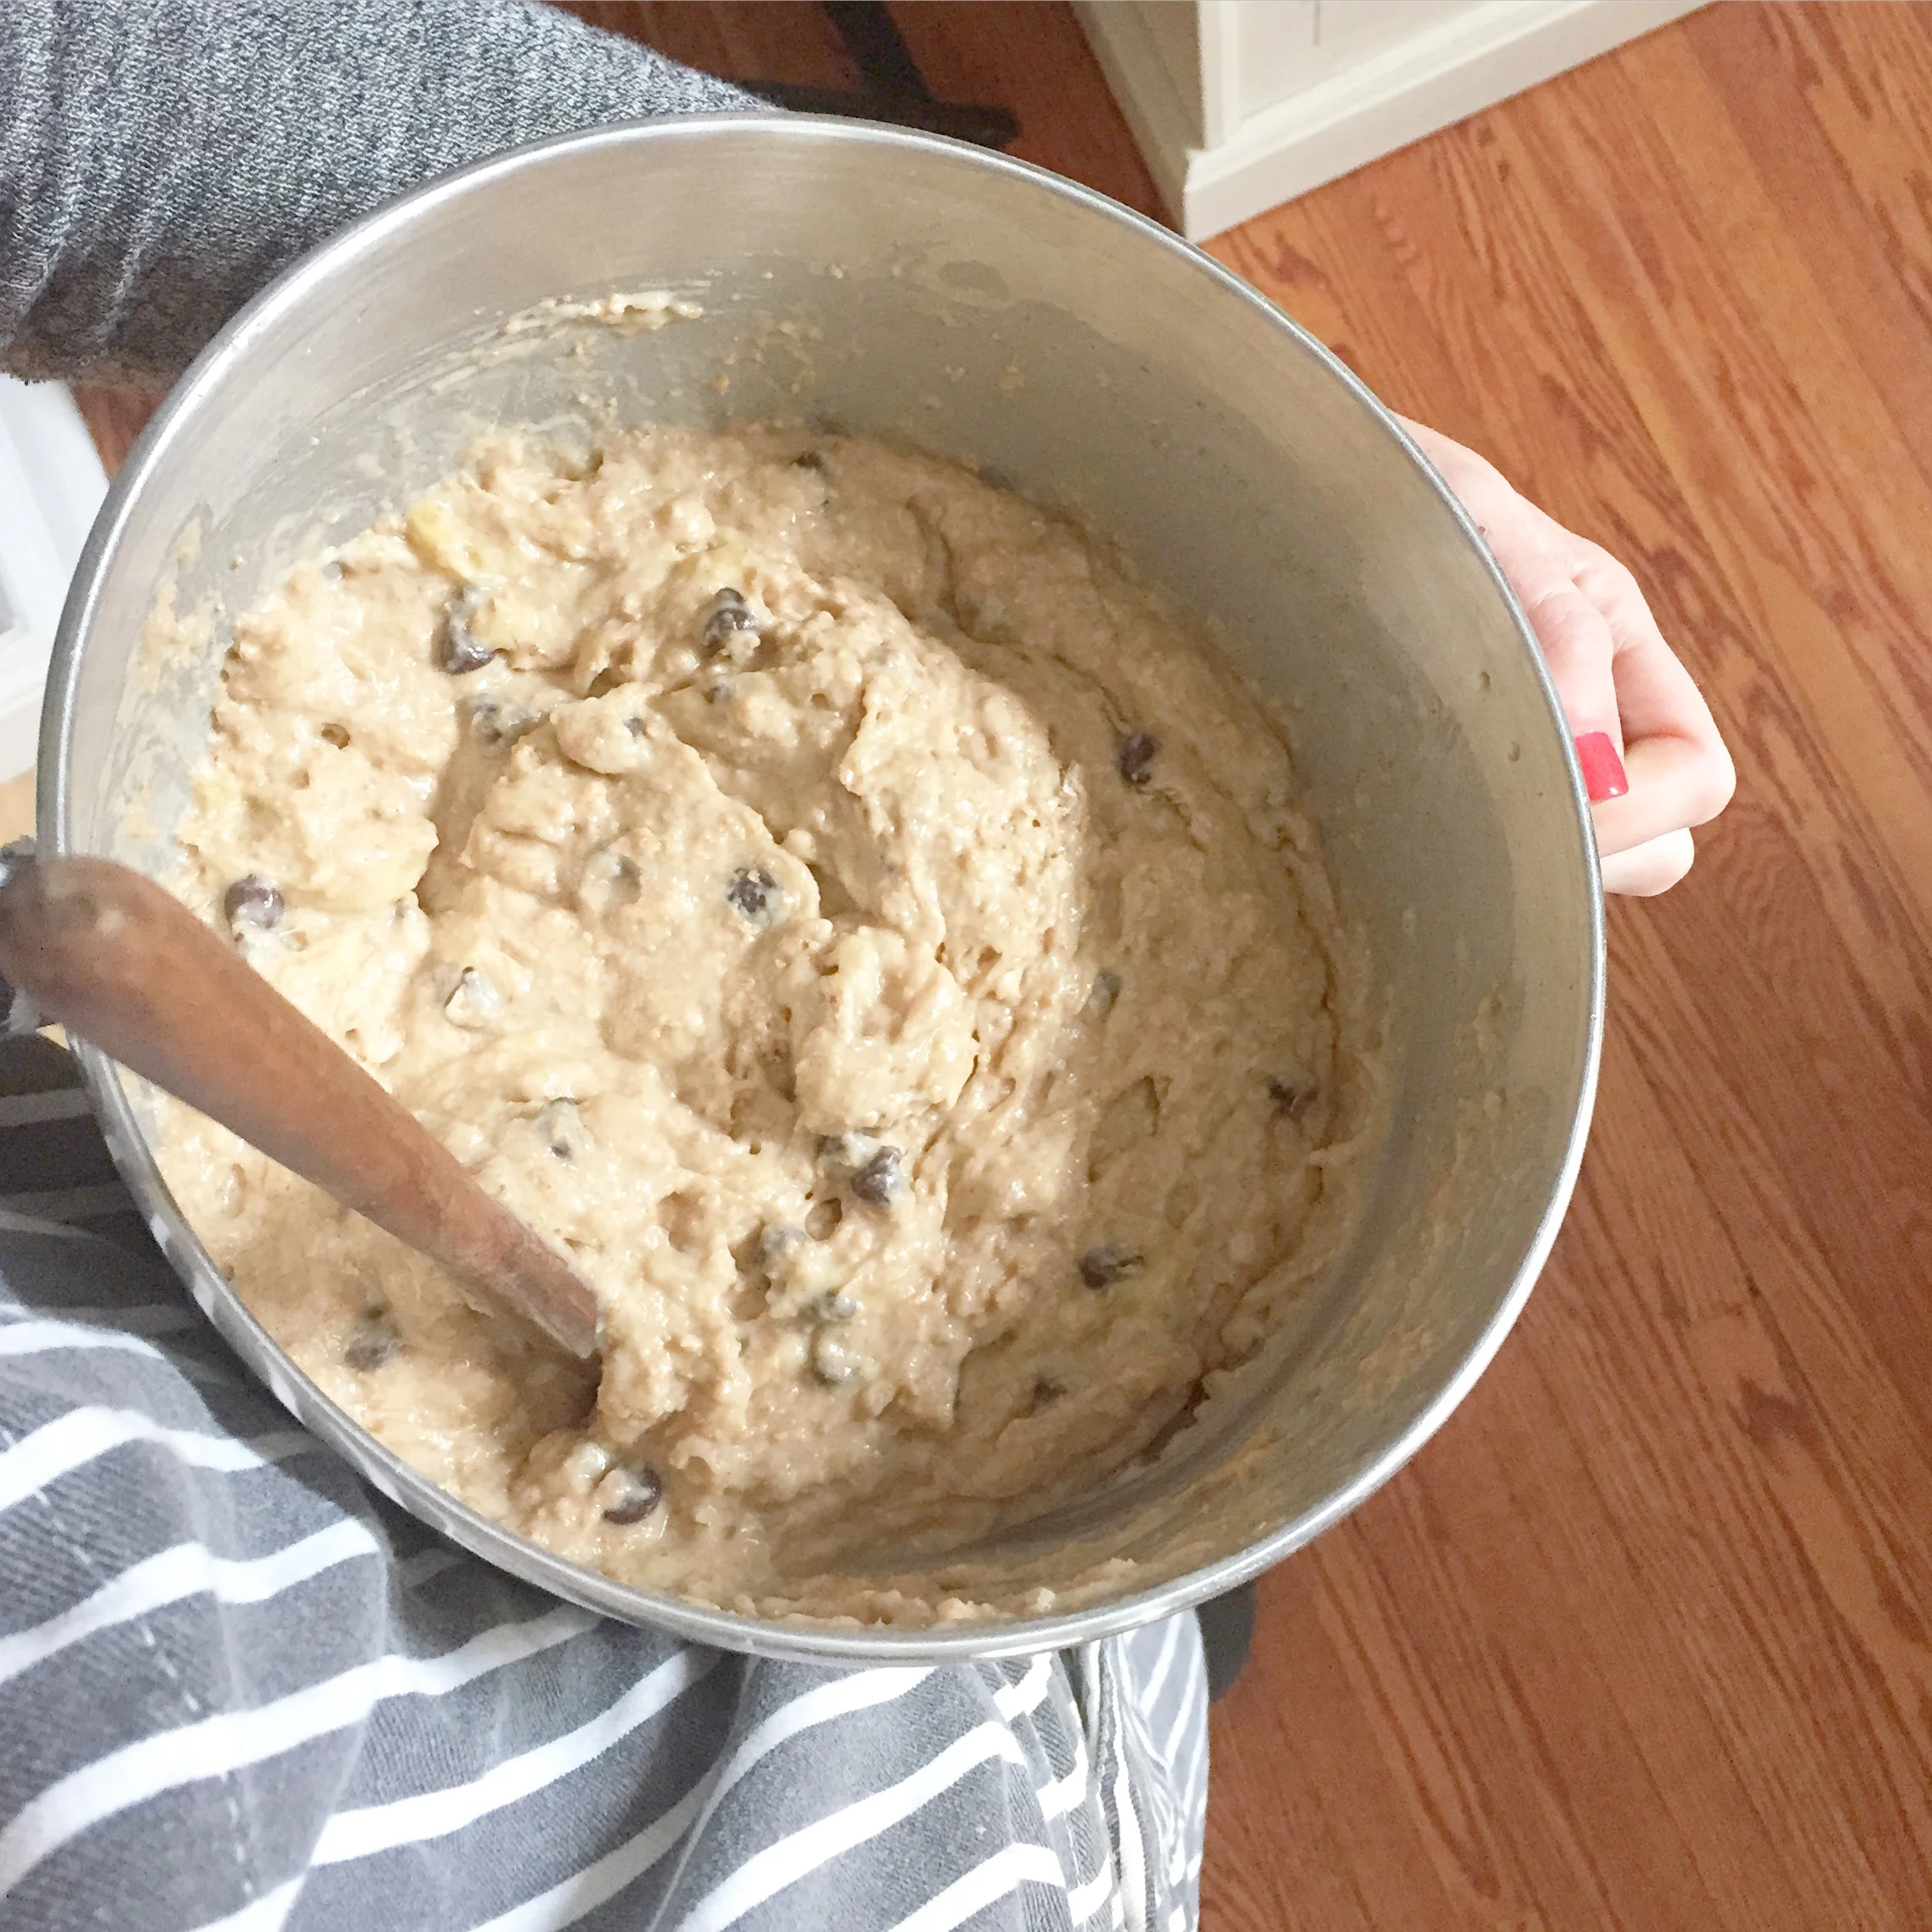
I went straight to my go-to banana bread recipe that I adapted from Cookie and Kate. This recipe isn't vegan, but it uses whole grain flour, coconut oil, full fat dairy & honey, which works for our family. If you're looking for a vegan recipe I highly suggest checking out Rachel Schwartzman's Best Vegan Banana Bread Recipe.
Hope you have a great long weekend and enjoy this recipe as much as we do.
- Carolyn
Honey Whole Wheat Banana Bread
Ingredients:
- ⅓ cup melted coconut oil (or butter or any other mild tasting oil)
- ½ cup honey
- 2 eggs
- 1 cup mashed bananas
- 1 teaspoon vanilla extract
- ½ teaspoon salt
- 1 teaspoon cinnamon
- 1¾ cups whole wheat flour
- 1 teaspoon baking soda
- 2 Tbsp of whole milk
- 2 Tbsp of full fat plain or greek yogurt
Instructions:
- Preheat oven to 325 degrees Fahrenheit (165 degrees Celsius)
- Grease a 9×5 inch loaf pan
- In a large bowl whisk your dry ingredients together and set aside - flour, baking soda, salt & cinnamon
- In a medium bowl beat oil and honey together. Add eggs and beat well
- Stir in mashed bananas, milk, yogur & vanilla
- Add wet ingredients to dry ingredients and mix just until combined.
- Fold in dark chocolate chips, nuts, dried fruit or any other addition you like
- Spread batter into the greased loaf pan
- Bake for 60 to 65 minutes. Be sure to check that the bread is done baking by inserting a toothpick in the centre. It should come out clean.
- Let the bread cool in the loaf pan on wire rack for 5 minutes, then transfer out of pan to wire rack to cool for 30 minutes before slicing.
Raw Vegan Energy Balls
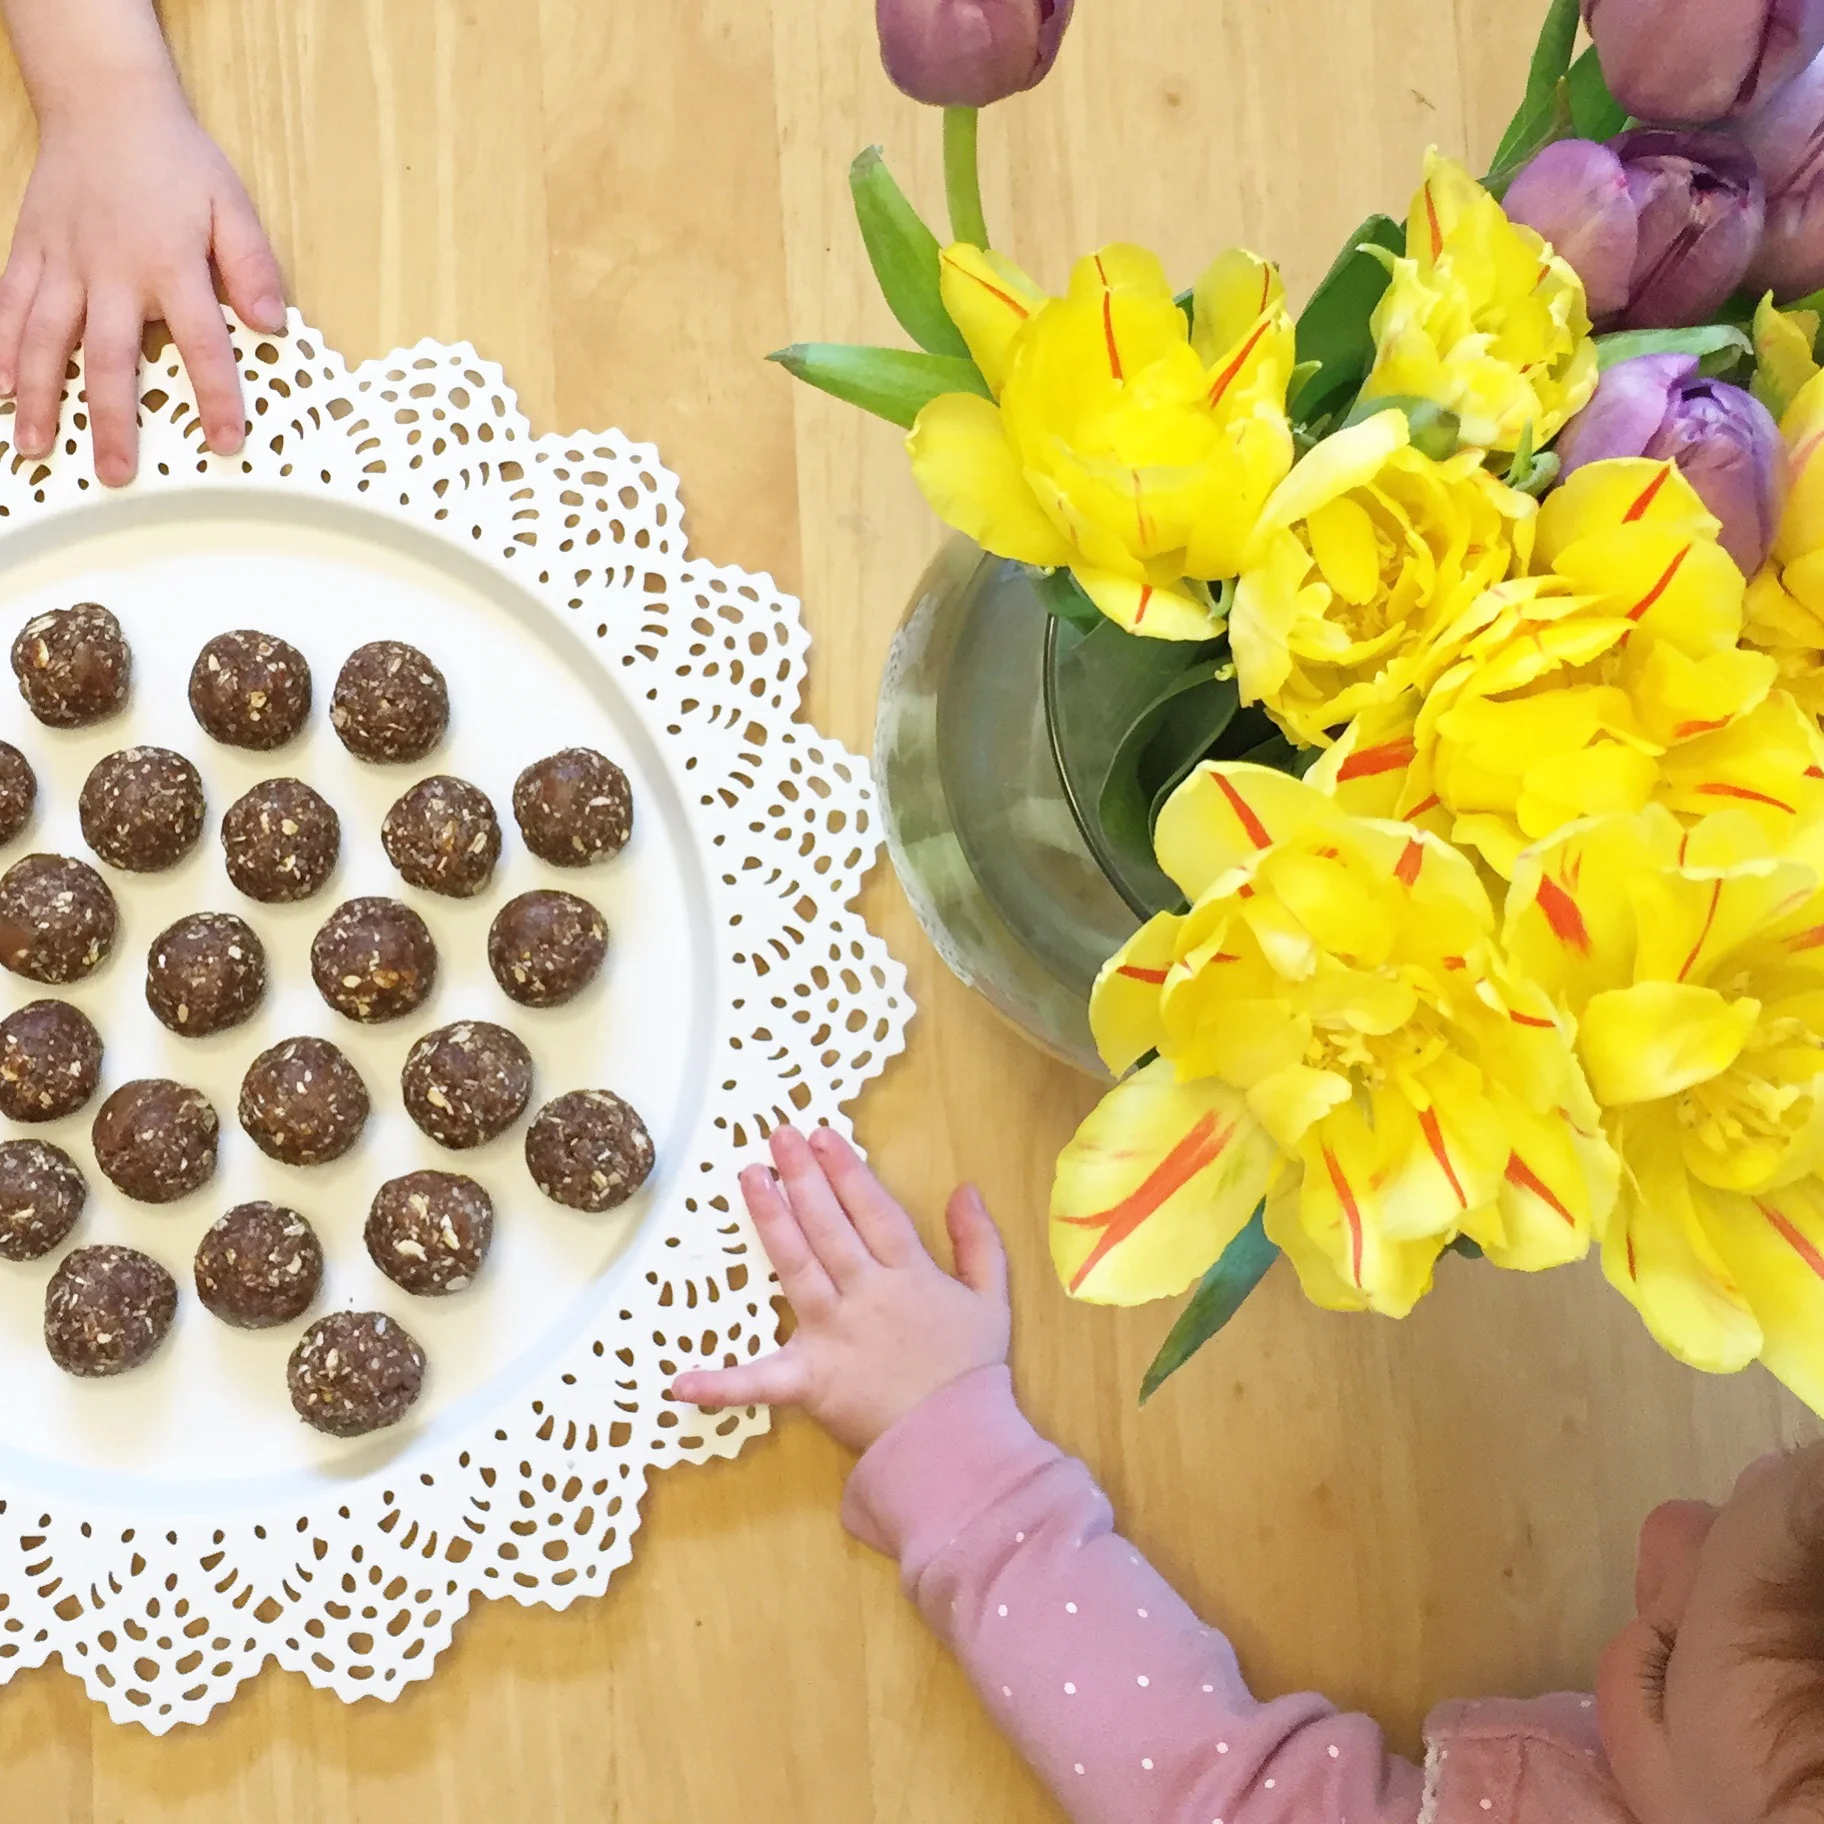
When I tried this recipe for Raw Vegan Energy Balls by Rachel Schwartzman ND a few weeks ago I immediately knew I needed to share it. They're such a simple, healthy & tasty little treat that the whole family will love.

When I tried this recipe for Raw Vegan Energy Balls by Rachel Schwartzman ND a few weeks ago I immediately knew I needed to share it. They're such a simple, healthy & tasty little treat that the whole family will love.
I made a double batch so I could take some to share with my Prenatal Class and decided to substitute all natural peanut better for the tahini, because that's what we had, and I didn't want to make a trip to the store. They were amazing!! Everyone who tried them loved them. Even the kids! (As you can tell by this pic of them grabbing for seconds before I could even take a photo!)
Since then my prenatal class students have been begging me for the recipe, and my kids have been begging me for more. So today I fulfill both of those wishes. Here is Rachel's delicious recipe for everyone to try, and I'm off to make up a quick batch for the kids. A perfect pick me up snack for a grey day like today.
Enjoy!
- Care
*Rachel is a Naturopathic Doctor & Birth Doula with The West End Doulas. If you would like any information about her services feel free to check out her website, send her an email or give her a call at 416.371.3422. You can also follow Rachel on her beautiful Instagram feed.
Super Simple, Healthy & Delicious Treats! (Baby, Toddler, Preschooler & Adult Approved!)
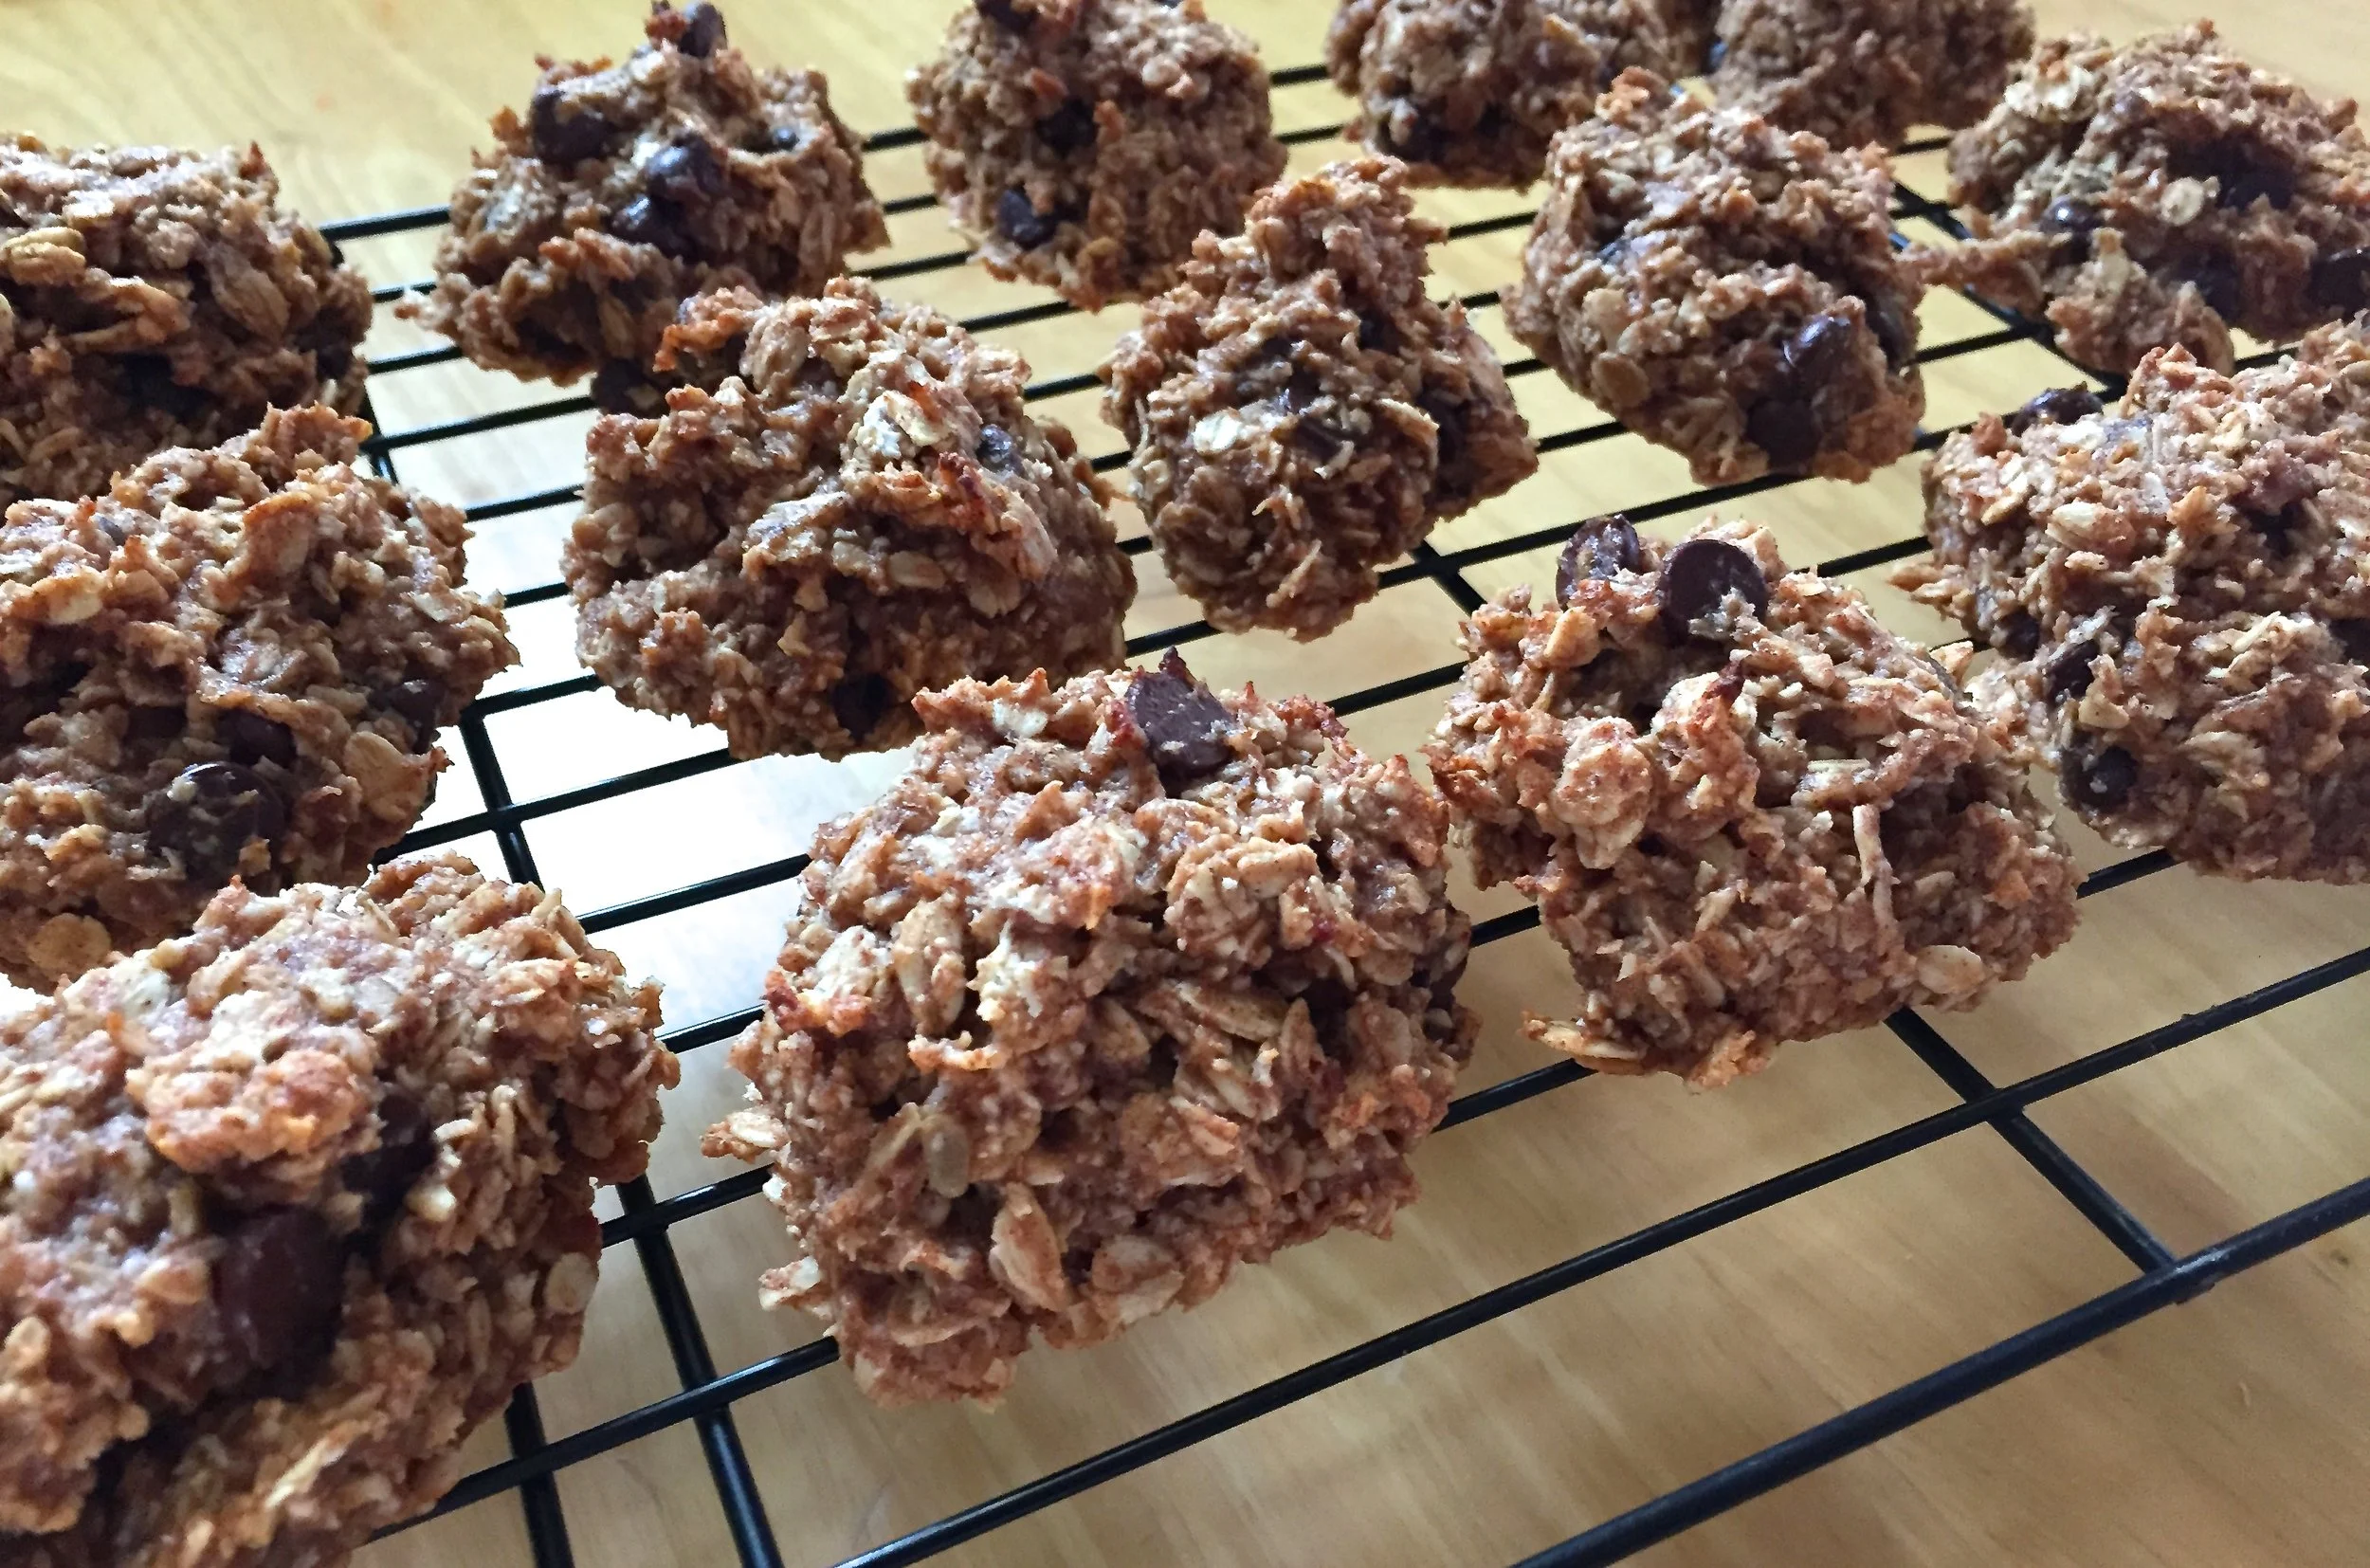
When I find a recipe I love, that's also super simple and healthy, I tend to make it over and over and over again. Well that's exactly what happened with these AMAZING Banana Bread Muffin Tops from Oh She Glows that I was introduced to last week by my good friend Kate (Thanks Kate!). I'm not embarrassed to admit that I have made 5 batches of these in the last week and a half.
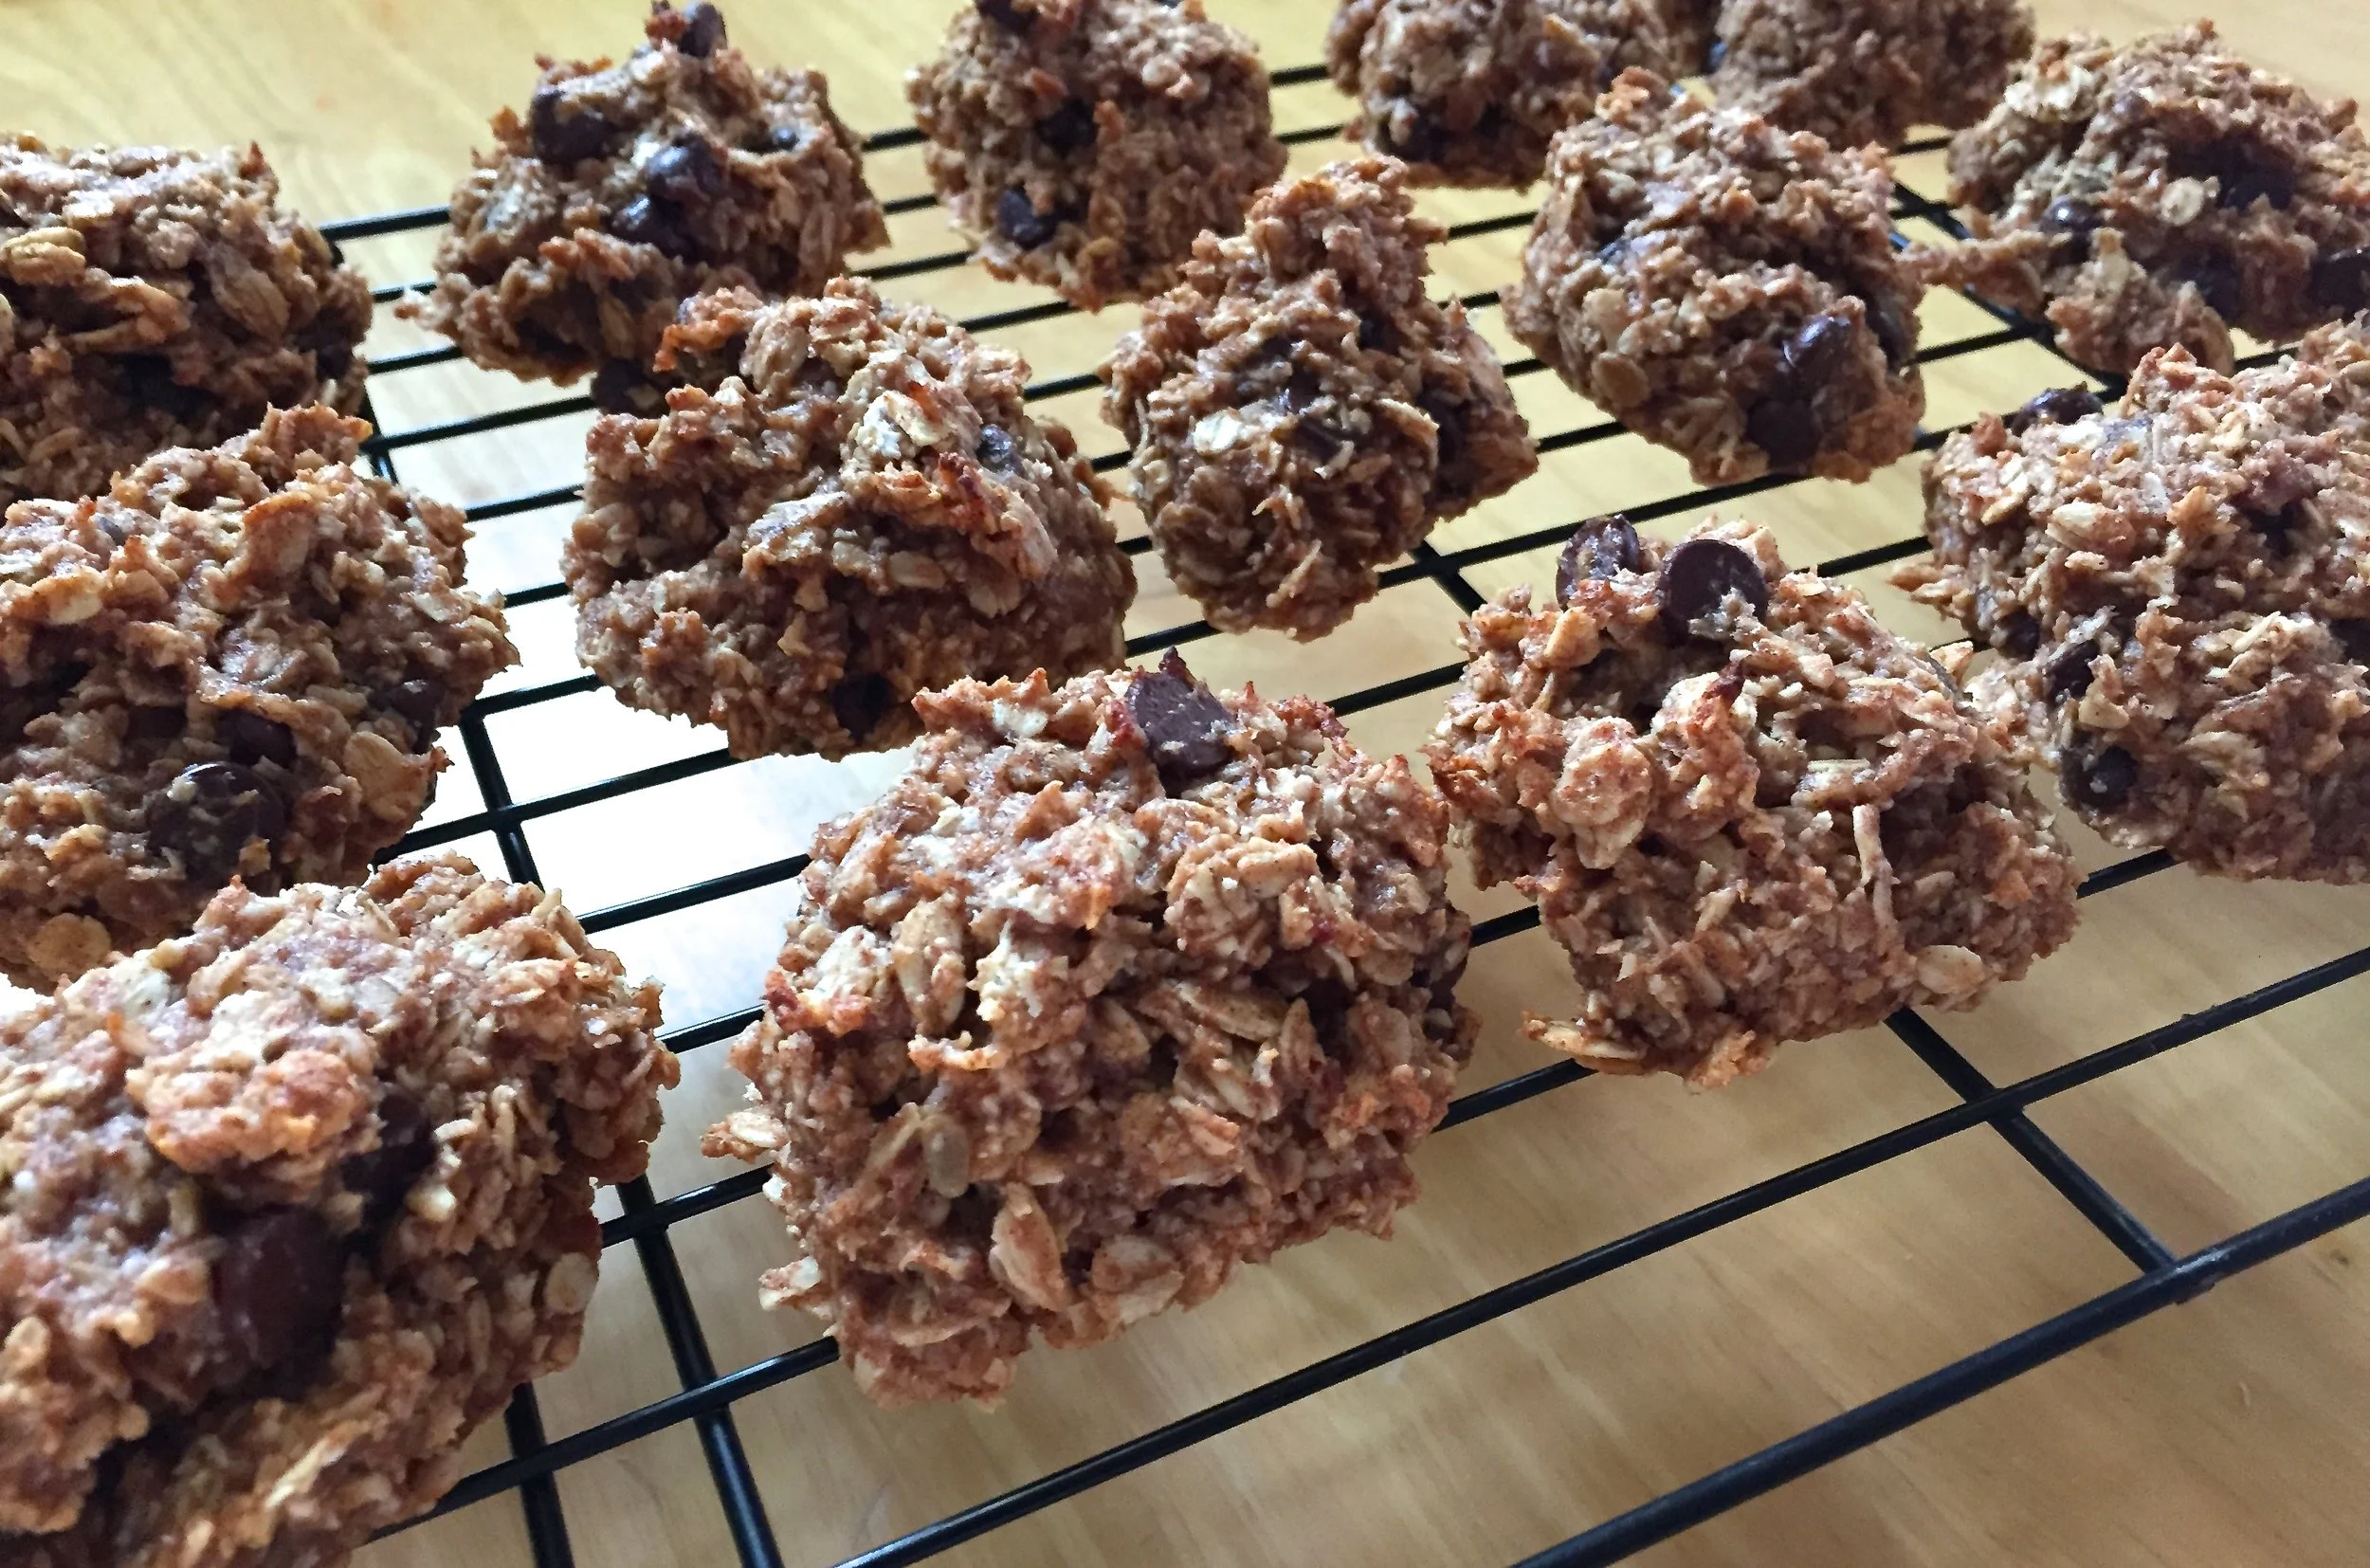
When I find a recipe I love, that's also super simple and healthy, I tend to make it over and over and over again. Well that's exactly what happened with these AMAZING Banana Bread Muffin Tops from Oh She Glows that I was introduced to last week by my good friend Kate (Thanks Kate!). I'm not embarrassed to admit that I have made 5 batches of these in the last week and a half. Everyone who has tried them has loved them. My son even asked for them instead of cake for his birthday this summer. That's definitely a sure sign of yumminess!
The best part about these homemade treats is that they're made out of simple ingredients that many of us have in our pantry and have no refined sugar added! I absolutely love these as a little power packed after school treat (or nap time treat for mommy). Plus they're nut free which is always helpful.
If you haven't checked out Oh She Glows I highly encourage you to do so. The beautiful award winning Canadian food blog is full of delicious healthy recipes and everything I've tried has been amazing!
Hope you and your family love these little treats as much as we do!
Warmly,
Care

The Groaning Cake - Spiced Apple Cake
At this time of year when delicious local apples are in abundance the Groaning cake is the perfect dessert. This spiced apple cake is a traditional "birth" cake, hence the name.
The customs surrounding the history of the Groaning cake are different around the world...
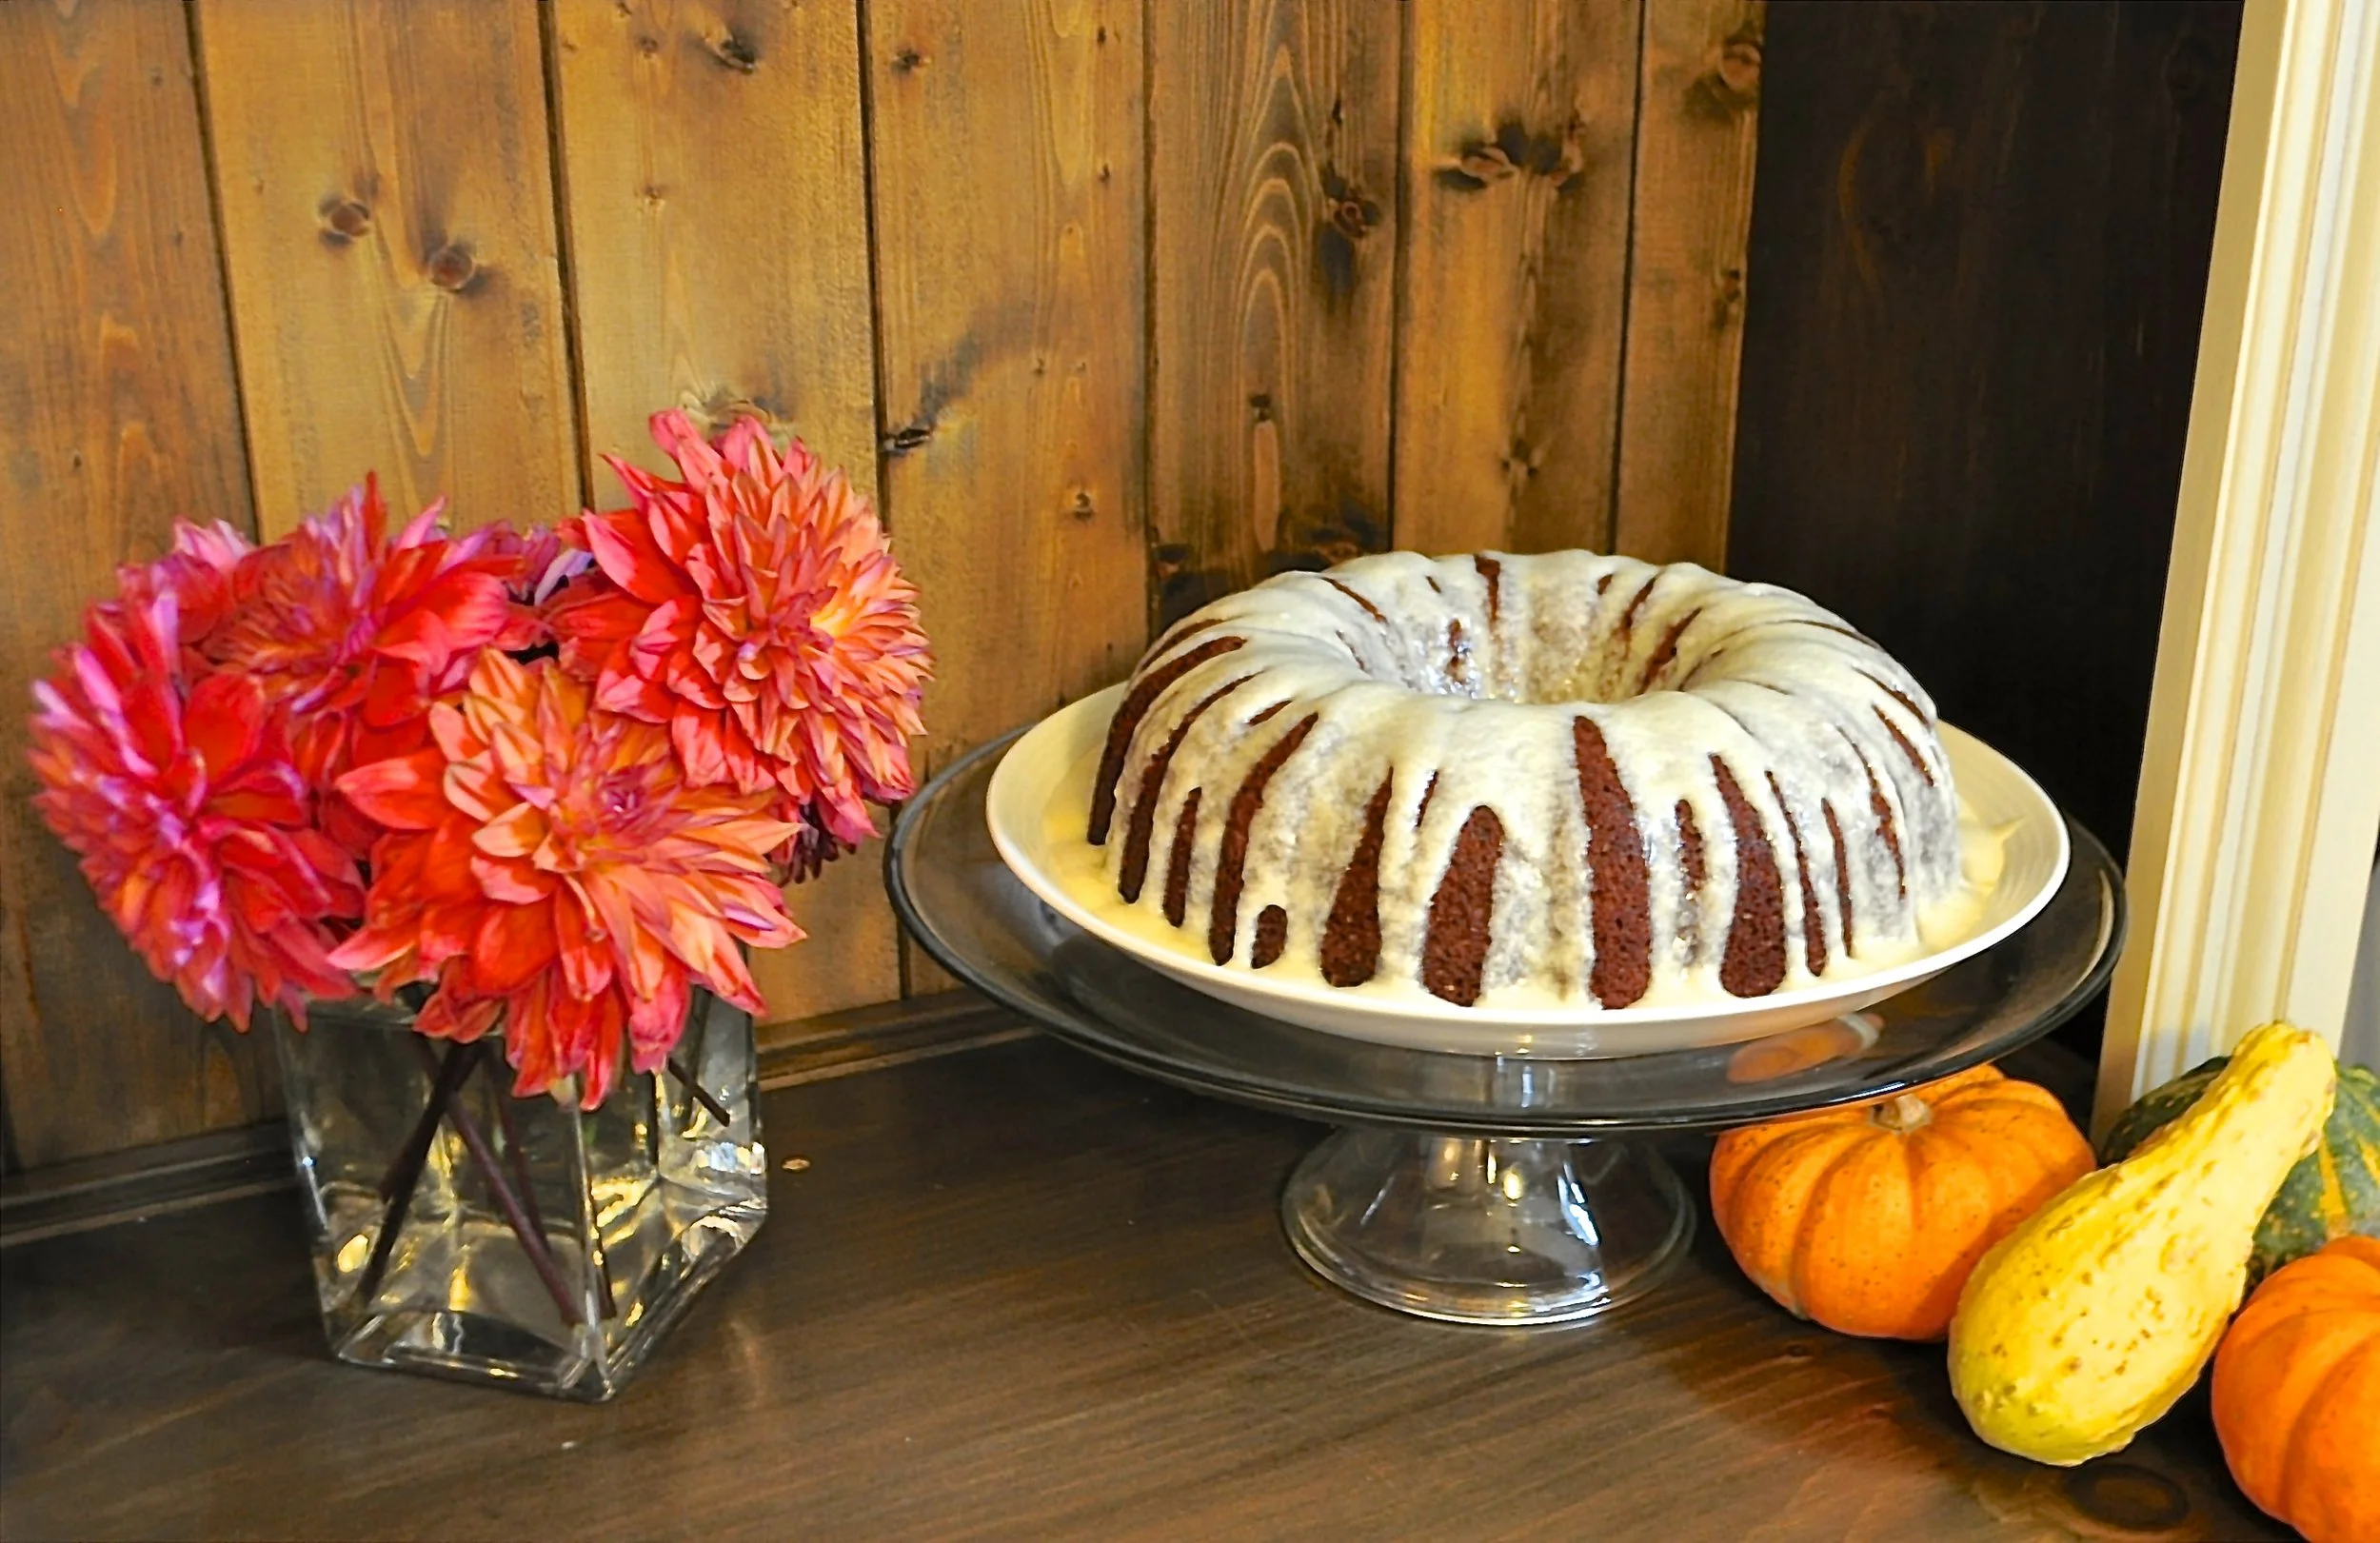
At this time of year when delicious local apples are in abundance the Groaning cake is the perfect dessert. This spiced apple cake is a traditional "birth" cake, hence the name.
The customs surrounding the history of the Groaning cake are different around the world. In some cultures the Groaning cake was baked by women in early labour to pass the time. In other areas the cake was made by friends and family and brought to the woman as a gift. Either way the cake is intended to provide the postpartum mother with a delicious treat that has some good sources of energy, healthy fats, iron, fibre & immune boosters.
The combination of honey, coconut oil, molasses, whole grains, fruit & spices is really incredible. You can leave the cake bare (more like a loaf) or you can add a simple vanilla glaze, cream cheese frosting, or dust with powdered sugar. As an avid hater of cream cheese frosting, I refuse to ruin this beautiful cake with it, but others assure me it's a great combo. My husband is a cream cheese frosting lover and says I ruin it for everyone. Good thing I'm the baker in the house ;)
I make this cake for the final class in my 4-week prenatal class series as a little graduation treat and the parents always love it. If you've got some apples laying around give this one a try. I'm sure you won't be disappointed. Also a great gift for a new family in their early days postpartum.
Enjoy!
- Carolyn
The Groaning Cake
Ingredients
- 2 1/2 cups whole wheat or spelt flour
- 2 tsp. baking powder
- 1 tsp. baking soda
- 2 tsp. cinnamon
- 1/2 tsp. ground cloves
- 1 1/2 cups peeled grated apple
- 3 eggs
- 1/2 cup coconut oil
- 1/2 cup orange juice
- 1 tsp. grated orange zest
- 1/4 cup black strap molasses
- 1 cup honey or alternative sweetener
- 1 tsp. pure vanilla extract
- 1/4 cup dried fruit or chopped nuts optional
- Cream cheese or vanilla icing optional or dust with powdered sugar
Instructions
- Heat oven to 350 with rack in middle of oven
- Lightly grease pan (bundt pan, two 9x5 loaf pans or two standard size muffin pans)
- Combine the flour, baking powder, baking soda, cinnamon & ground cloves in a large bowl. Stir in grated apple (and any dried fruit or nuts) and set aside.
- In a separate bowl lightly beat the eggs & add oil, orange juice, orange zest, molasses, honey & vanilla.
- Pour wet ingredients into dry ingredients & mix well.
- Scrape into prepared pan & bake until toothpick inserted in the center comes out clean ~20-25 mins for muffins, ~30-40 mins for loaves & ~40-50 mins for bundt cake.
- Cool in pan for 10-15 mins, then invert onto wire rack & cool completely before storing in an airtight container for up to 3 days or freeze to enjoy later.