

Family Friendly Homemade Meatballs - Perfect Iron Rich Recipe for Starting Solids
Meatballs are a great option for a healthy family dinner and a perfect way to start incorporating iron rich meats into your baby's diet. They can be paired with a whole grain pasta, tomato sauce and veggies, or some roasted or steamed veggies for a quick dinner. I usually make a double batch with fresh ground beef, and freeze a bunch for future evenings when we need a fast healthy meal.
Meatballs are a great option for a healthy family dinner and a perfect way to start incorporating iron rich meats into your baby's diet. They can be paired with a whole grain pasta, tomato sauce and veggies, or some roasted or steamed veggies for a quick dinner. I usually make a double batch with fresh ground beef, and freeze a bunch for future evenings when we need a fast healthy meal.
Meatballs are great because they can be made out of a variety of types of ground meats, plus you can add finely chopped herbs and greens without most kids being bothered by them. The one thing my kids always complained about was the diced onion, so I recently started grating the onion and it has worked wonders. They never know it's in there, but the meatballs still get the onion flavour and moisture. #momwin

Family Friendly Meatball Recipe
Prep Time: 10 mins Cooktime: 17-20 mins Makes about 20 meatballs
INGREDIENTS:
1 lb lean ground beef (or alternative ground meat)
1 whole egg (or flax egg)
1/2 cup whole grain bread crumbs soaked in 3 tbs milk (I make them with the end of a loaf of bread in the vitamix)
1-2 garlic cloves mashed (depending on preference)
1/4 cup onion grated (small onion or ~1/3 large red onion)
2 Tbsp finely chopped fresh oregano
2 Tbsp finely chopped fresh parsley
2 Tbsp finely chopped fresh basil
handful of spinach finely chopped *optional
salt & pepper to taste
2 drops of tabasco sauce *optional
INSTRUCTIONS:
Preheat Oven to 400°F
Place all ingredients in a large mixing bowl and mix by hand until combined. Do not overwork meat.
Scoop out 1 generous Tbsp at a time and roll into meatballs (you can always change the shape or size of these meatballs to suit your needs, just remember to adjust the baking time accordingly)
*If your ground beef is fresh you can freeze raw meatballs for future use
Bake meatballs on a rack over a baking pan for 17-20 mins. Turn once while baking.
Remove from oven and serve immediately, or allow to cool and refrigerate or freeze
I absolutely love paring these iron rich meatballs with homemade vitamin C rich tomato sauce. I'll be sure to share my favourite sauce recipe soon.
Don't hesitate to ask any questions below. Hope your family enjoys these as much as ours does.
Care

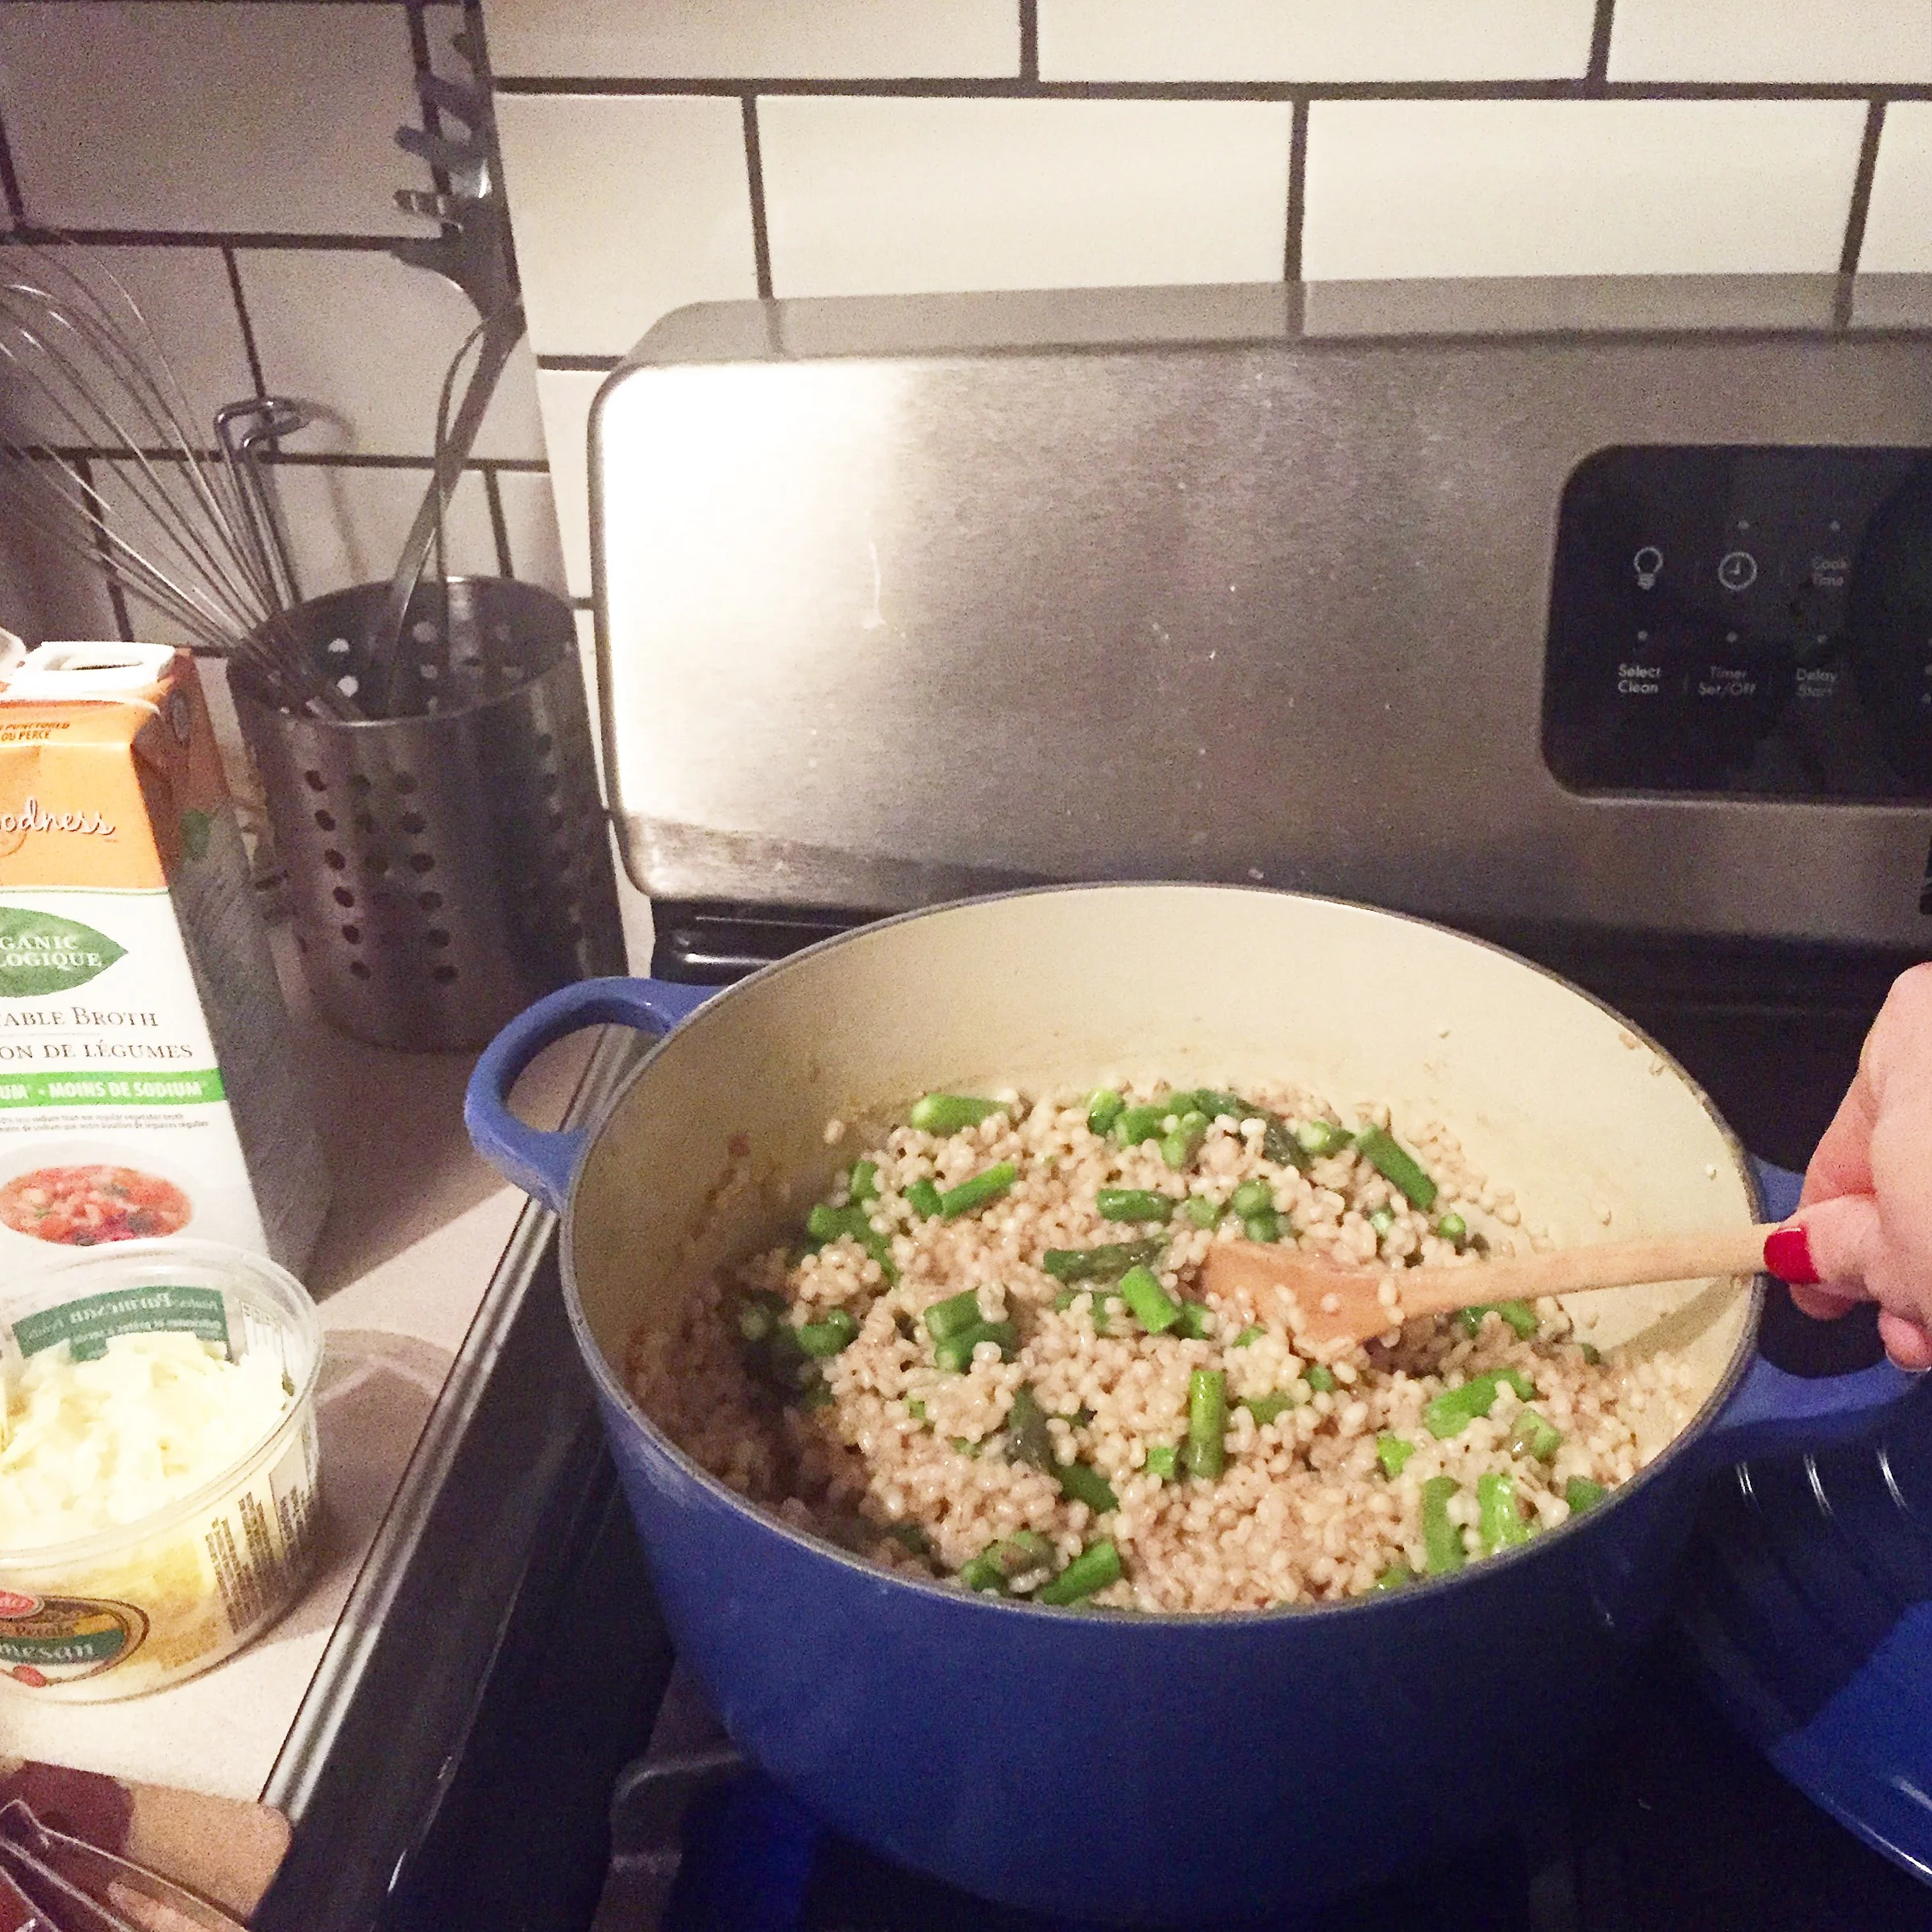
Parmesan Asparagus Barley Risotto
With winter weather making its appearance this week, it seems like the perfect time for some cozy and hearty meals. Here is one of our all time favourites, a delicious Parmesan Asparagus Barley Risotto. A great alternative to rice risottos and a little more forgiving when cooking. Hope you enjoy it as much as we do.
With winter weather making its appearance this week, it seems like the perfect time for some cozy and hearty meals. Here is one of our all time favourites, a delicious Parmesan Asparagus Barley Risotto. A great alternative to rice risottos and a little more forgiving when cooking. Hope you enjoy it as much as we do.
Ingredients
- 2 Tbsp olive oil
- 1 large onion, finely chopped
- 1 large clove garlic, finely chopped or crushed
- 1 ½ cups pearl barley
- 1 cup white wine
- 4 cups vegetable broth
- 1 bunch asparagus
- salt & pepper to taste
- ½ -1 cup grated parmesan
Instructions
- Heat oil in a large pot over medium heat and sauté onion until soft, about 5 minutes. Add garlic and cook 1 minute more.
- Add barley and cook stirring frequently for 2 minutes. Add wine and cook until absorbed. Add ½ cup broth at a time while stirring frequently and allow barley to absorb broth well before adding more.
- Add asparagus with last ½ cup broth and cook until liquid is absorbed. Remove from heat, add parmesan and season with salt and pepper to taste. Serve with fresh parmesan topping.
- Great for leftovers : )
- Care

Rhubarb! What to do with it? Make something delicious! Strawberry Rhubarb Cobbler
Rhubarb! It's everywhere these days. Filling local farmer's market tables & in full bloom in many neighbourhood gardens. If you're lucky enough to have Rhubarb in your yard, you better use it! Or at least give it away to the Grandma on your block...
Rhubarb! It's everywhere these days. Filling local farmer's market tables & in full bloom in many neighbourhood gardens. If you're lucky enough to have Rhubarb in your yard, you better use it! Or at least give it away to the Grandma on your block. I hate when food goes to waste and Grandmas always know what to do with random ingredients. Something about wartime era scarcity I think, but I digress. Back to Rhubarb!
When we moved into our 1st home in Bloor West Village last summer we found an abundance of Rhubarb. It hadn't been cared for and was in pretty rough shape. Since Rhubarb is a perennial vegetable I knew I would have a chance to bring it back to it's full glory the following year, and that's exactly what I've done.
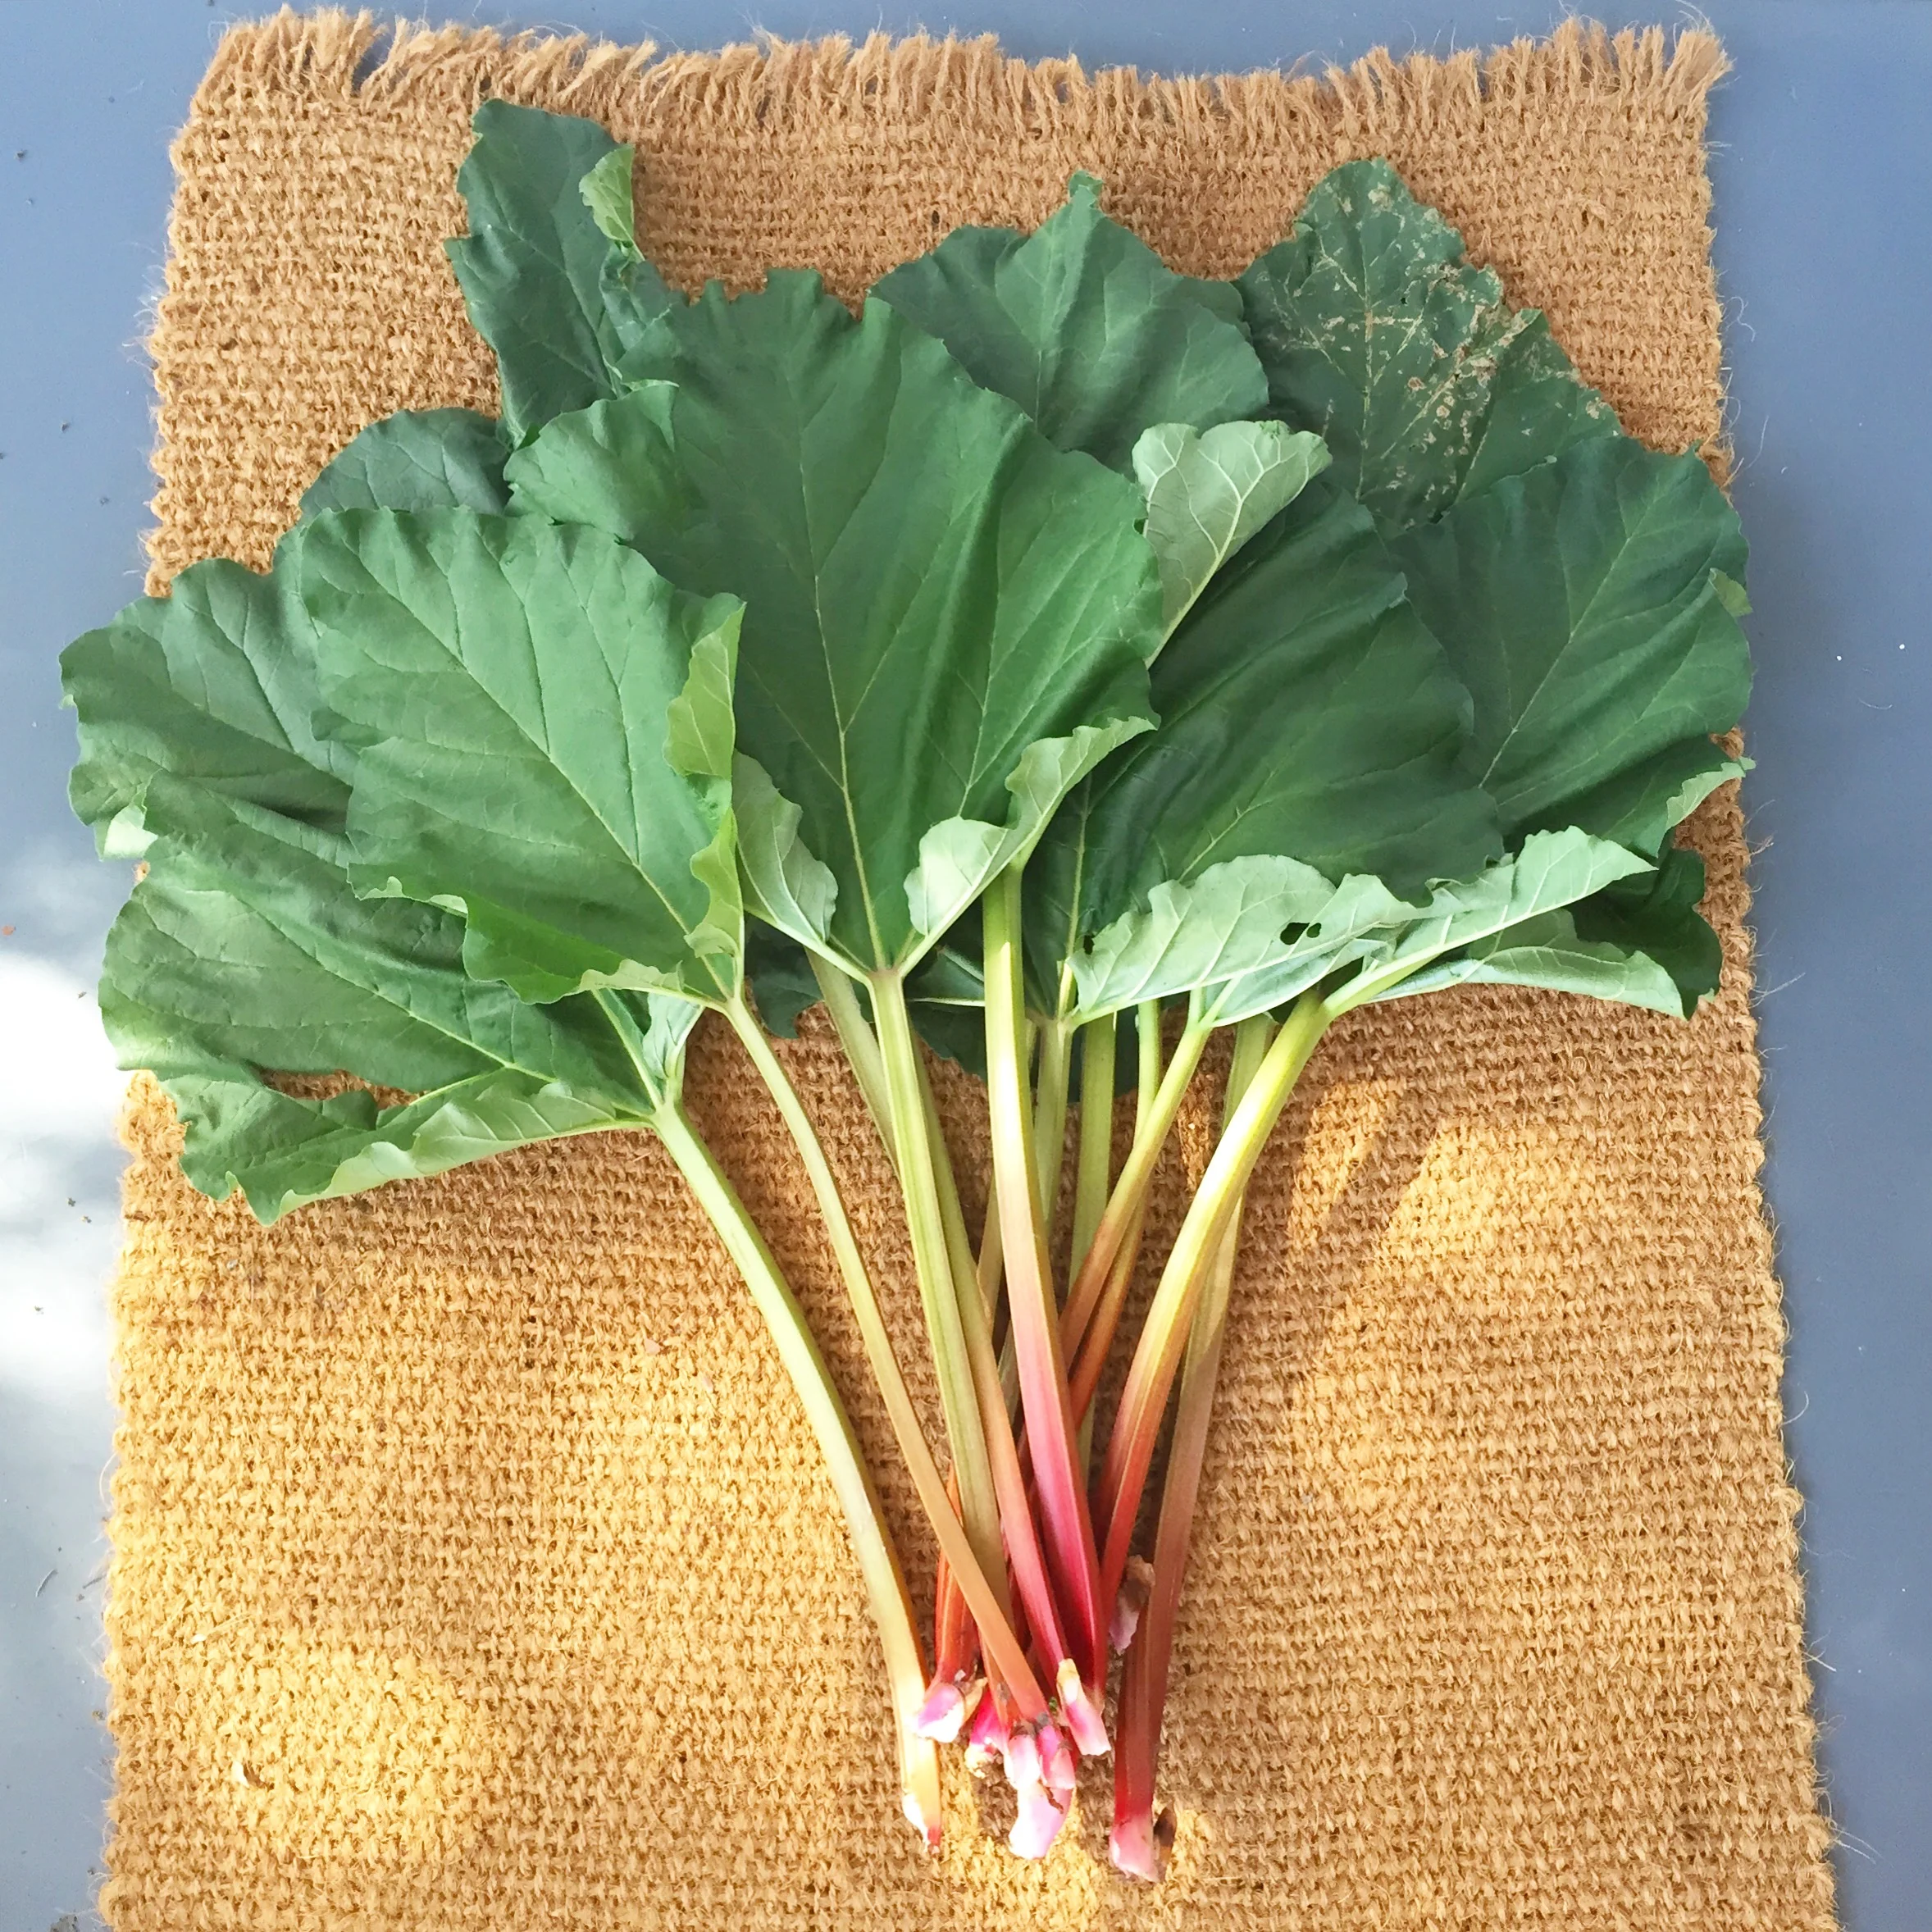
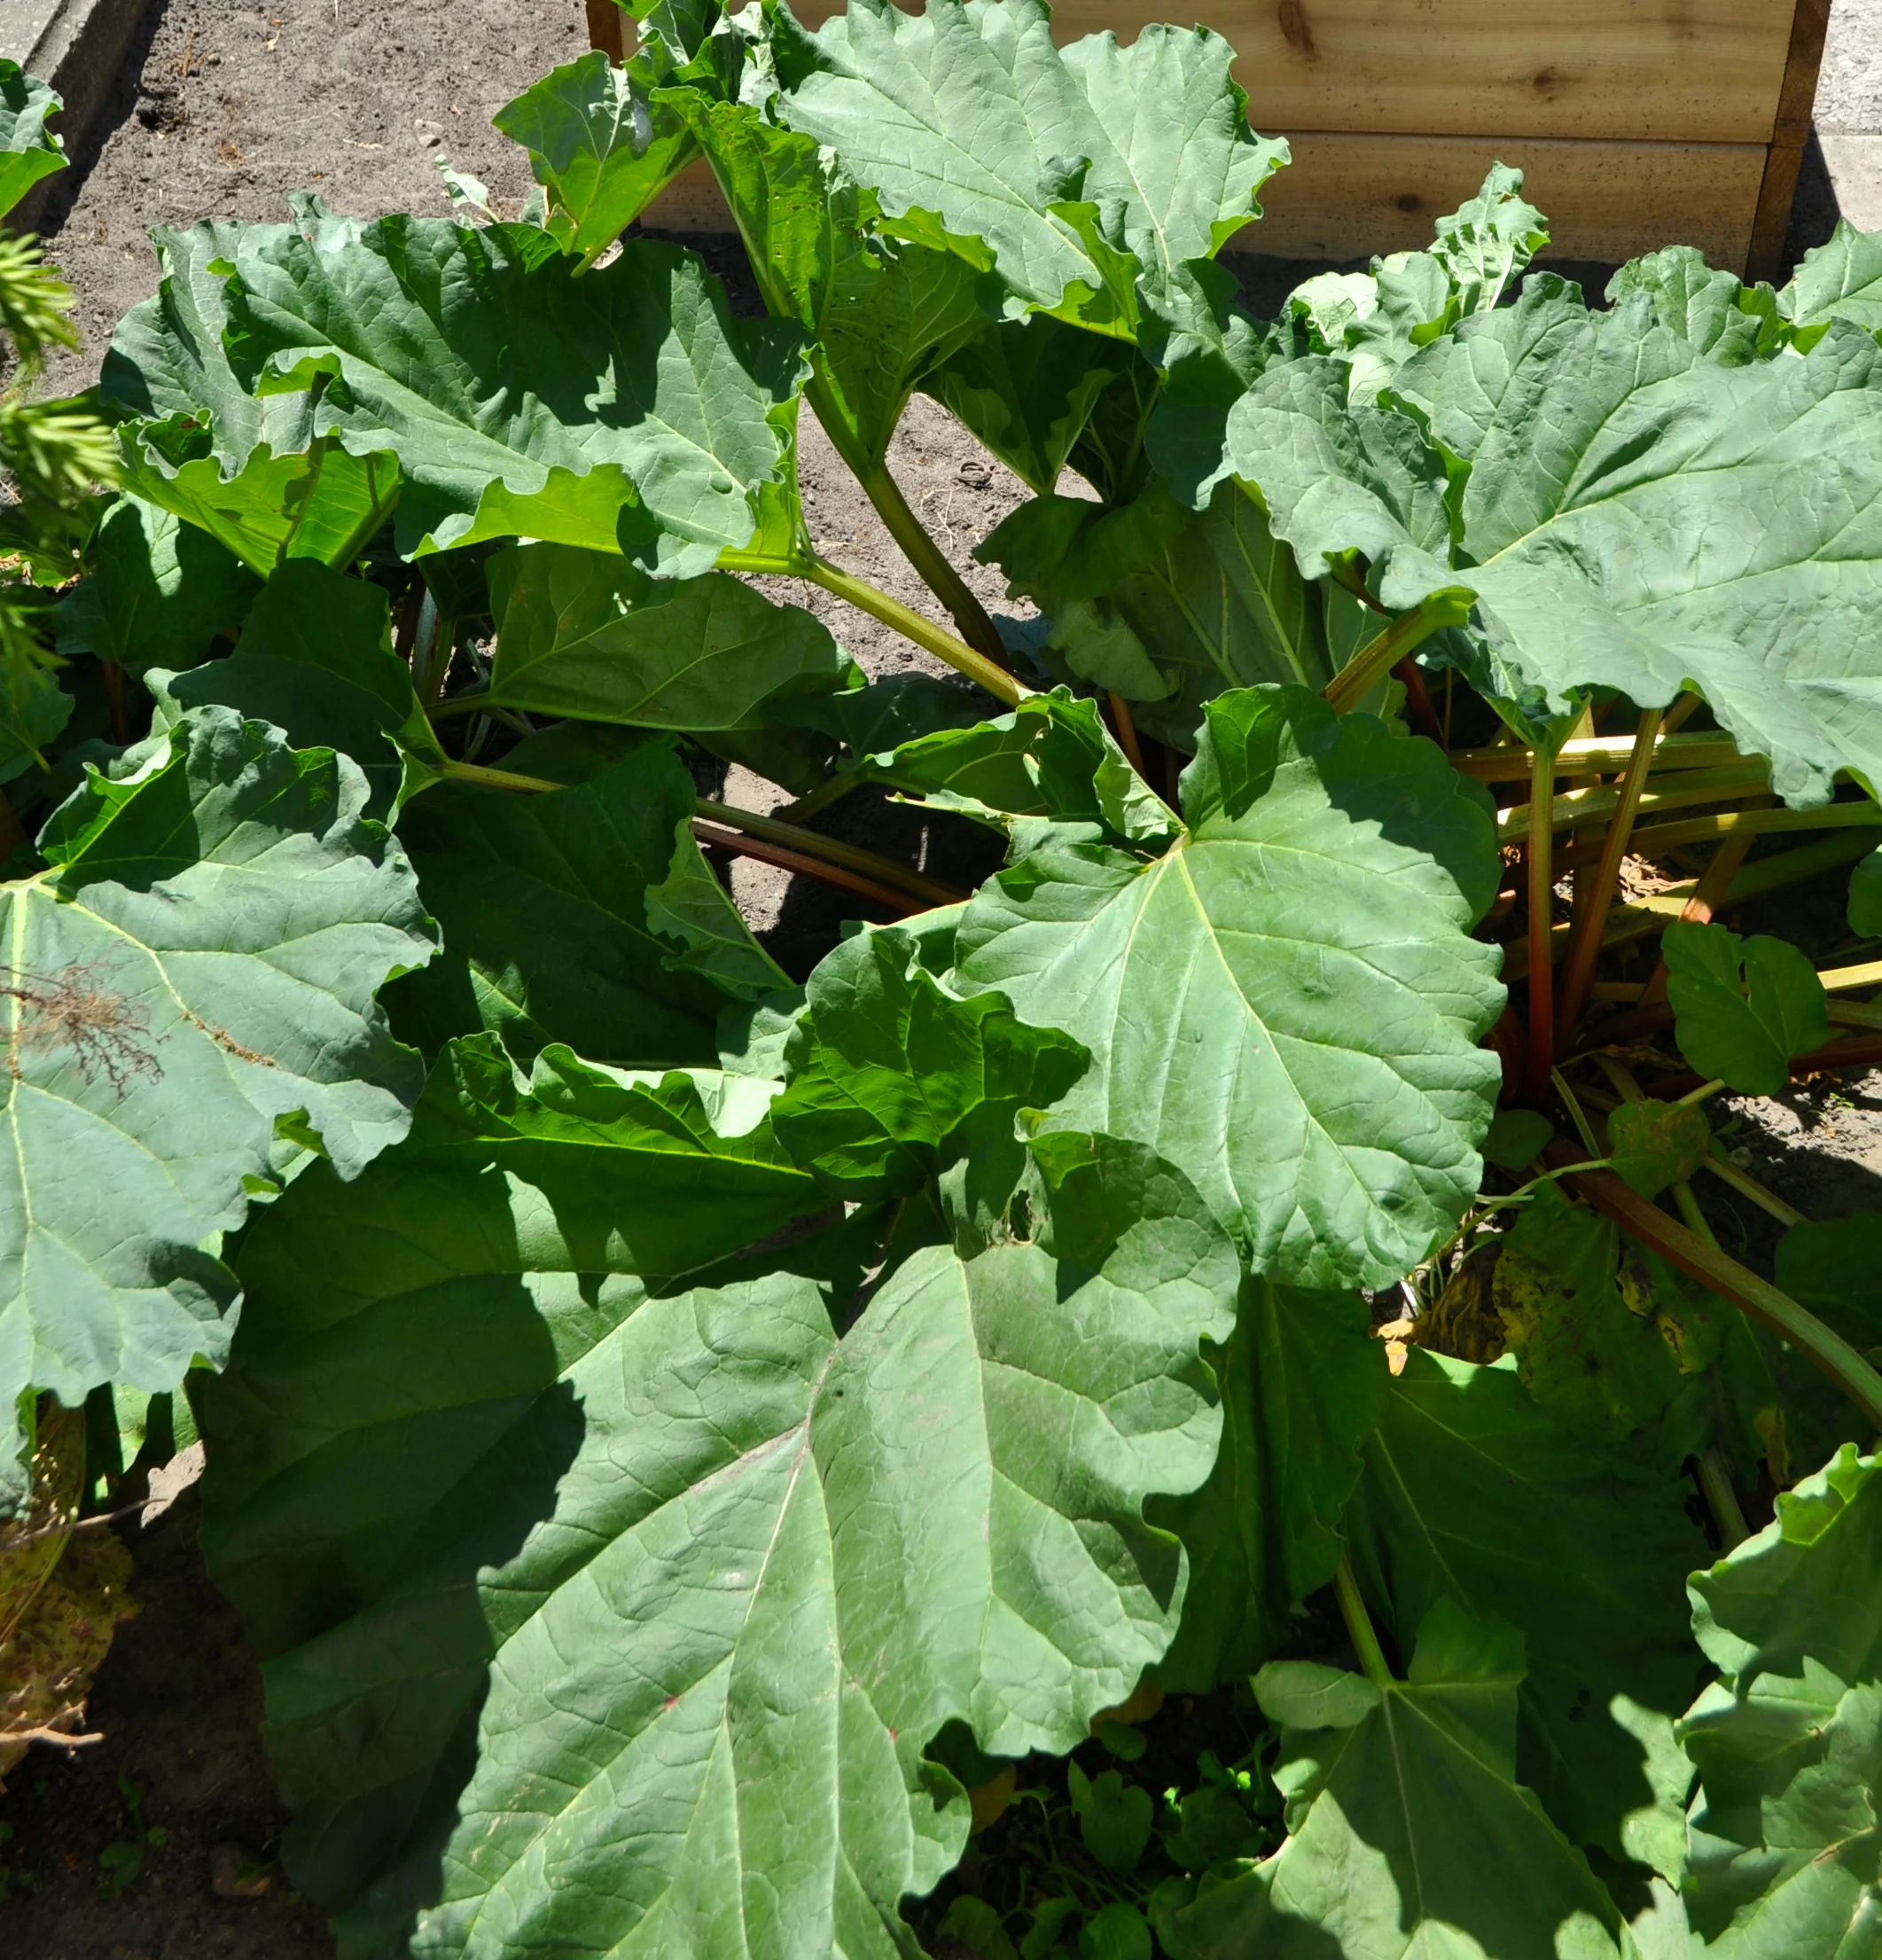
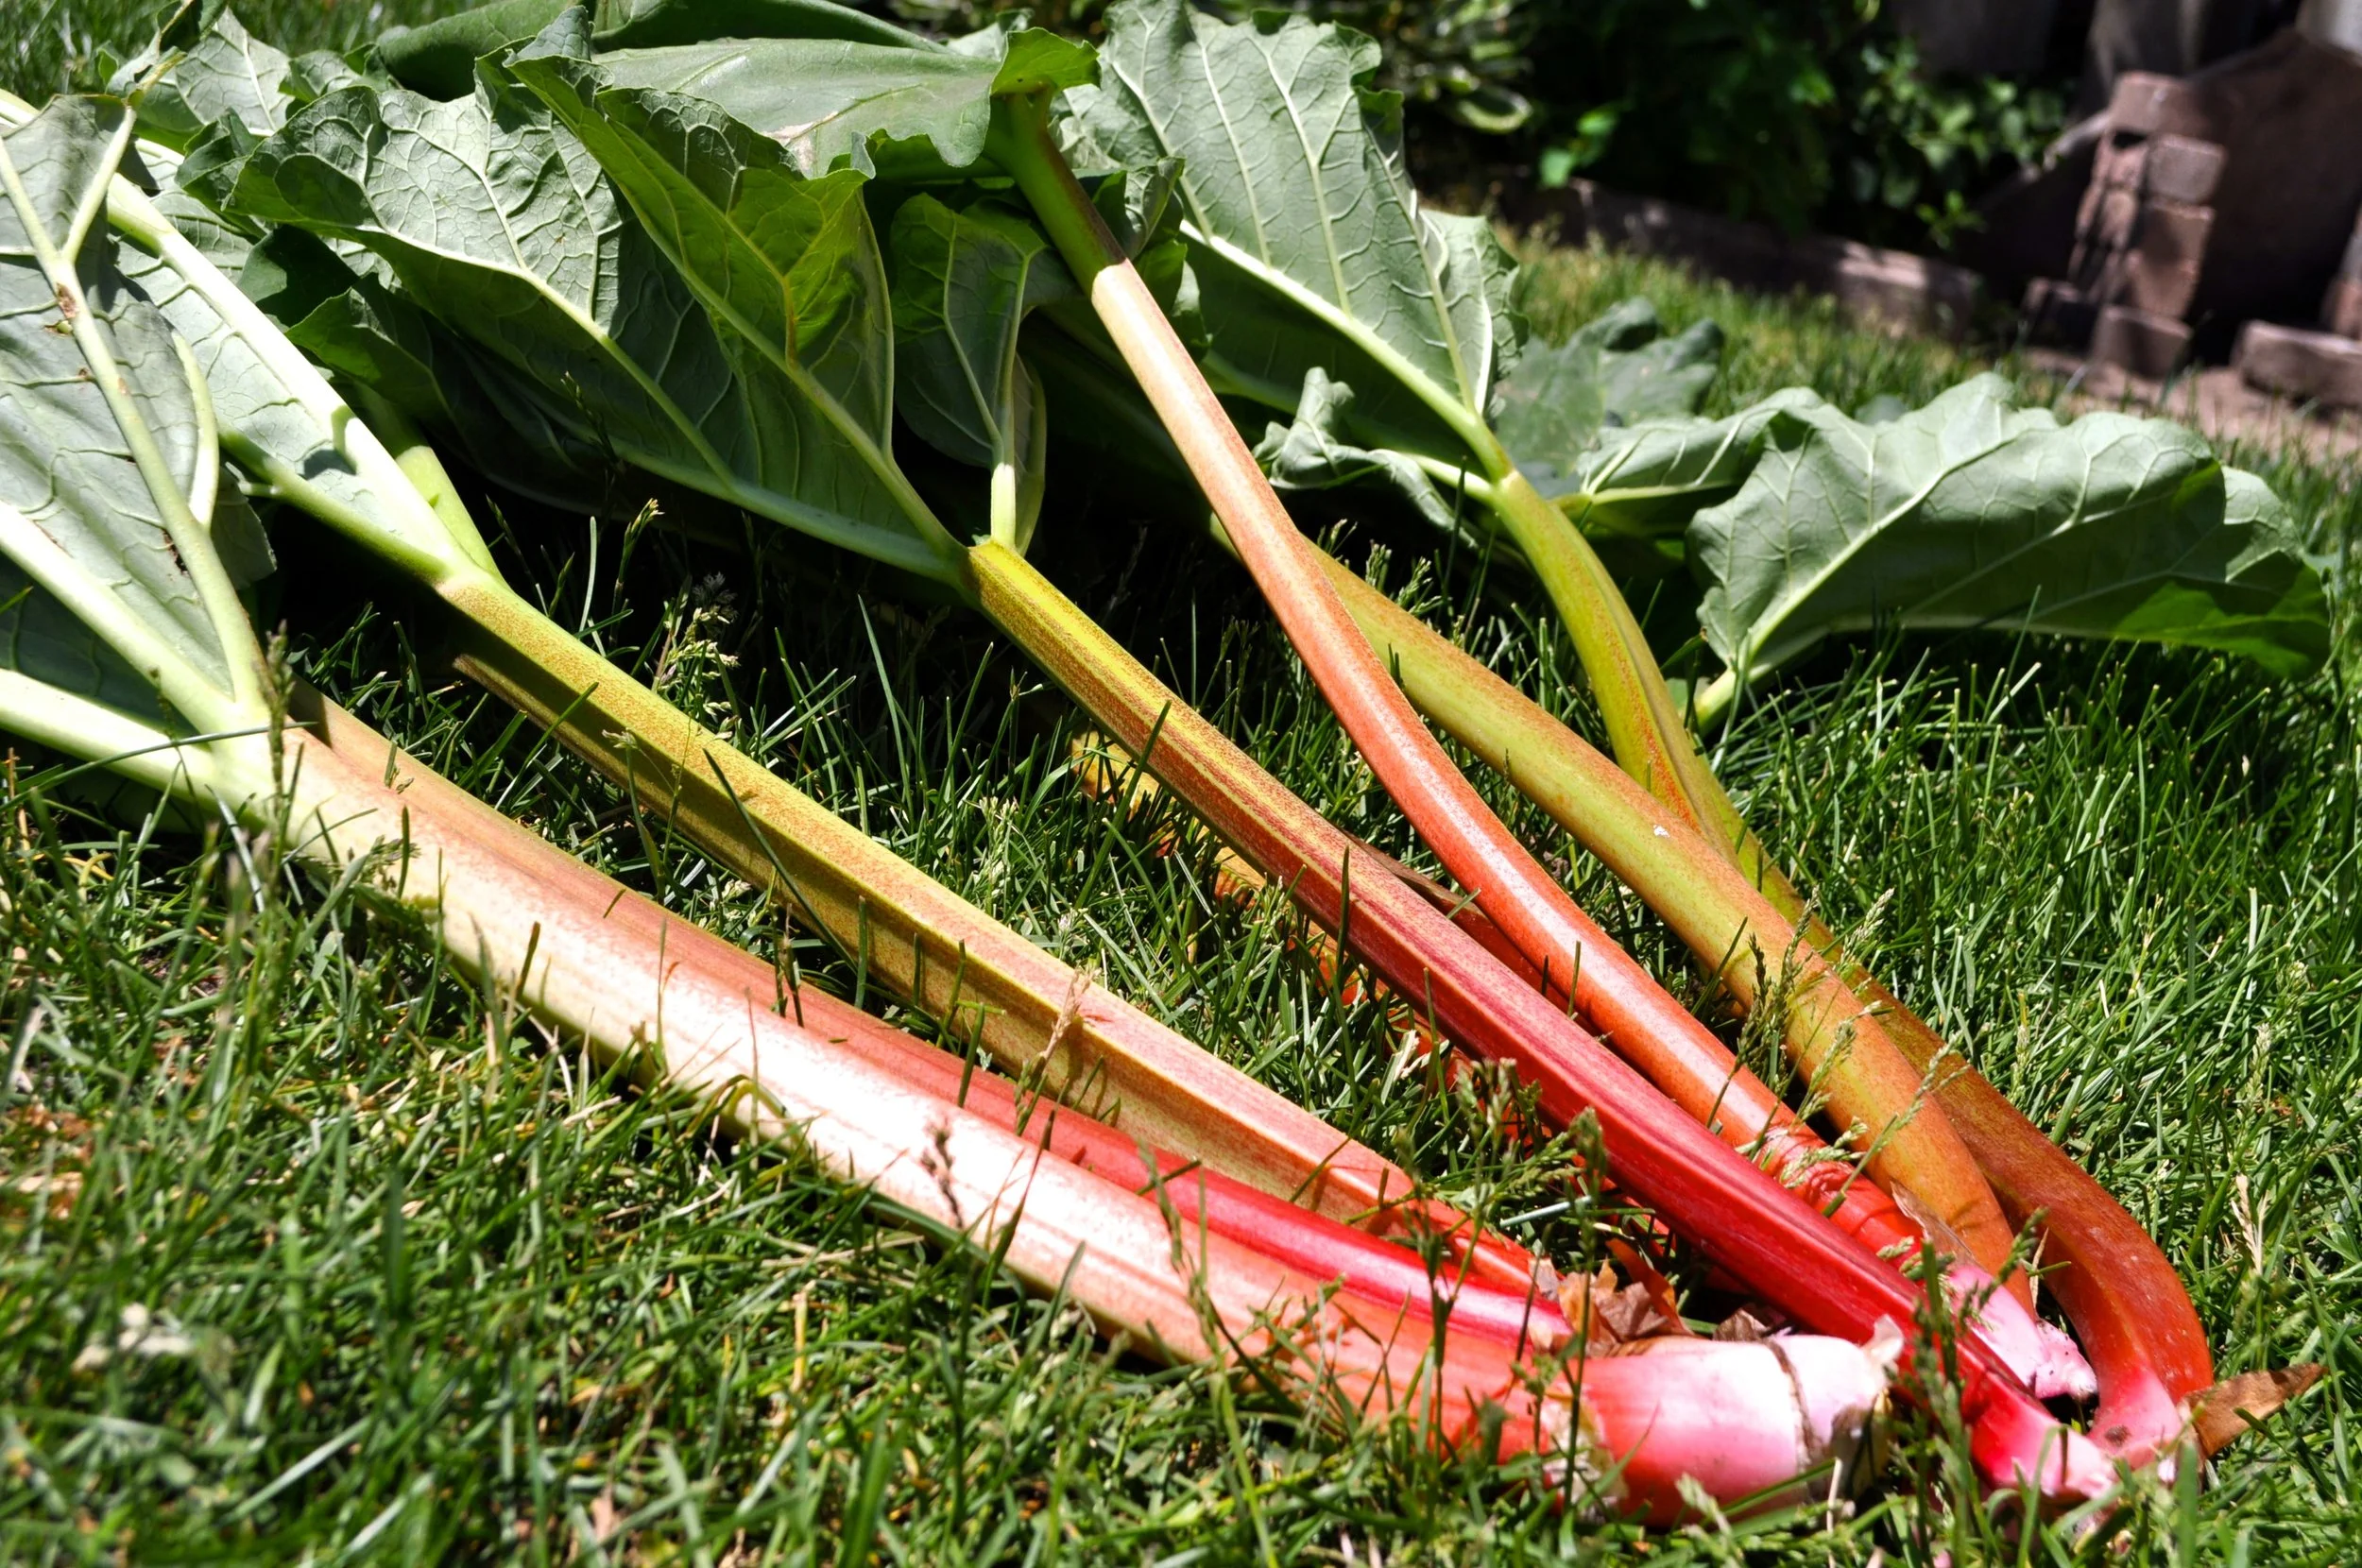
When it started appearing in early spring we watched with anticipation. I read all about how to tend to Rhubarb (more info here) and was super excited when it was ready to harvest. In our zone Rhubarb can usually be harvested starting in June and continues producing until mid to late sumer depending on the season. It's ideal to harvest when stalks are 12" - 18" long and 1/2" -1" thick. The colour can range from celery green to deep red and does not determine ripeness, which I thought was interesting.
To harvest, grab the stalk at the base and twist while pulling. This will break off the stalk at the root. Don't forget to cut off and dispose of the leaves outside in your yard waste bag. They are poisonous and should never be ingested. That's why rhubarb stalks are sold without leaves at markets and in grocery stores.

Harvesting your Rhubarb will encourage continued growth. If not harvested, stalks will become weak & rot :(
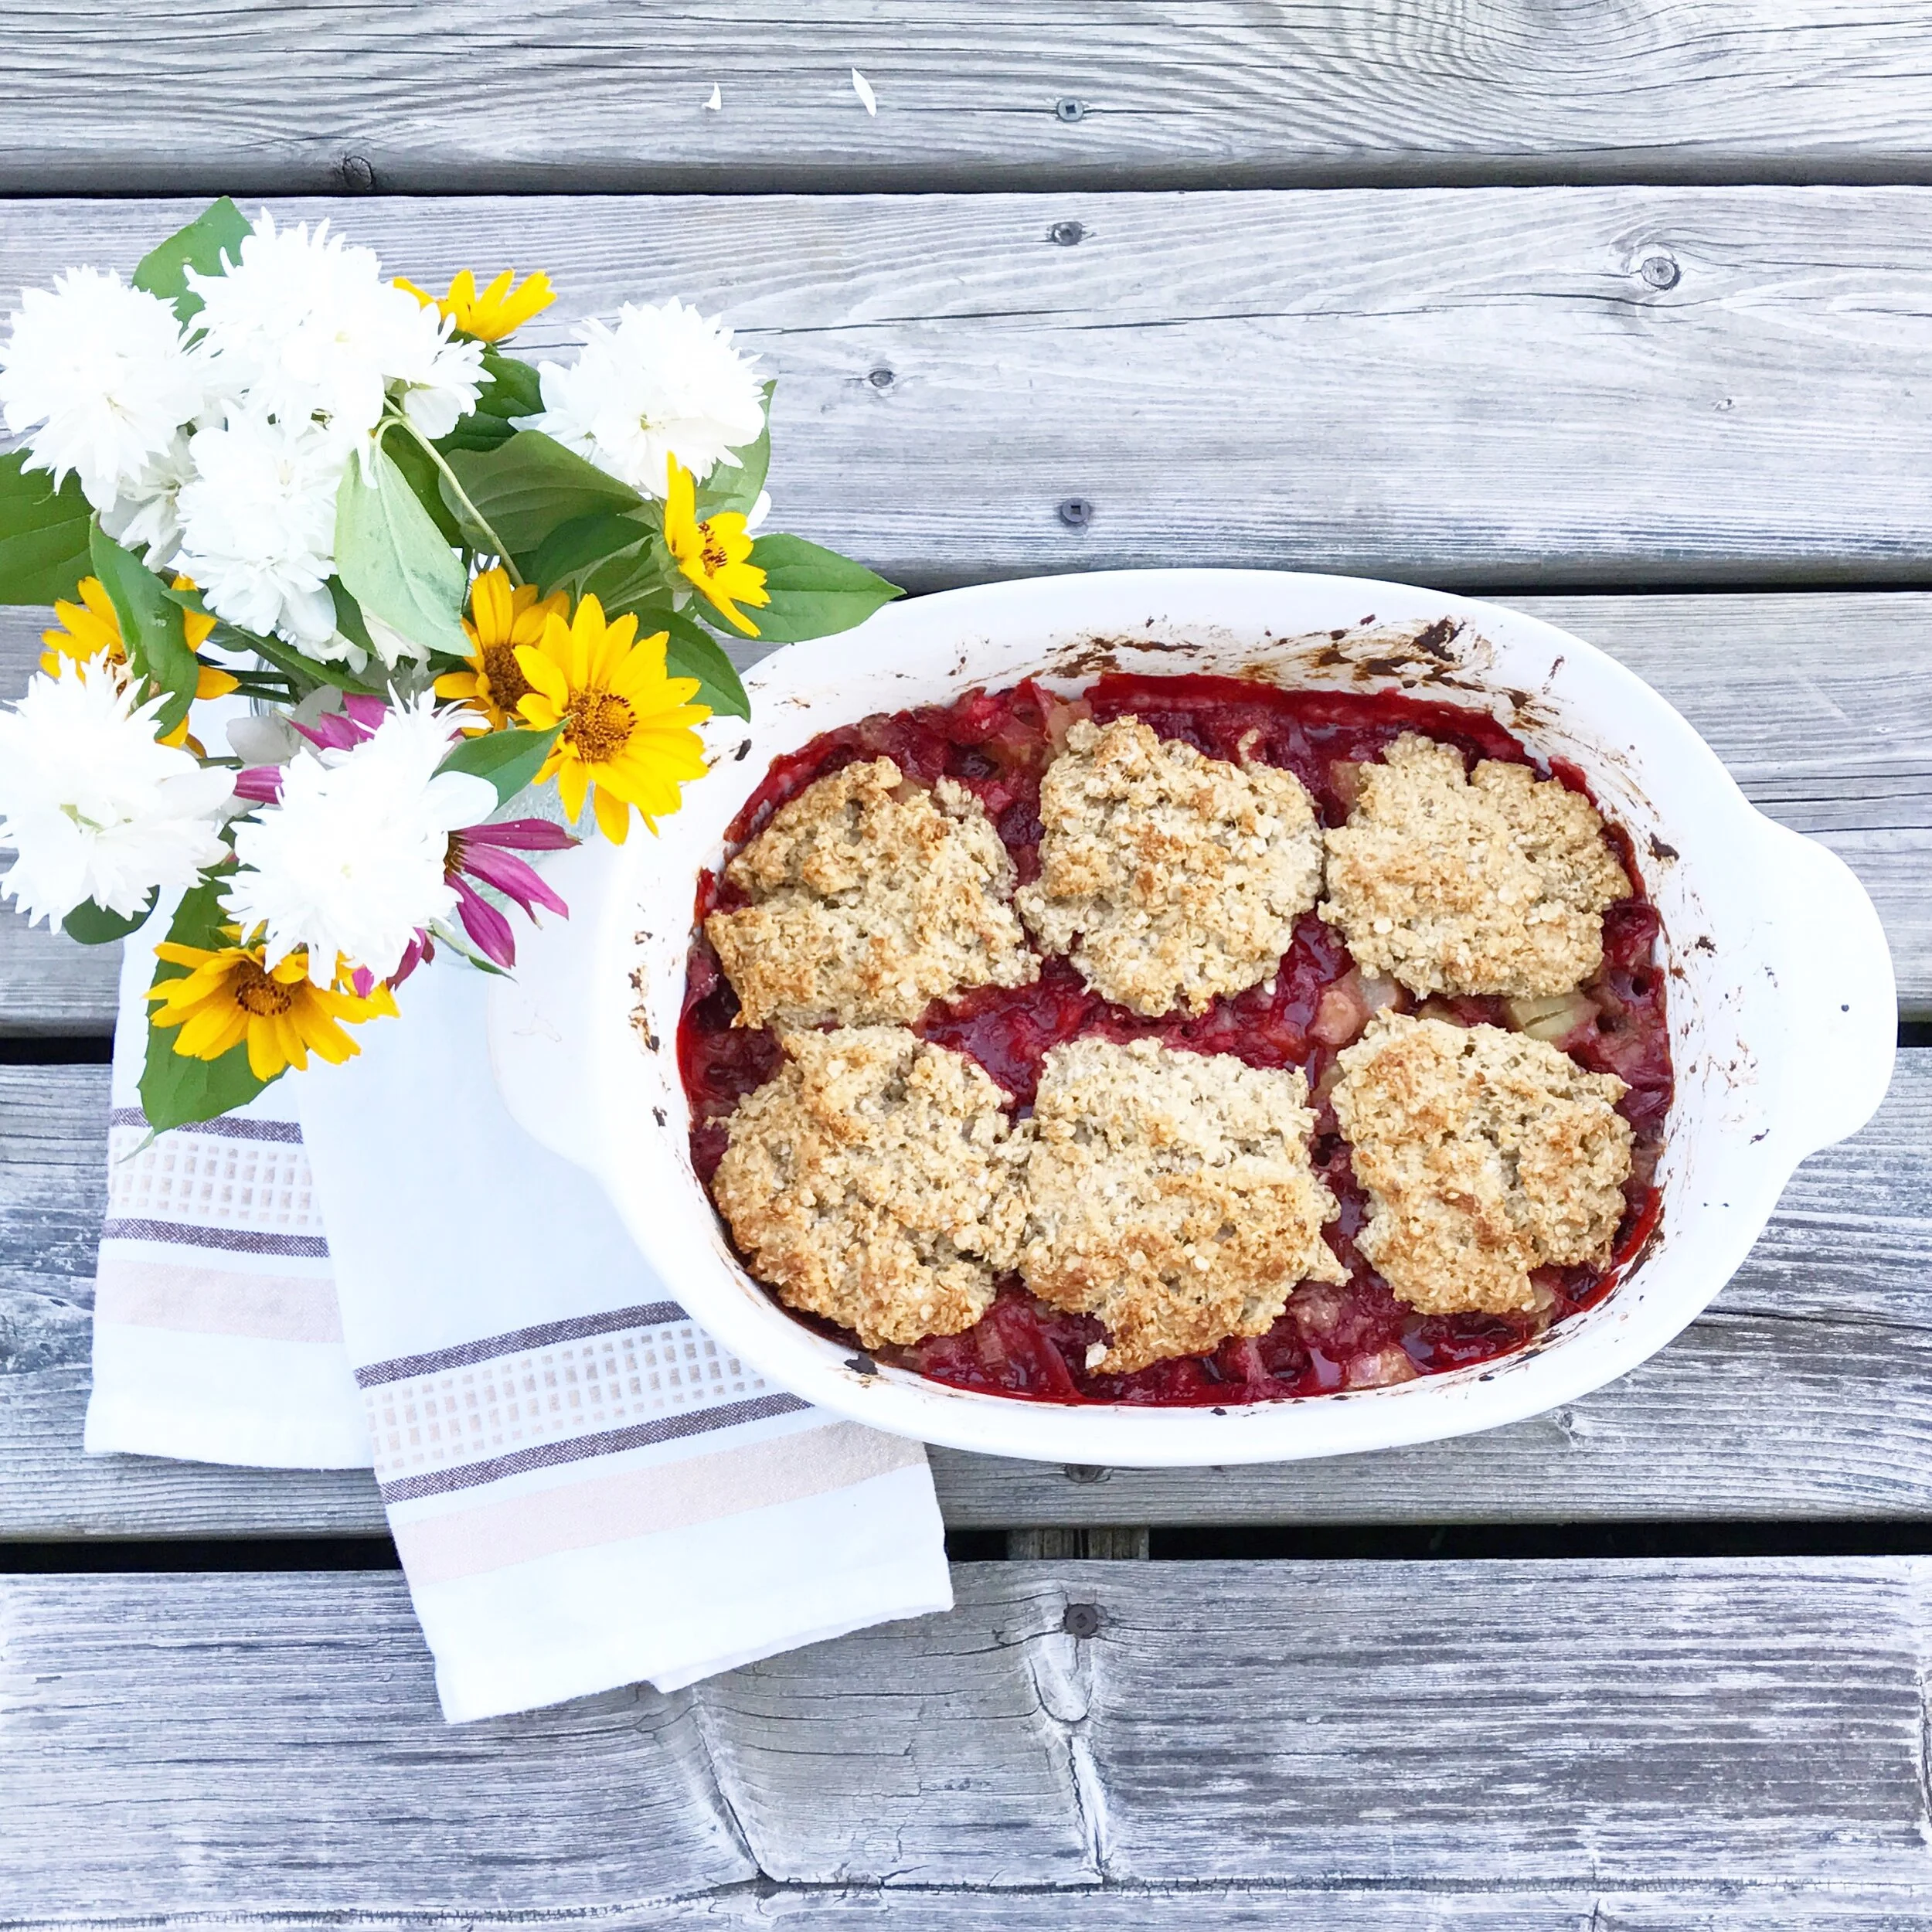
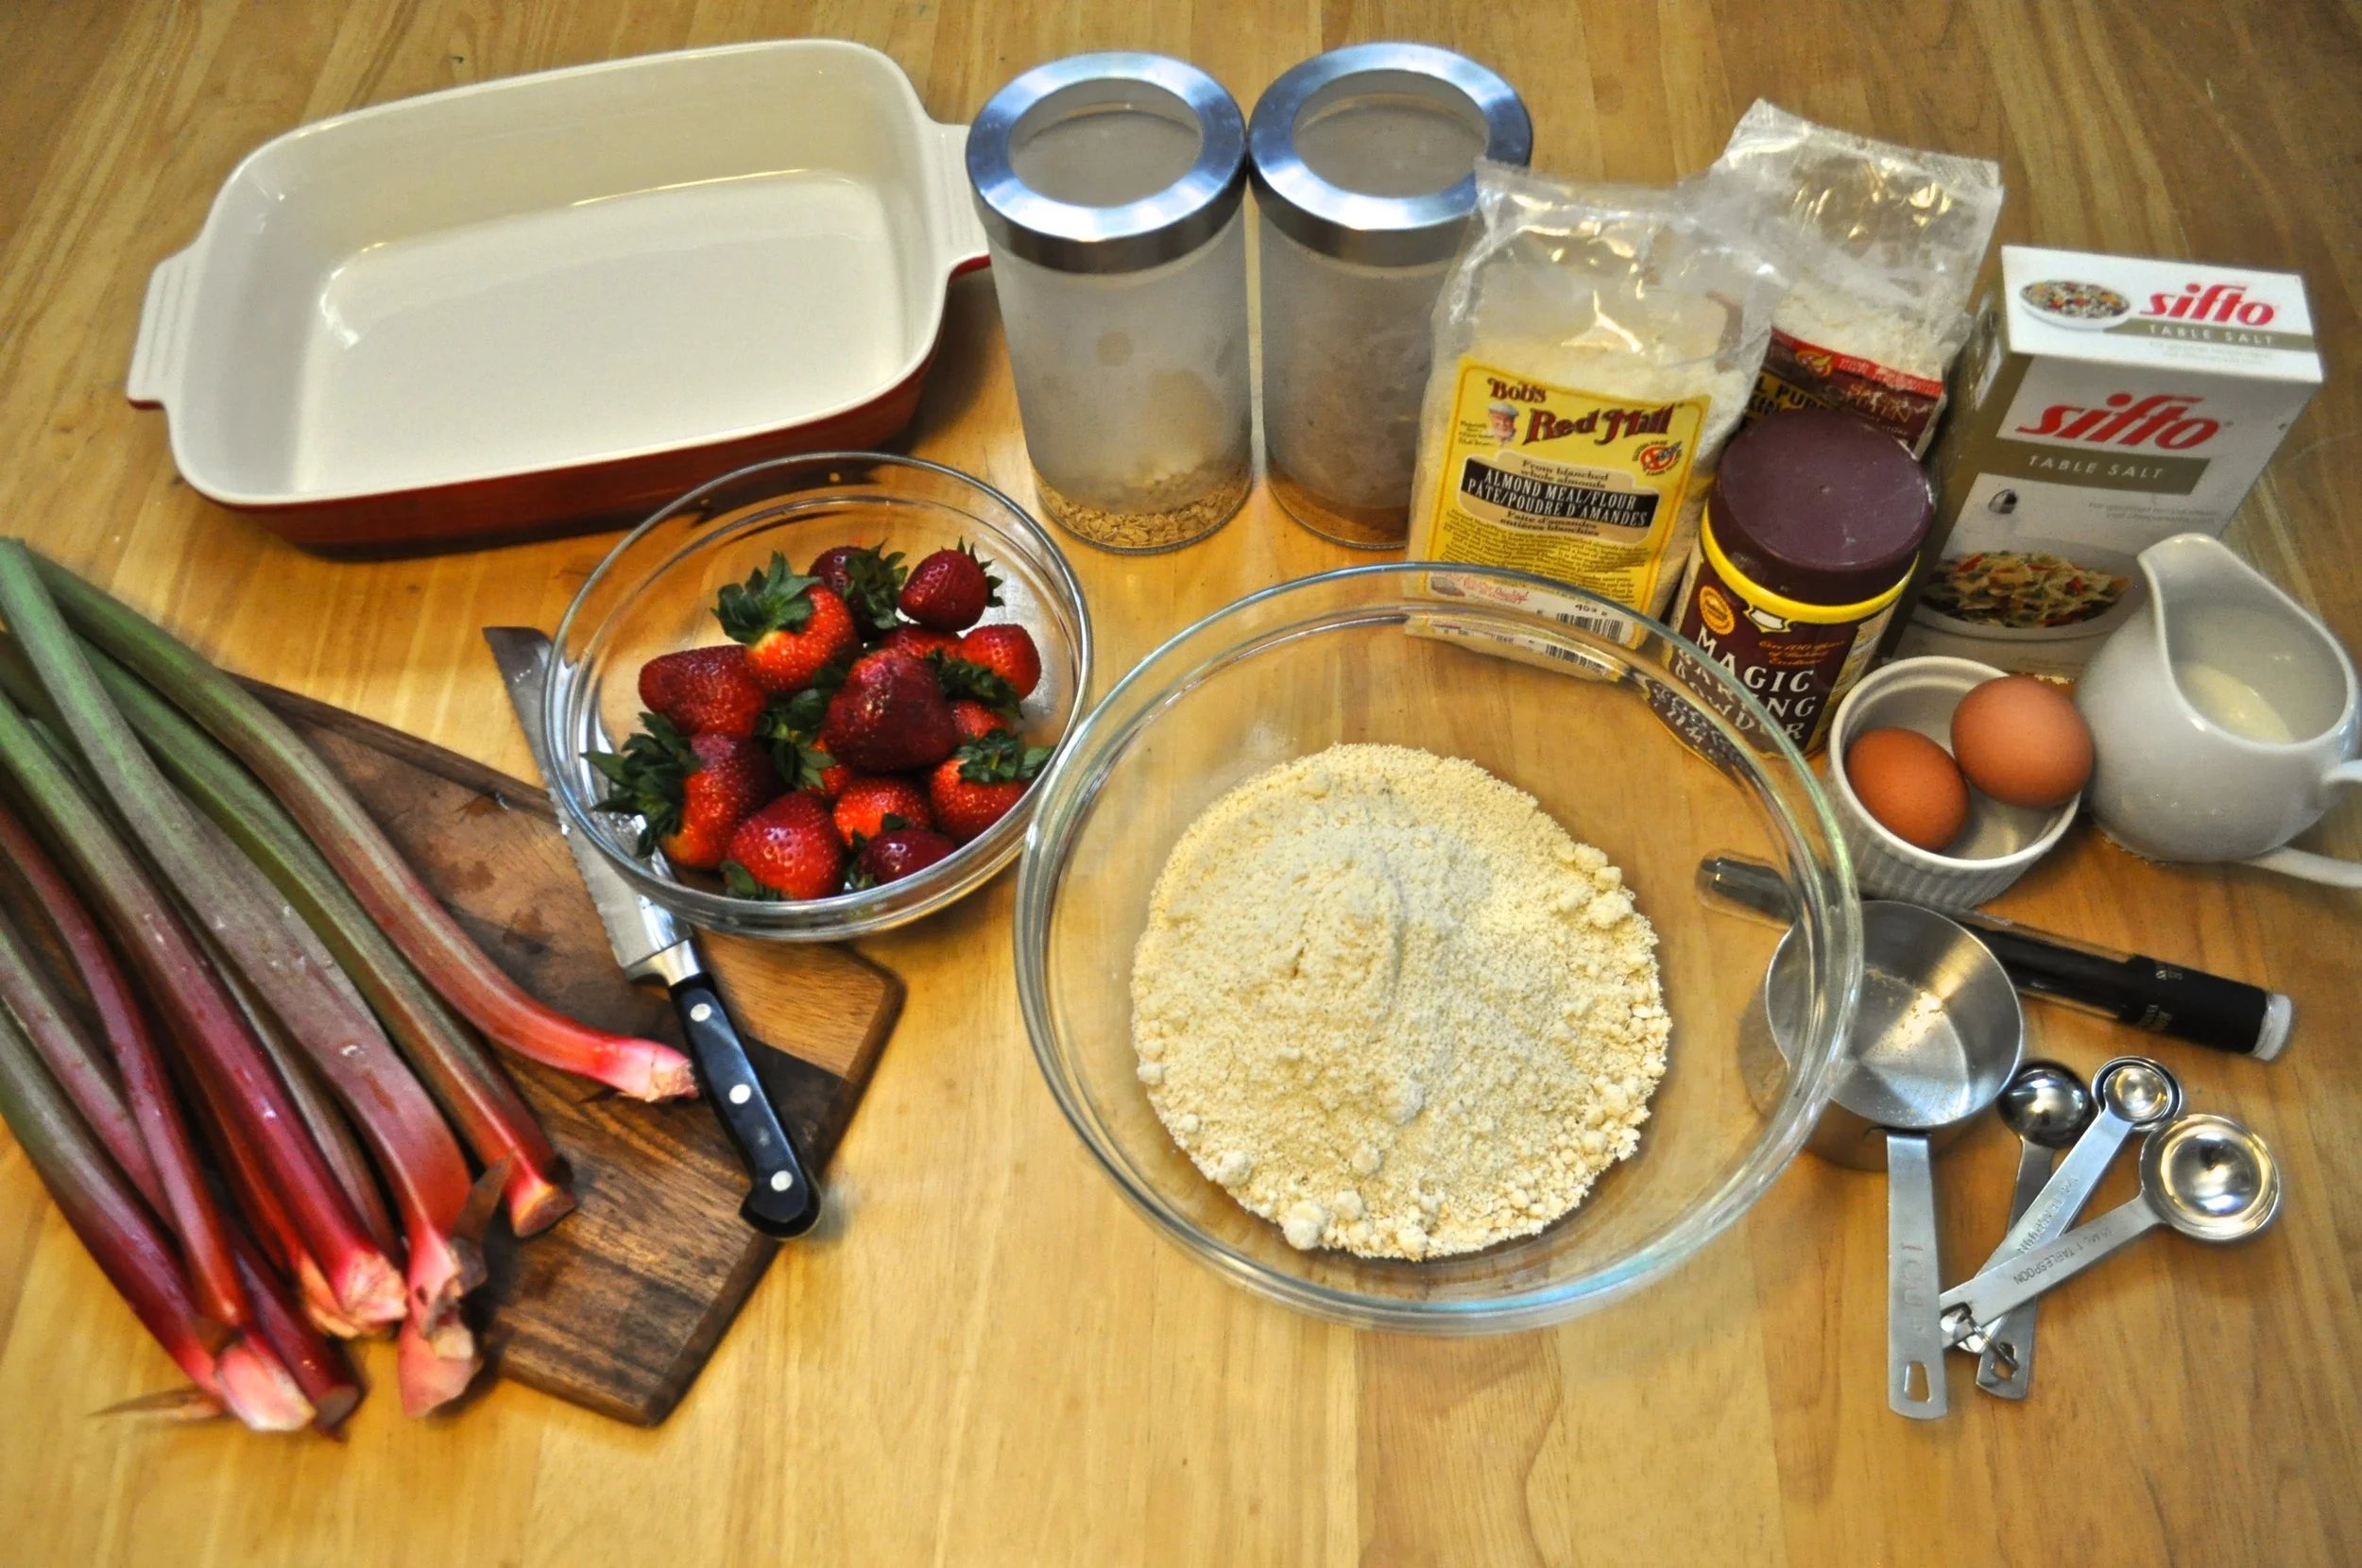
Once you have your beautiful harvest of Rhubarb you'll need to make something. I chose this Gluten-Free Strawberry Rhubarb Cobbler from Home to Heather (full recipe below with minor adaptations). We're not a GF family, but I always enjoy making recipes healthier and since many of my friends and family are GF, it's a nice bonus of this recipe. The recipe can also easily be made vegan by substituting the egg for ground chia seeds & water, the butter for coconut oil & the cream for almond or coconut milk.
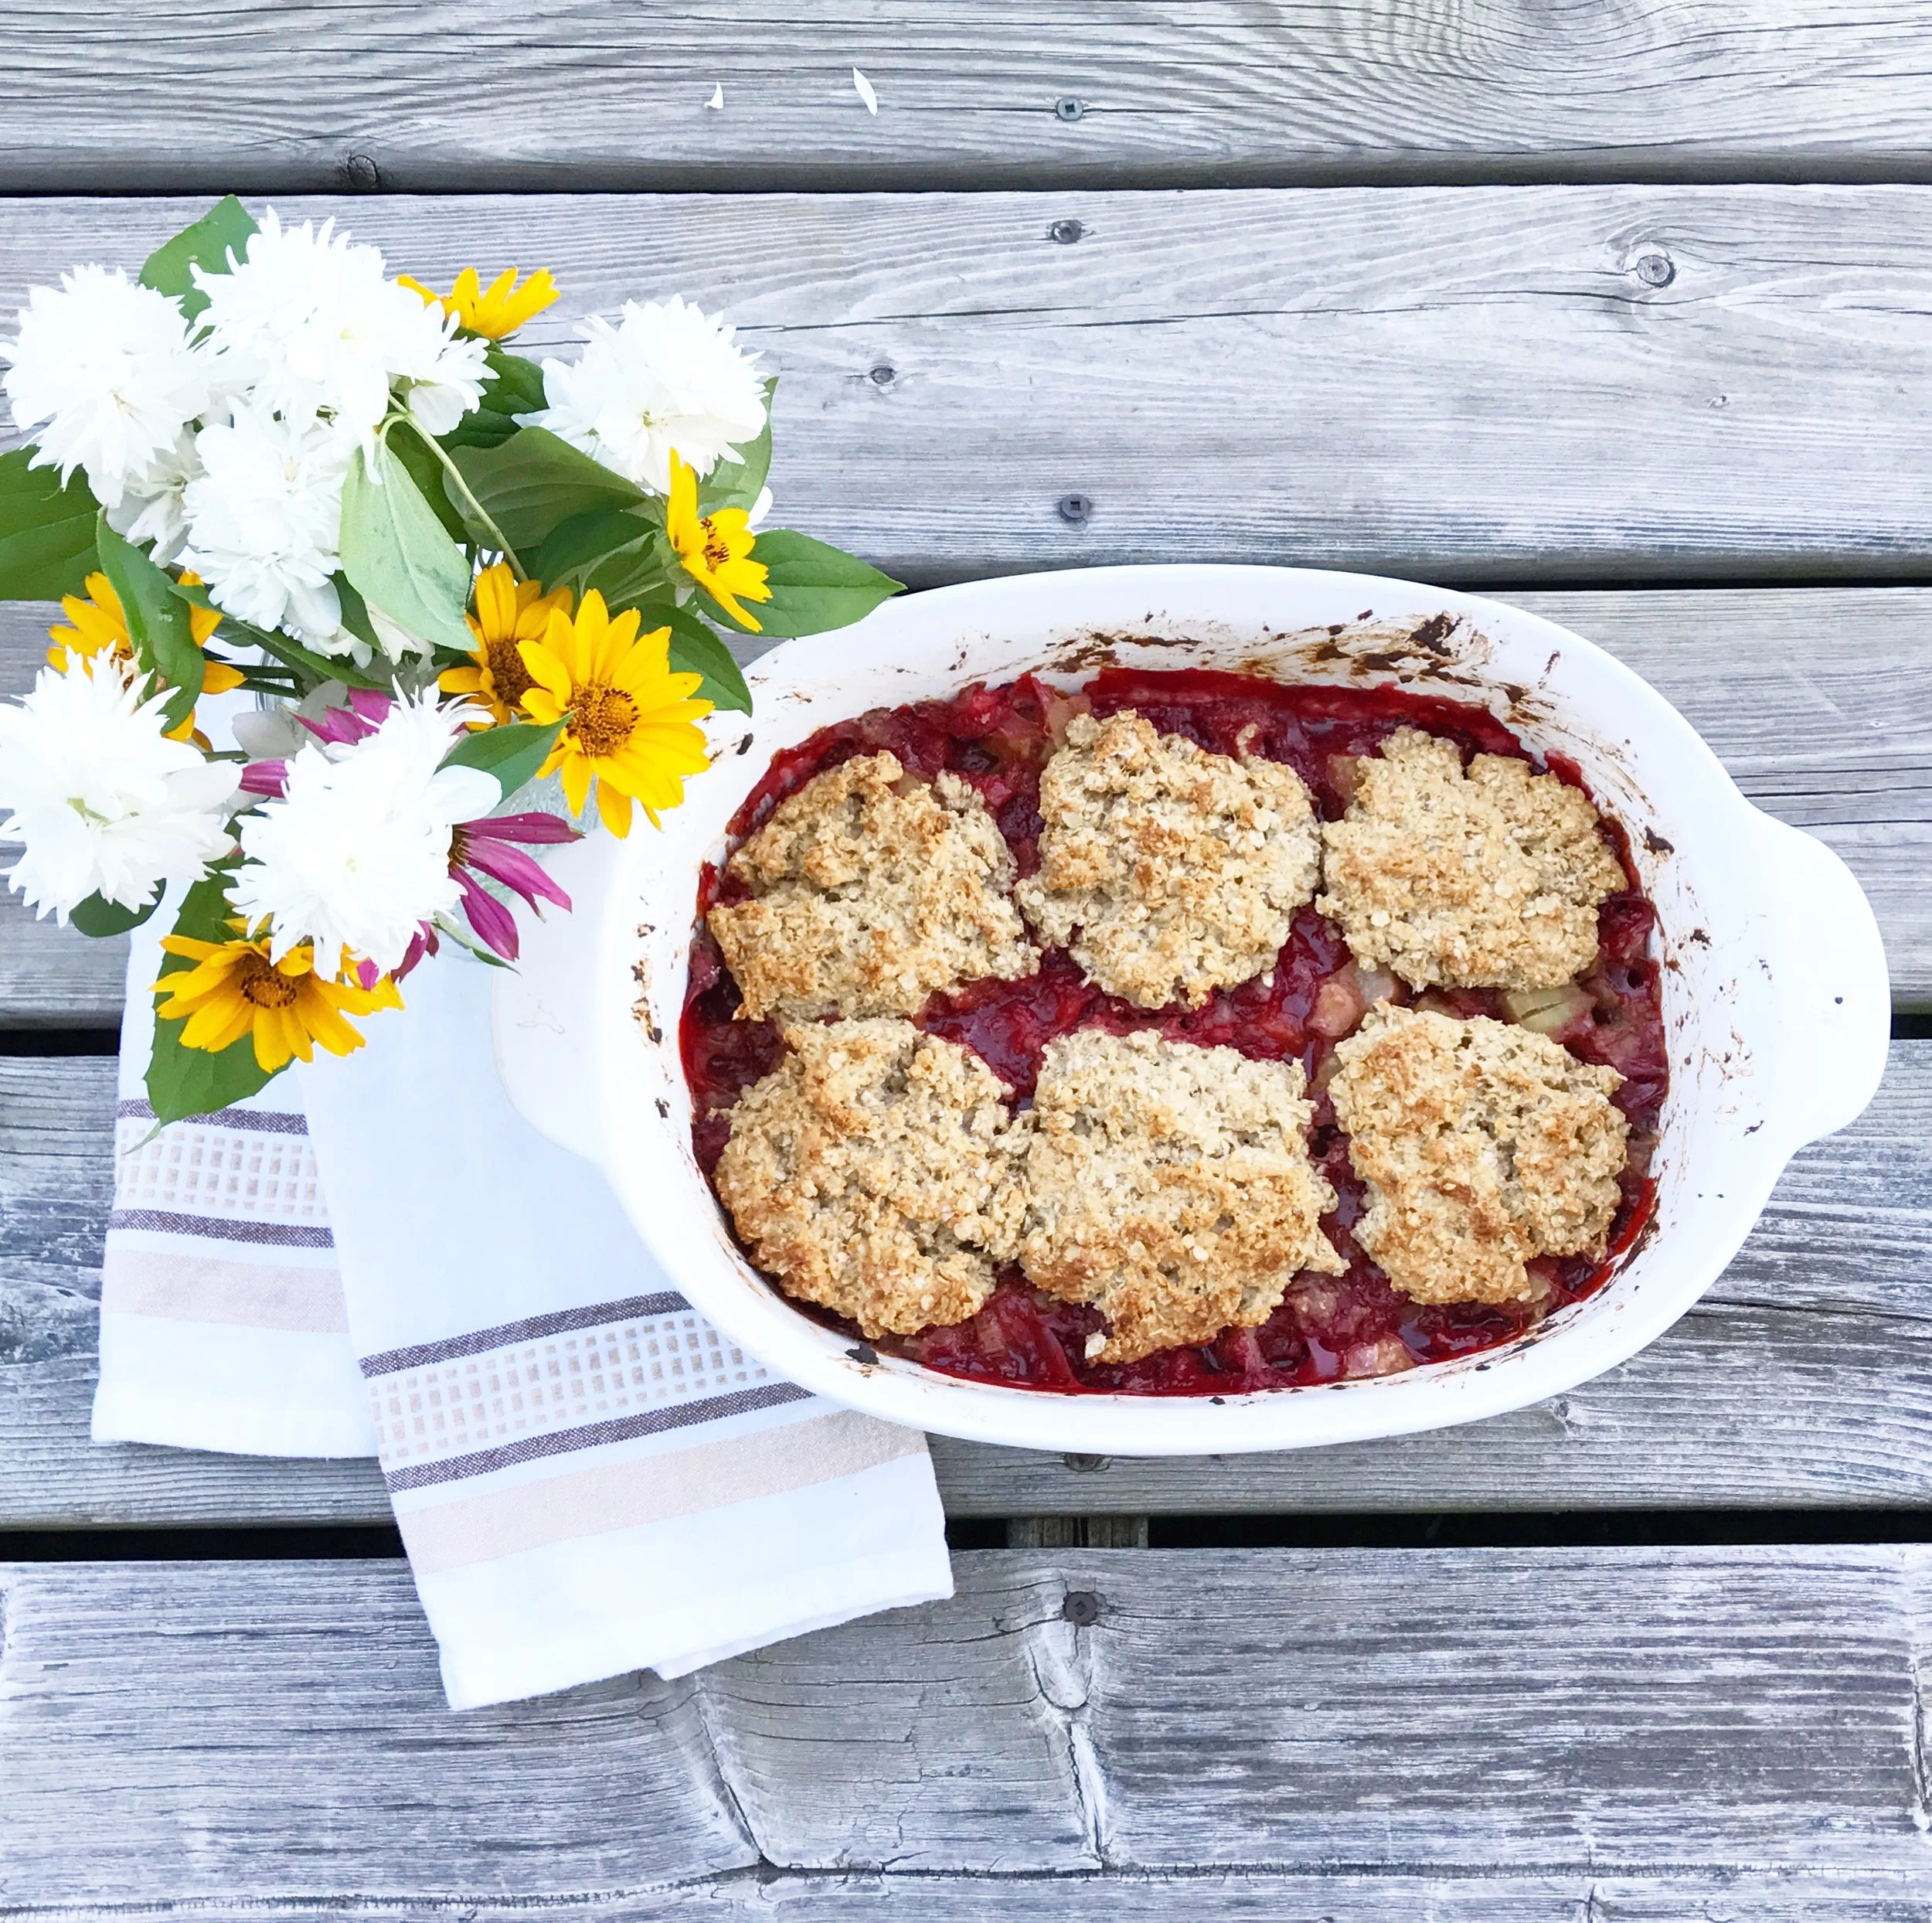
This recipe is quick to prepare and absolutely delicious. Top it with a little ice cream or fresh whipped cream and you have a perfect summer treat. I forgot to get a photo of the finished product the 1st time, but that's ok. It was so good that I had to make it a second time...in 1 week ;) Yum!
Check out The Old Farmers Almanac if you're interested in planting some rhubarb or need to learn how to care for yours. It's a great resource for all gardeners.
Enjoy!
- Care
Gluten-Free Strawberry Rhubarb Cobbler
Filling
3 cups rhubarb
2 cups strawberries
1/2 cup coconut sugar (or brown sugar)
1/2 cup oat flour (or regular flour)
Topping
I cup oats
1/2 cup almond flour (or regular flour)
1 Tbsp coconut sugar (or brown sugar)
1/2 tsp baking powder
1/4 tsp salt
1/4 cup melted butter (or coconut oil)
1 egg
2 Tbsp cream (or almond milk)
1 tsp vanilla (or inside of 1 fresh vanilla bean, optional. I added this because I love fresh vanilla)
Instructions
Preheat oven to 350F
Chop fruit and toss in a large bowl with sugar and flour until combined
Transfer filling to ungreased 8x8 baking dish
Mix dry topping ingredients together
Add in egg, butter & cream
Mix until combined and spoon over filling like drop cookies (don't smooth out, just dollop on)
Bake for approximately 45 mins until filing is bubbling and topping is nicely browned