

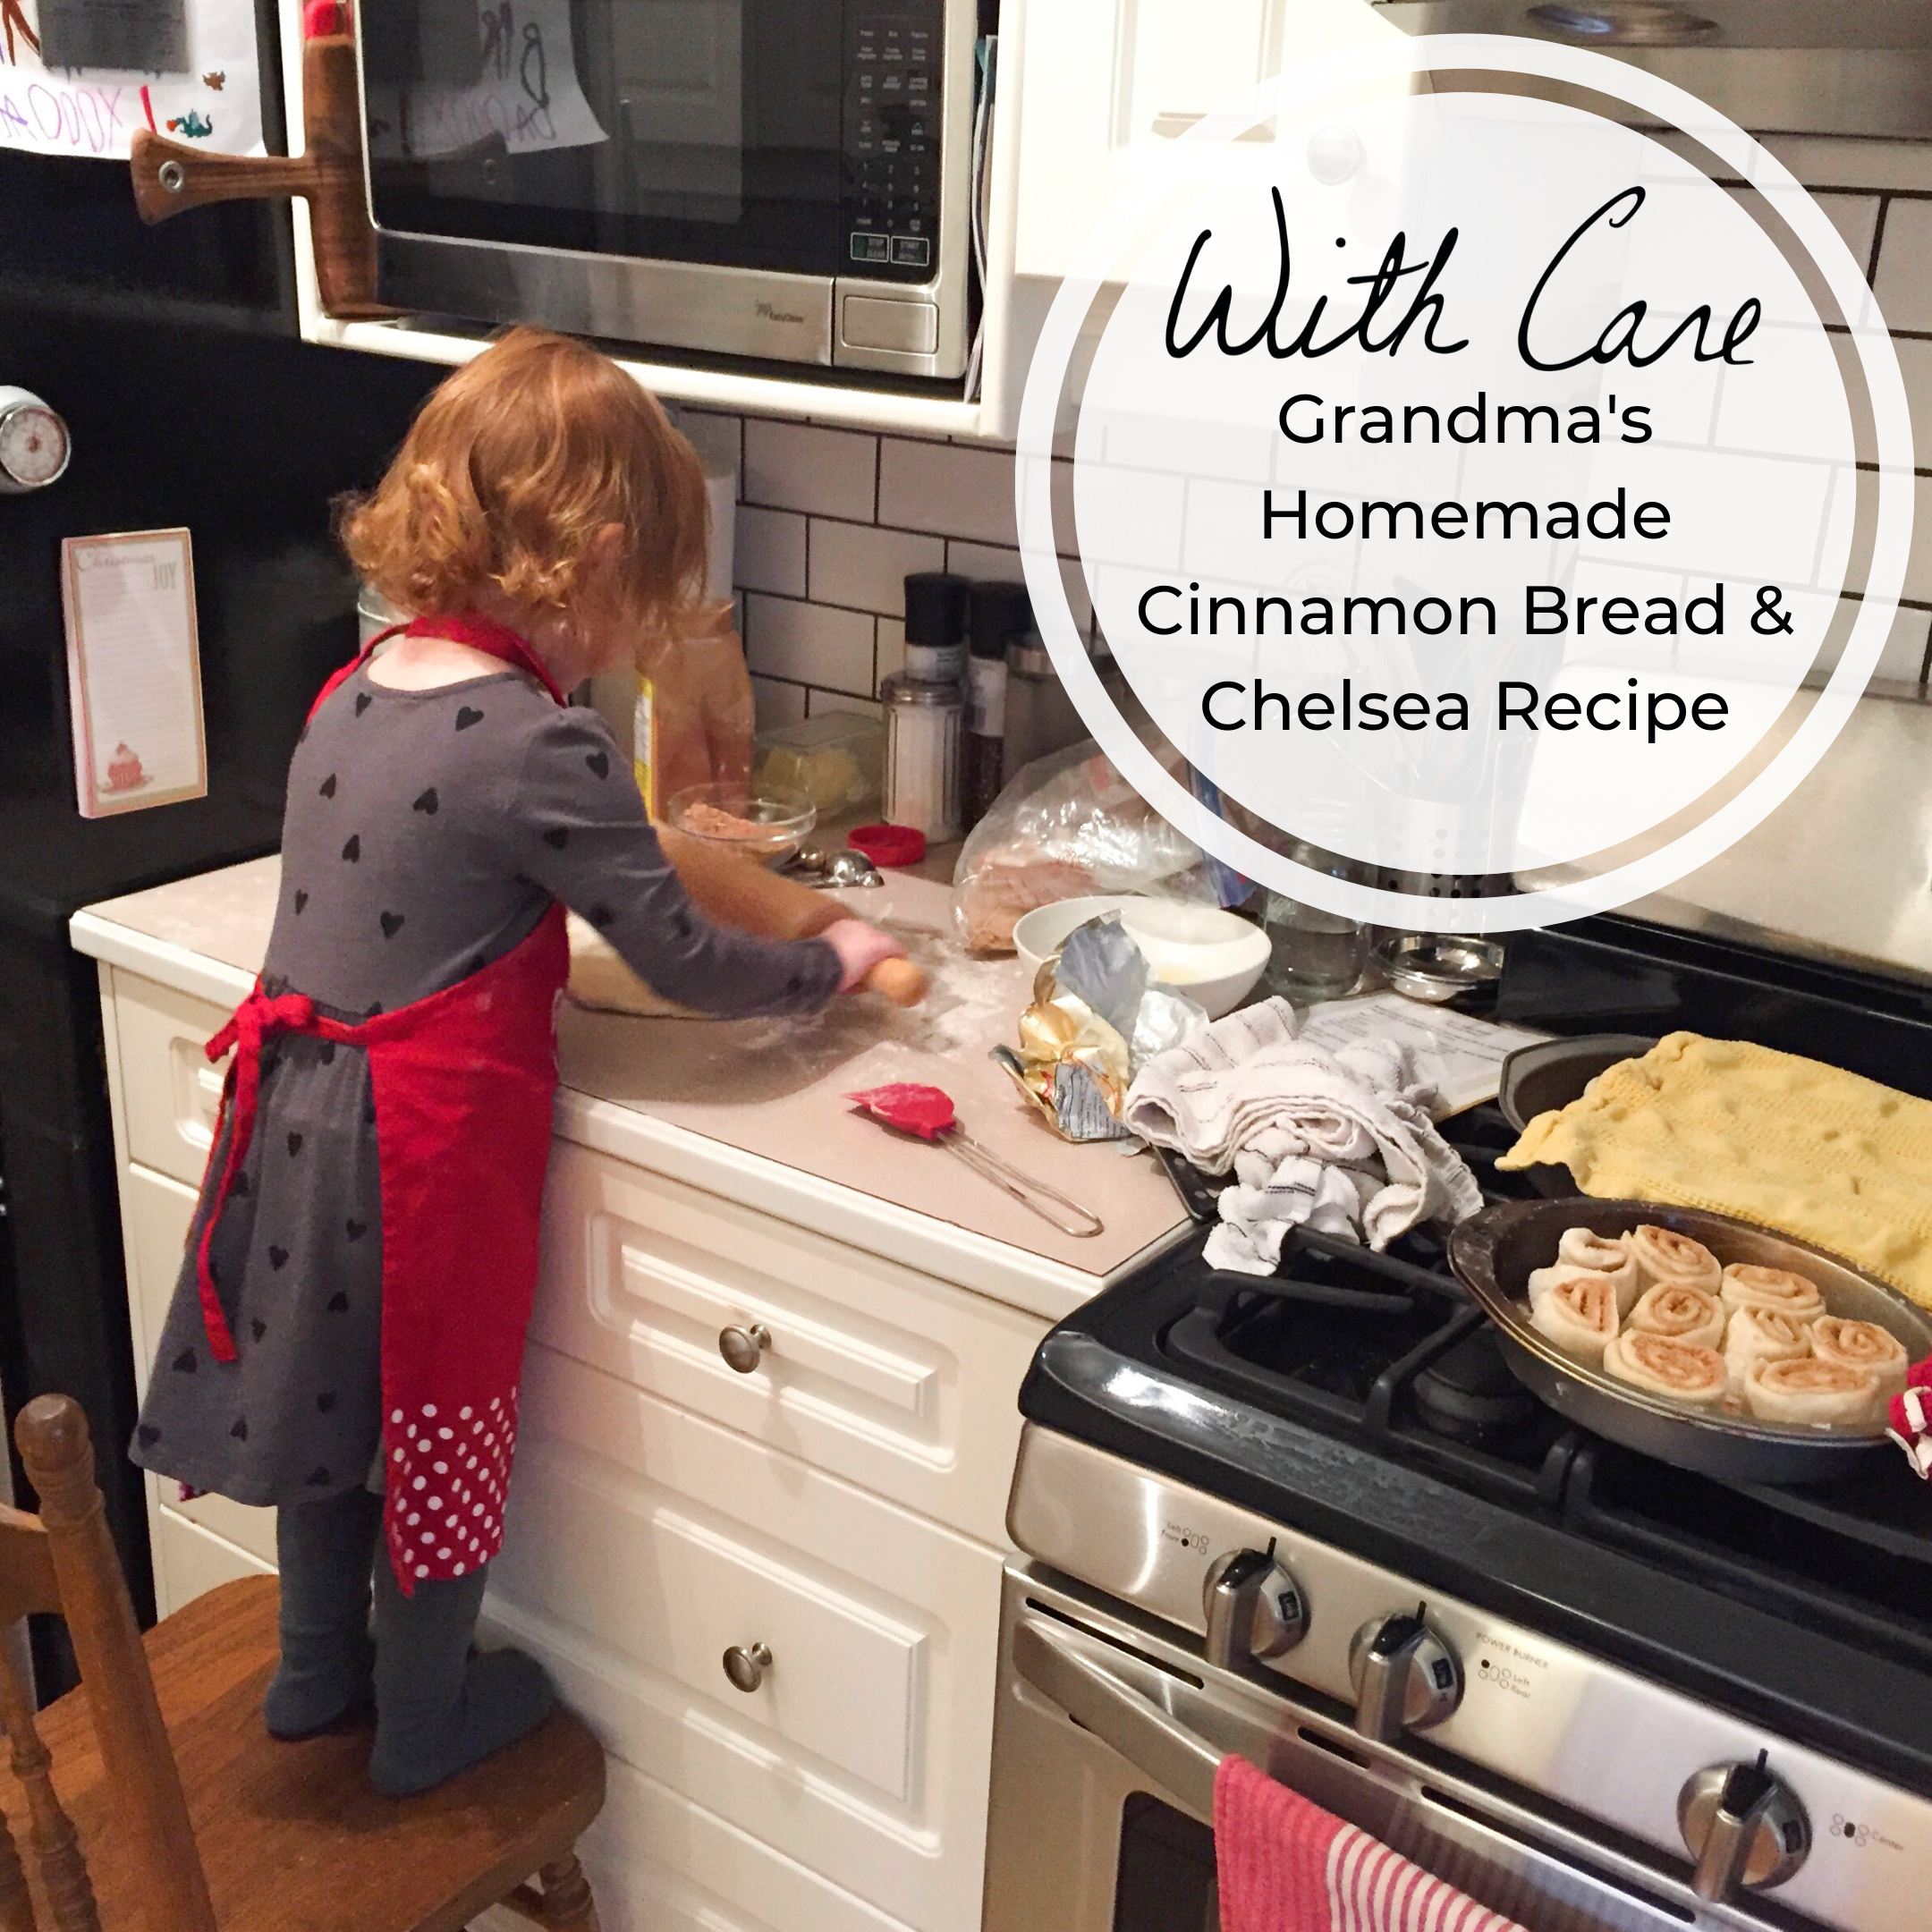
Grandma's Homemade Cinnamon Bread & Chelsea Recipe
Every year on Christmas Eve my mom would spend the day baking the most delicious cinnamon bread, buns, and chelsea to enjoy on Christmas day. It was always such a wonderful treat and a tradition I looked forward to every year, and I am so happy I get to continue it with my kiddos.
Every year on Christmas Eve my mom would spend the day baking the most delicious cinnamon bread, buns, and Chelsea to enjoy on Christmas day. A recipe passed down from her mother. It was always such a wonderful treat, and a tradition I’m so happy I get to continue it with my kiddos.
The recipe is a basic sweet dough and can be made into regular buns, cinnamon bread, or chelsea buns (aka cinnamon buns). It isn’t difficult to make, but the steps take 5 hours in total because of multiple risings. You won’t be working that whole time, but it’s usually best to start early in the day and work your schedule around the different steps. You might be thinking, what the heck? Just buy some freaking bread and call it a day! … and to you I say “Go for it!” If this isn’t your thing and you want something a little quicker check out my 6 Simple Last Minute DIY Holiday Gifts. There is some serious deliciousness in there, and all it takes is melting and blending. If you’re looking for something with a little more time commitment give this family recipe a try and let me know what you think.


For all the parents out there wondering how I bake with 4 kiddos, let me start by saying that I choose very specific baking tasks for each kid to assist with (at their particular level eg. Penny at 3.5 years old spreads sugar, but Ben at 8 year old helps measure stuff and make the dough) and Daddy is there to keep the other's occupied. Also, it’s not all cupcakes and sprinkles, but it’s pretty amazing to watch their excitement when they eat something they helped make.
I hope you enjoy whatever sweet traditions you do with your loved ones this holiday season.
- Care
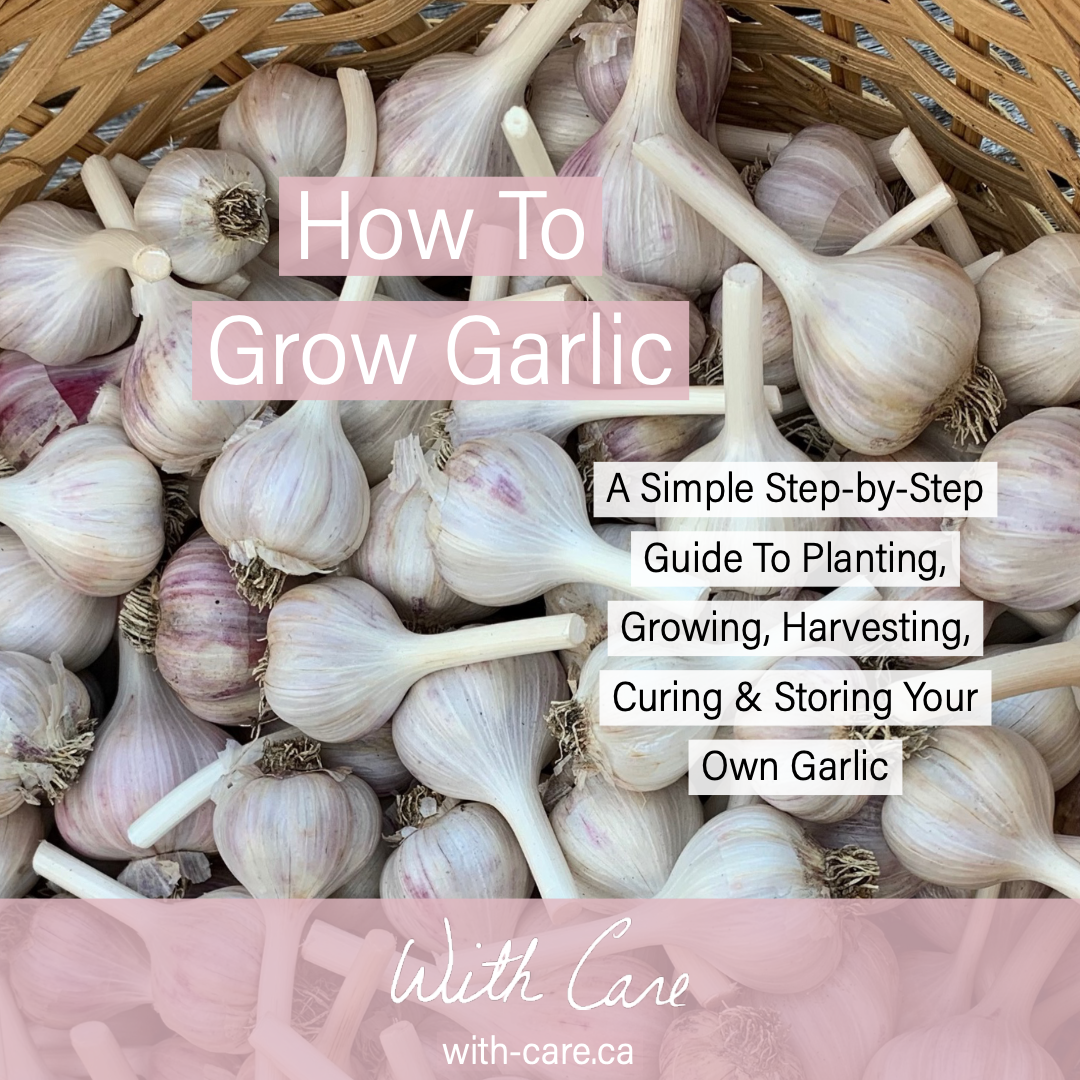
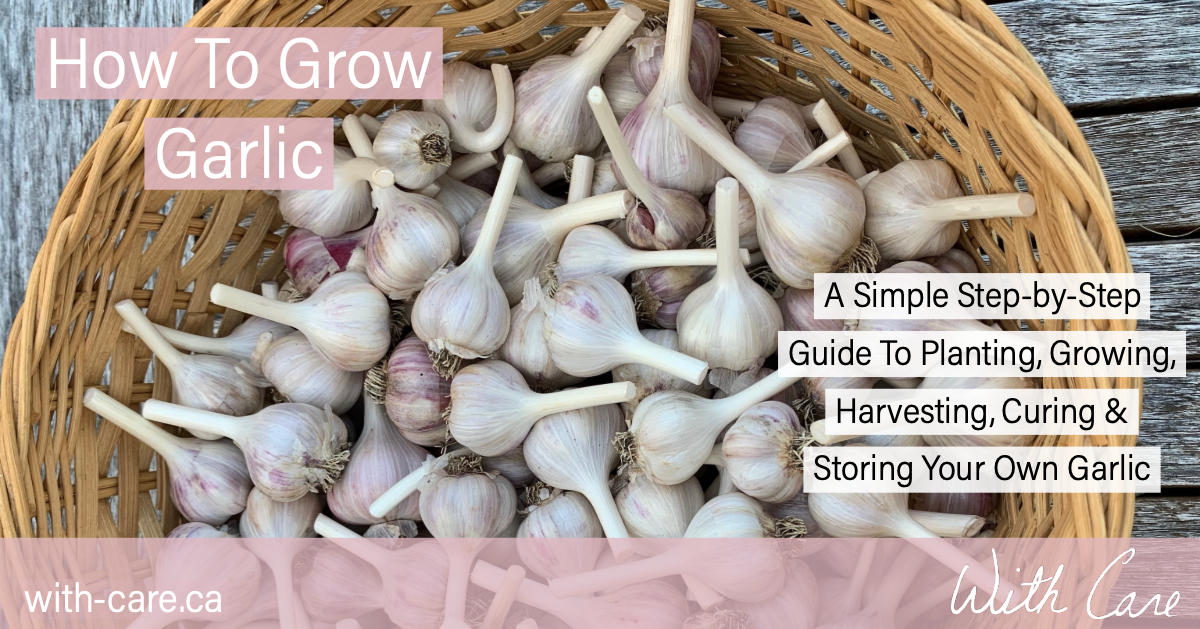
How To Grow Garlic - A Simple Step-By-Step Guide To Planting, Growing, Harvesting, Curing & Storing Your Own Garlic
I’ve had so many requests for information about growing garlic, so I put together this little guide. It’s just 9 simple steps and when you’re done you’ll have the most delicious homegrown garlic.
If you don’t have a garden, check it out and then share with a friend who does. You might just be lucky enough to receive some of their homegrown garlic harvest. It’s that good!
Hope you enjoyed my guide to growing garlic. Now that you’re excited to plant, check out my DIY raised garden beds and my garlic scape and basil pesto recipe.
As always, let me know if you have any questions.
- Care

Family Friendly Homemade Meatballs - Perfect Iron Rich Recipe for Starting Solids
Meatballs are a great option for a healthy family dinner and a perfect way to start incorporating iron rich meats into your baby's diet. They can be paired with a whole grain pasta, tomato sauce and veggies, or some roasted or steamed veggies for a quick dinner. I usually make a double batch with fresh ground beef, and freeze a bunch for future evenings when we need a fast healthy meal.
Meatballs are a great option for a healthy family dinner and a perfect way to start incorporating iron rich meats into your baby's diet. They can be paired with a whole grain pasta, tomato sauce and veggies, or some roasted or steamed veggies for a quick dinner. I usually make a double batch with fresh ground beef, and freeze a bunch for future evenings when we need a fast healthy meal.
Meatballs are great because they can be made out of a variety of types of ground meats, plus you can add finely chopped herbs and greens without most kids being bothered by them. The one thing my kids always complained about was the diced onion, so I recently started grating the onion and it has worked wonders. They never know it's in there, but the meatballs still get the onion flavour and moisture. #momwin

Family Friendly Meatball Recipe
Prep Time: 10 mins Cooktime: 17-20 mins Makes about 20 meatballs
INGREDIENTS:
1 lb lean ground beef (or alternative ground meat)
1 whole egg (or flax egg)
1/2 cup whole grain bread crumbs soaked in 3 tbs milk (I make them with the end of a loaf of bread in the vitamix)
1-2 garlic cloves mashed (depending on preference)
1/4 cup onion grated (small onion or ~1/3 large red onion)
2 Tbsp finely chopped fresh oregano
2 Tbsp finely chopped fresh parsley
2 Tbsp finely chopped fresh basil
handful of spinach finely chopped *optional
salt & pepper to taste
2 drops of tabasco sauce *optional
INSTRUCTIONS:
Preheat Oven to 400°F
Place all ingredients in a large mixing bowl and mix by hand until combined. Do not overwork meat.
Scoop out 1 generous Tbsp at a time and roll into meatballs (you can always change the shape or size of these meatballs to suit your needs, just remember to adjust the baking time accordingly)
*If your ground beef is fresh you can freeze raw meatballs for future use
Bake meatballs on a rack over a baking pan for 17-20 mins. Turn once while baking.
Remove from oven and serve immediately, or allow to cool and refrigerate or freeze
I absolutely love paring these iron rich meatballs with homemade vitamin C rich tomato sauce. I'll be sure to share my favourite sauce recipe soon.
Don't hesitate to ask any questions below. Hope your family enjoys these as much as ours does.
Care

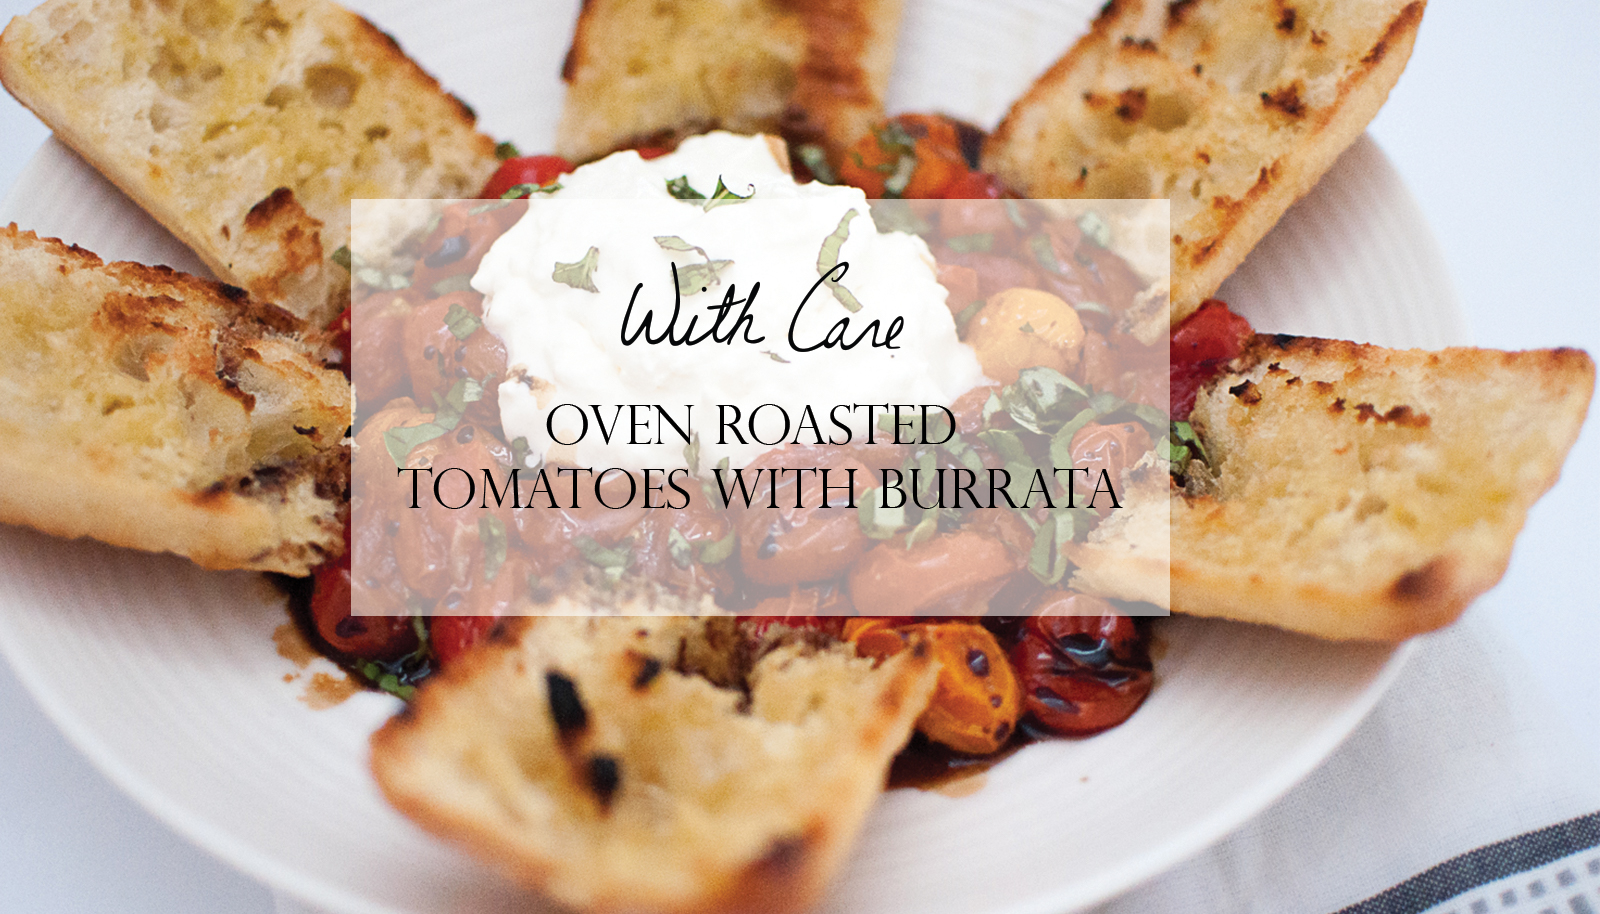
Oven Roasted Tomatoes with Burrata - Simple Summer Recipe
Summer is here and local tomatoes are hitting the farmers markets, so I wanted to share one of my favourite seasonal recipes. I was forced to recreate this recipe at home, because the local restaurant I usually get it at sadly closed this spring. I'm so happy with how it turned out. I always think it's a good sign when you need to make a new recipe twice in one weekend. That's exactly what I did with this one.
Summer is here and local tomatoes are hitting the farmers markets, so I wanted to share one of my favourite seasonal recipes. I was forced to recreate this recipe at home, because the local restaurant I usually get it at sadly closed this spring. I'm so happy with how it turned out. I always think it's a good sign when you need to make a new recipe twice in one weekend. That's exactly what I did with this one.
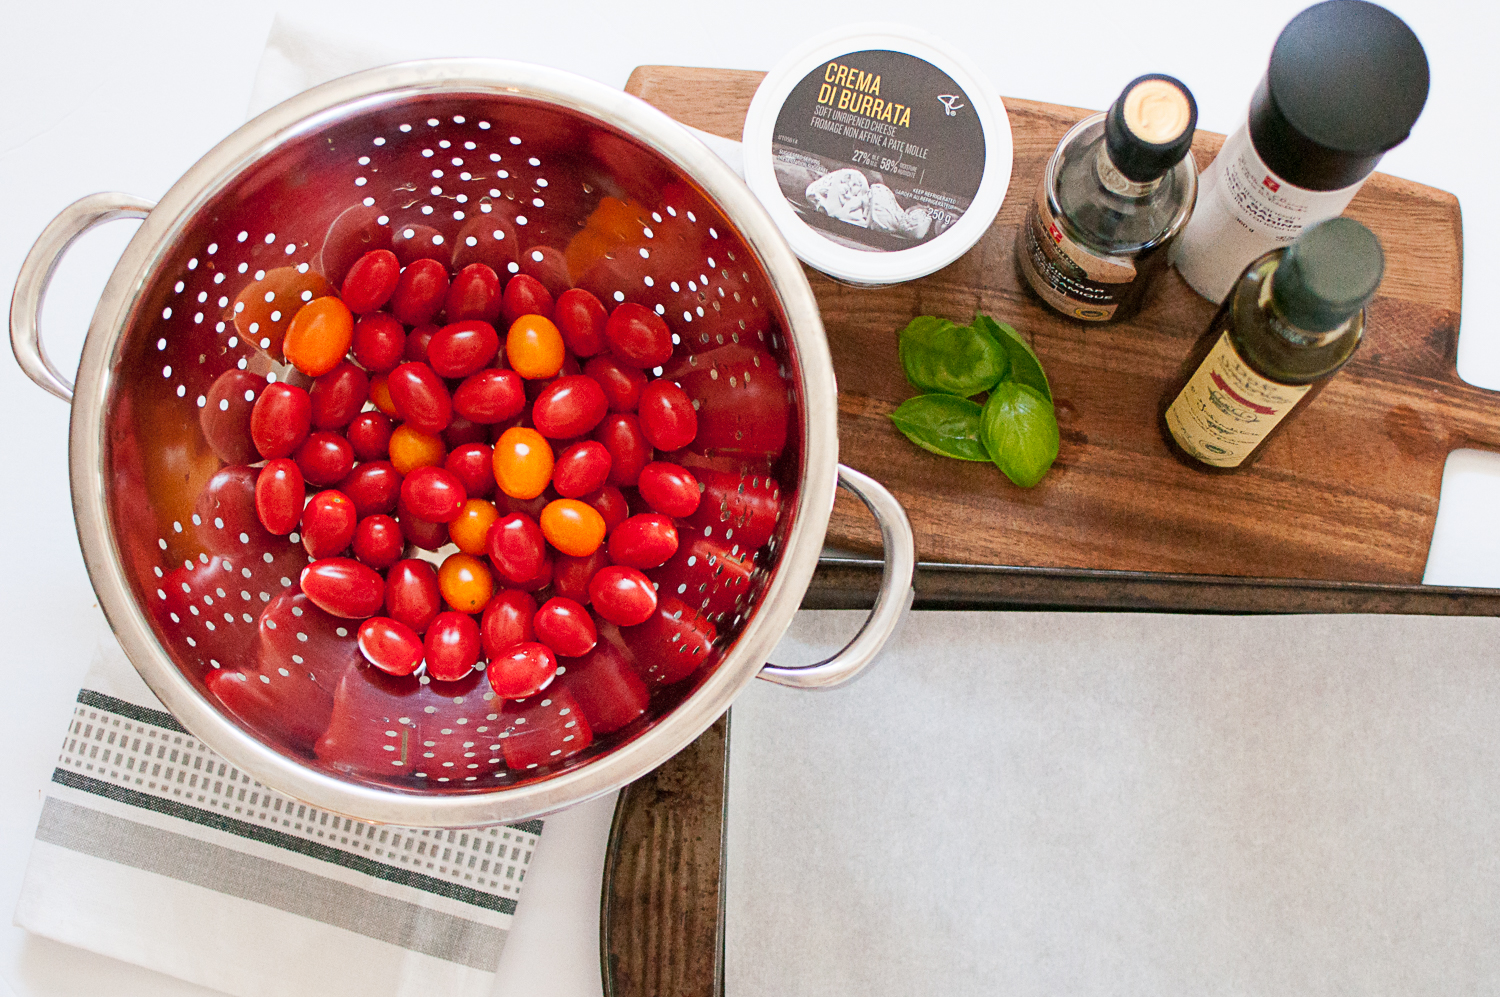
If you're anything like me you won't be able to get enough of these soft, warm roasted tomatoes drizzled with olive oil, balsamic, sea salt, fresh chopped basil and a generous helping of burrata. Add in some grilled bread and you really can't go wrong.
This recipe includes only 7 ingredients, 6 of which we typically have on hand ...not the buratta ;) It takes about 20 mins to make from start to finish, and tastes like pure summer, so that makes it pretty perfect in my books.
INGREDIENTS: 1 quart of grape or cherry tomatoes, a few basil leaves, olive oil, sea salt, balsamic vinegar, 1 pkg of burrata cheese, baguette.
DIRECTIONS:
1. Wash tomatoes & basil
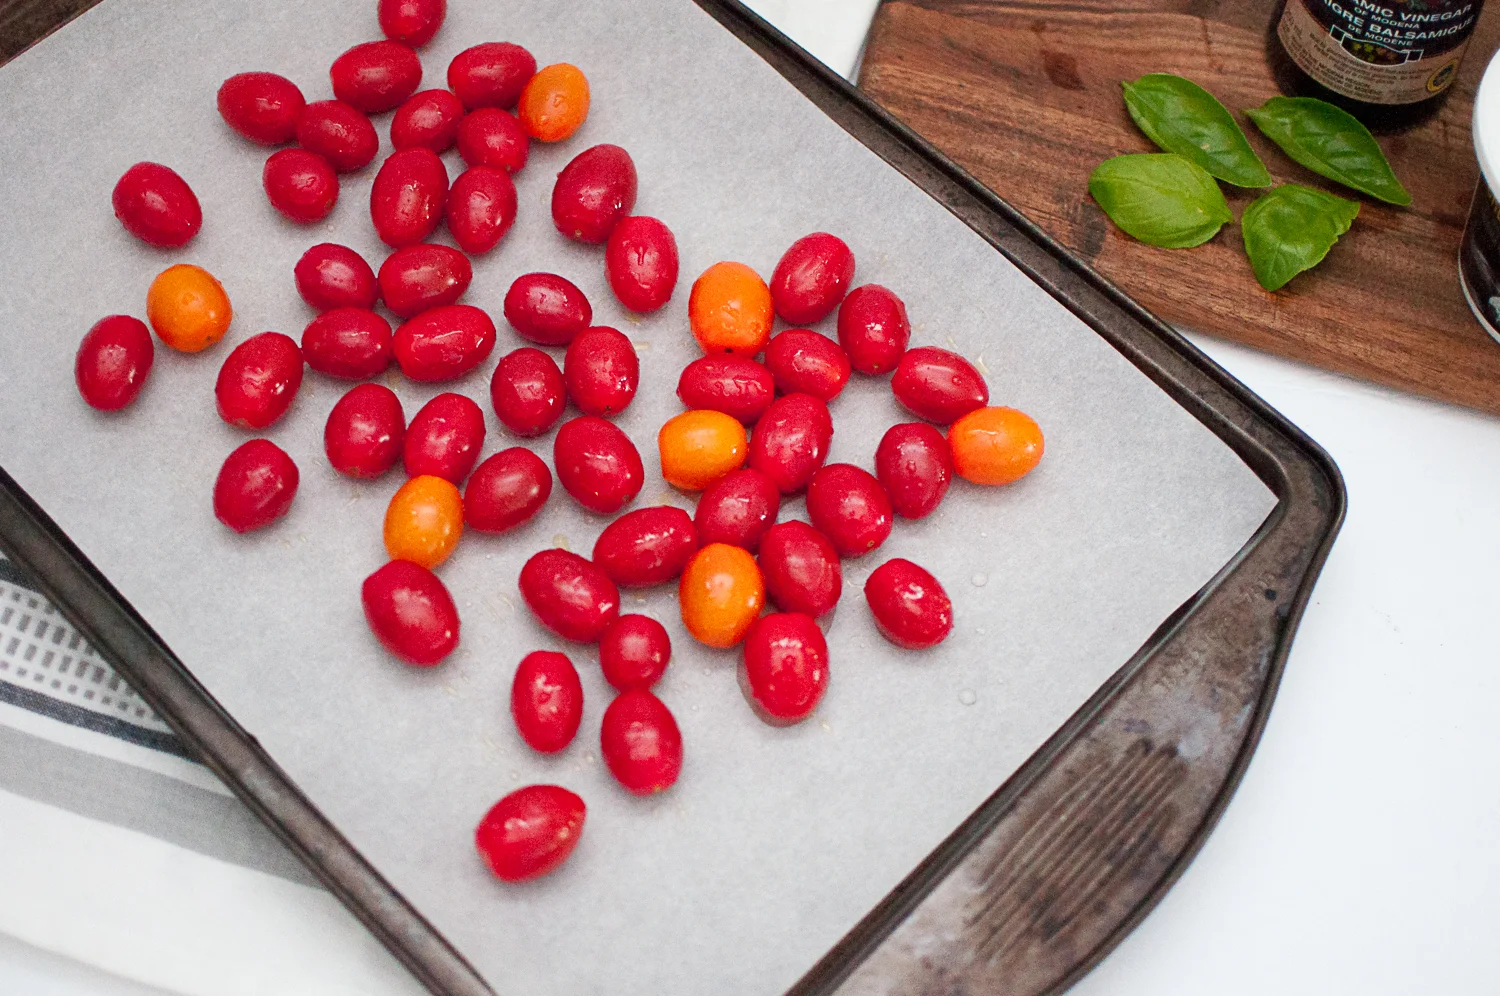
2. Toss tomatoes with olive oil and sea salt and place on parchment lined baking sheet. Bake at 400 for 15-20 minutes
3. Brush baguette with olive oil and grill in a grill pan over medium high heat while tomatoes roast.
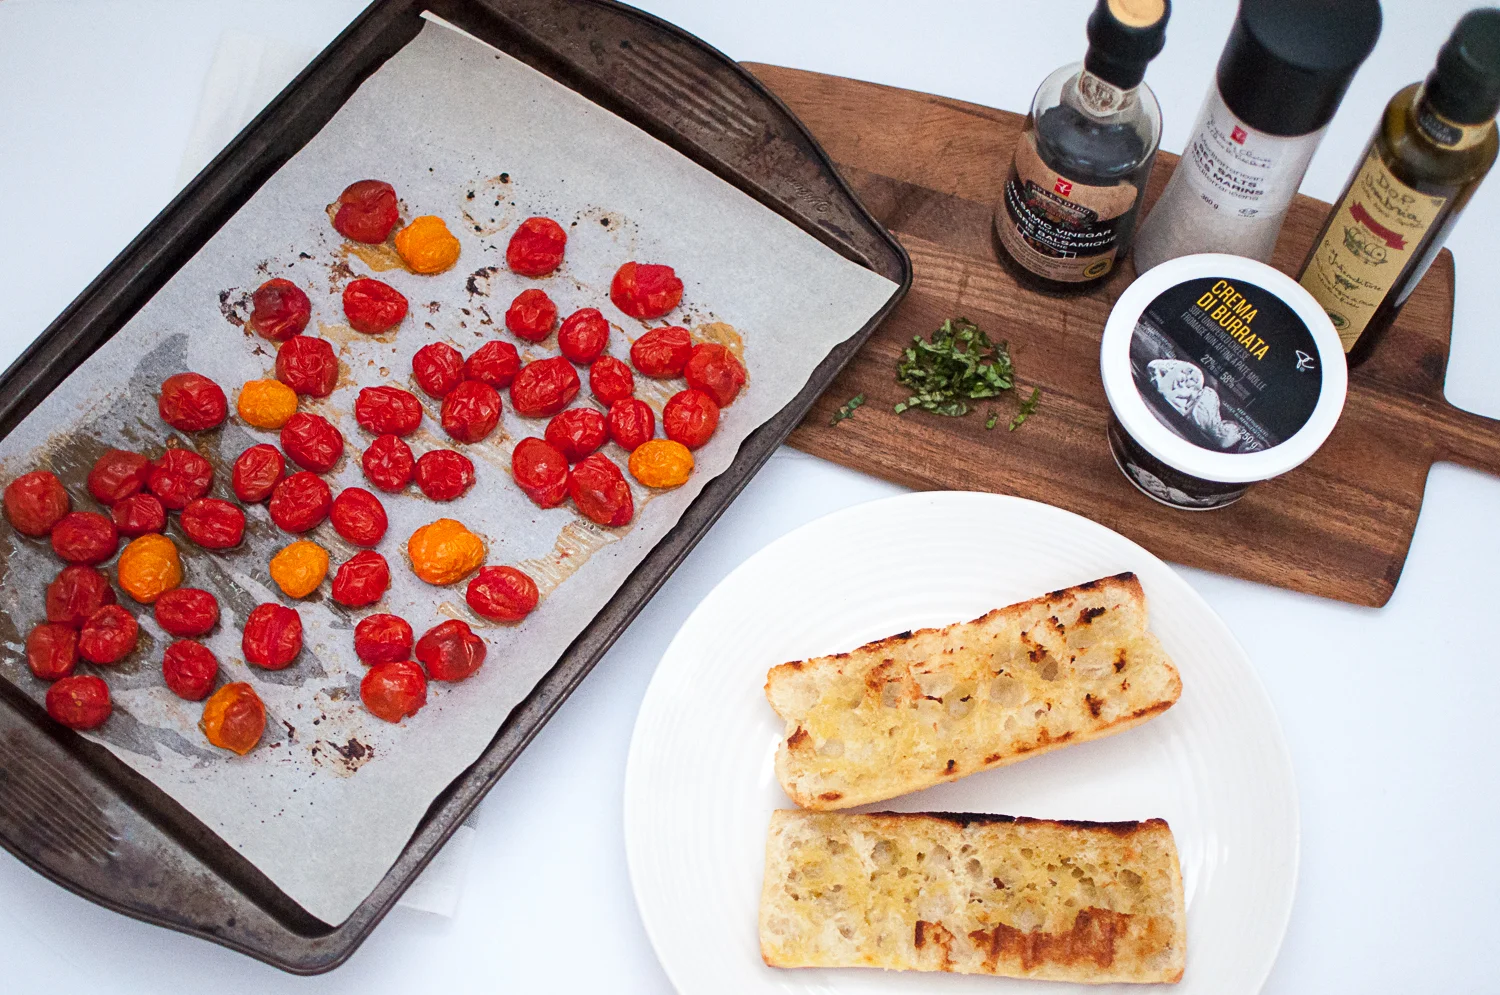
4. Once tomatoes are done, remove from oven, let cool for a few minutes, and then transfer to plate.
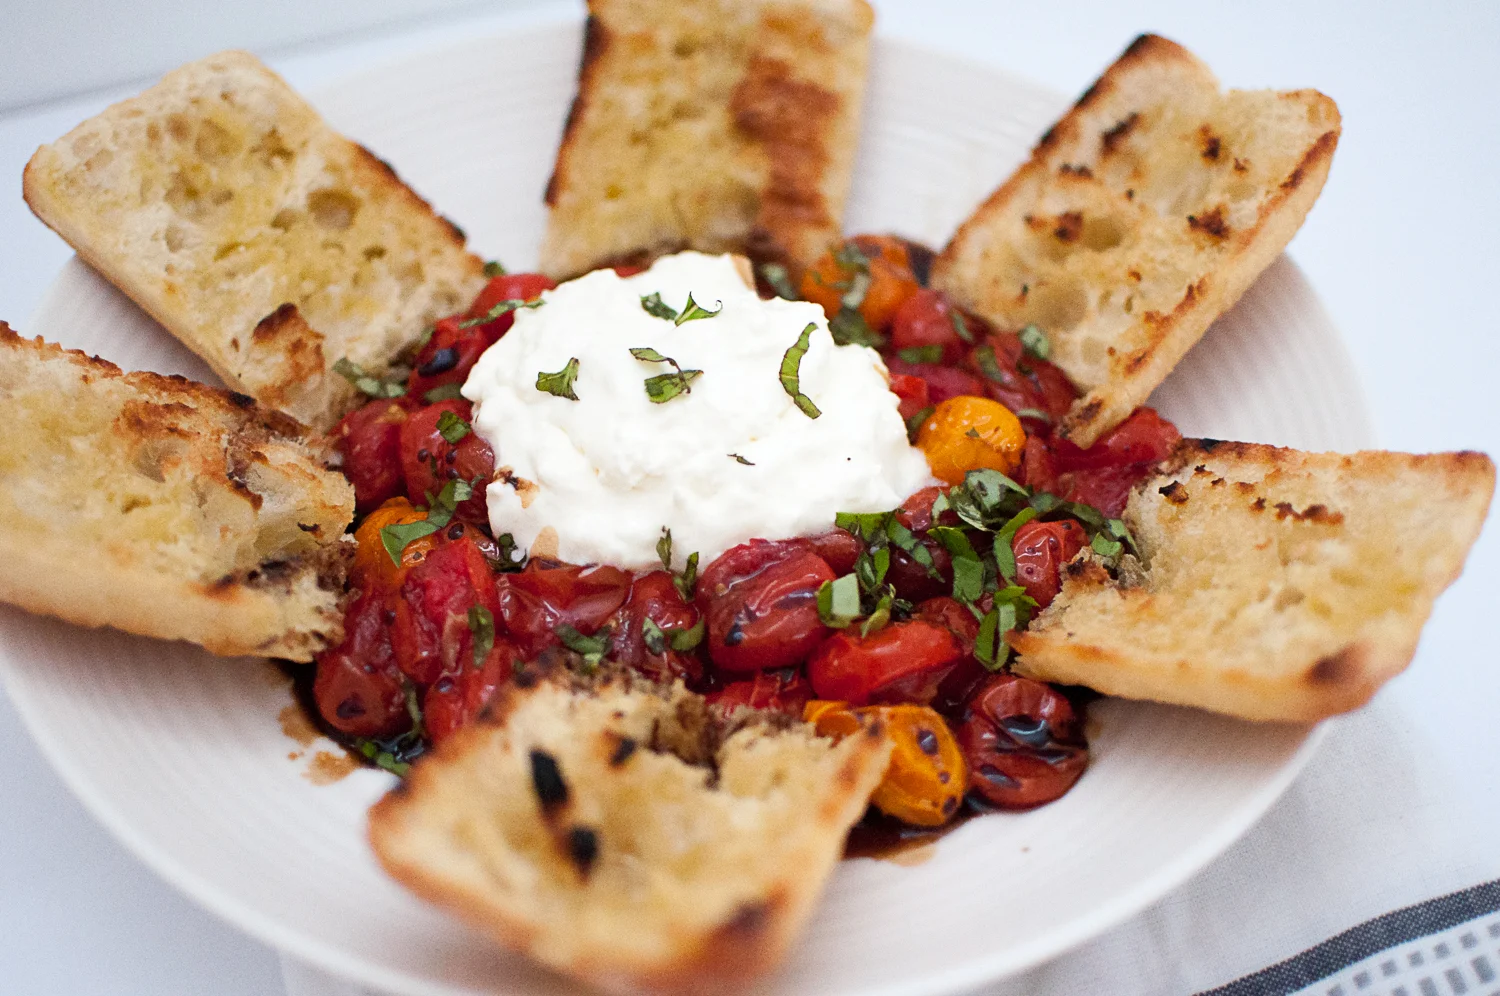
5. Add generous helping of buratta, and drizzle with balsamic, olive oil, sea salt and fresh chopped basil. Serve with grilled bread.
This recipe is going to be in heavy rotation around here this summer. I can't wait until we can make it with our own homegrown tomatoes.
Care

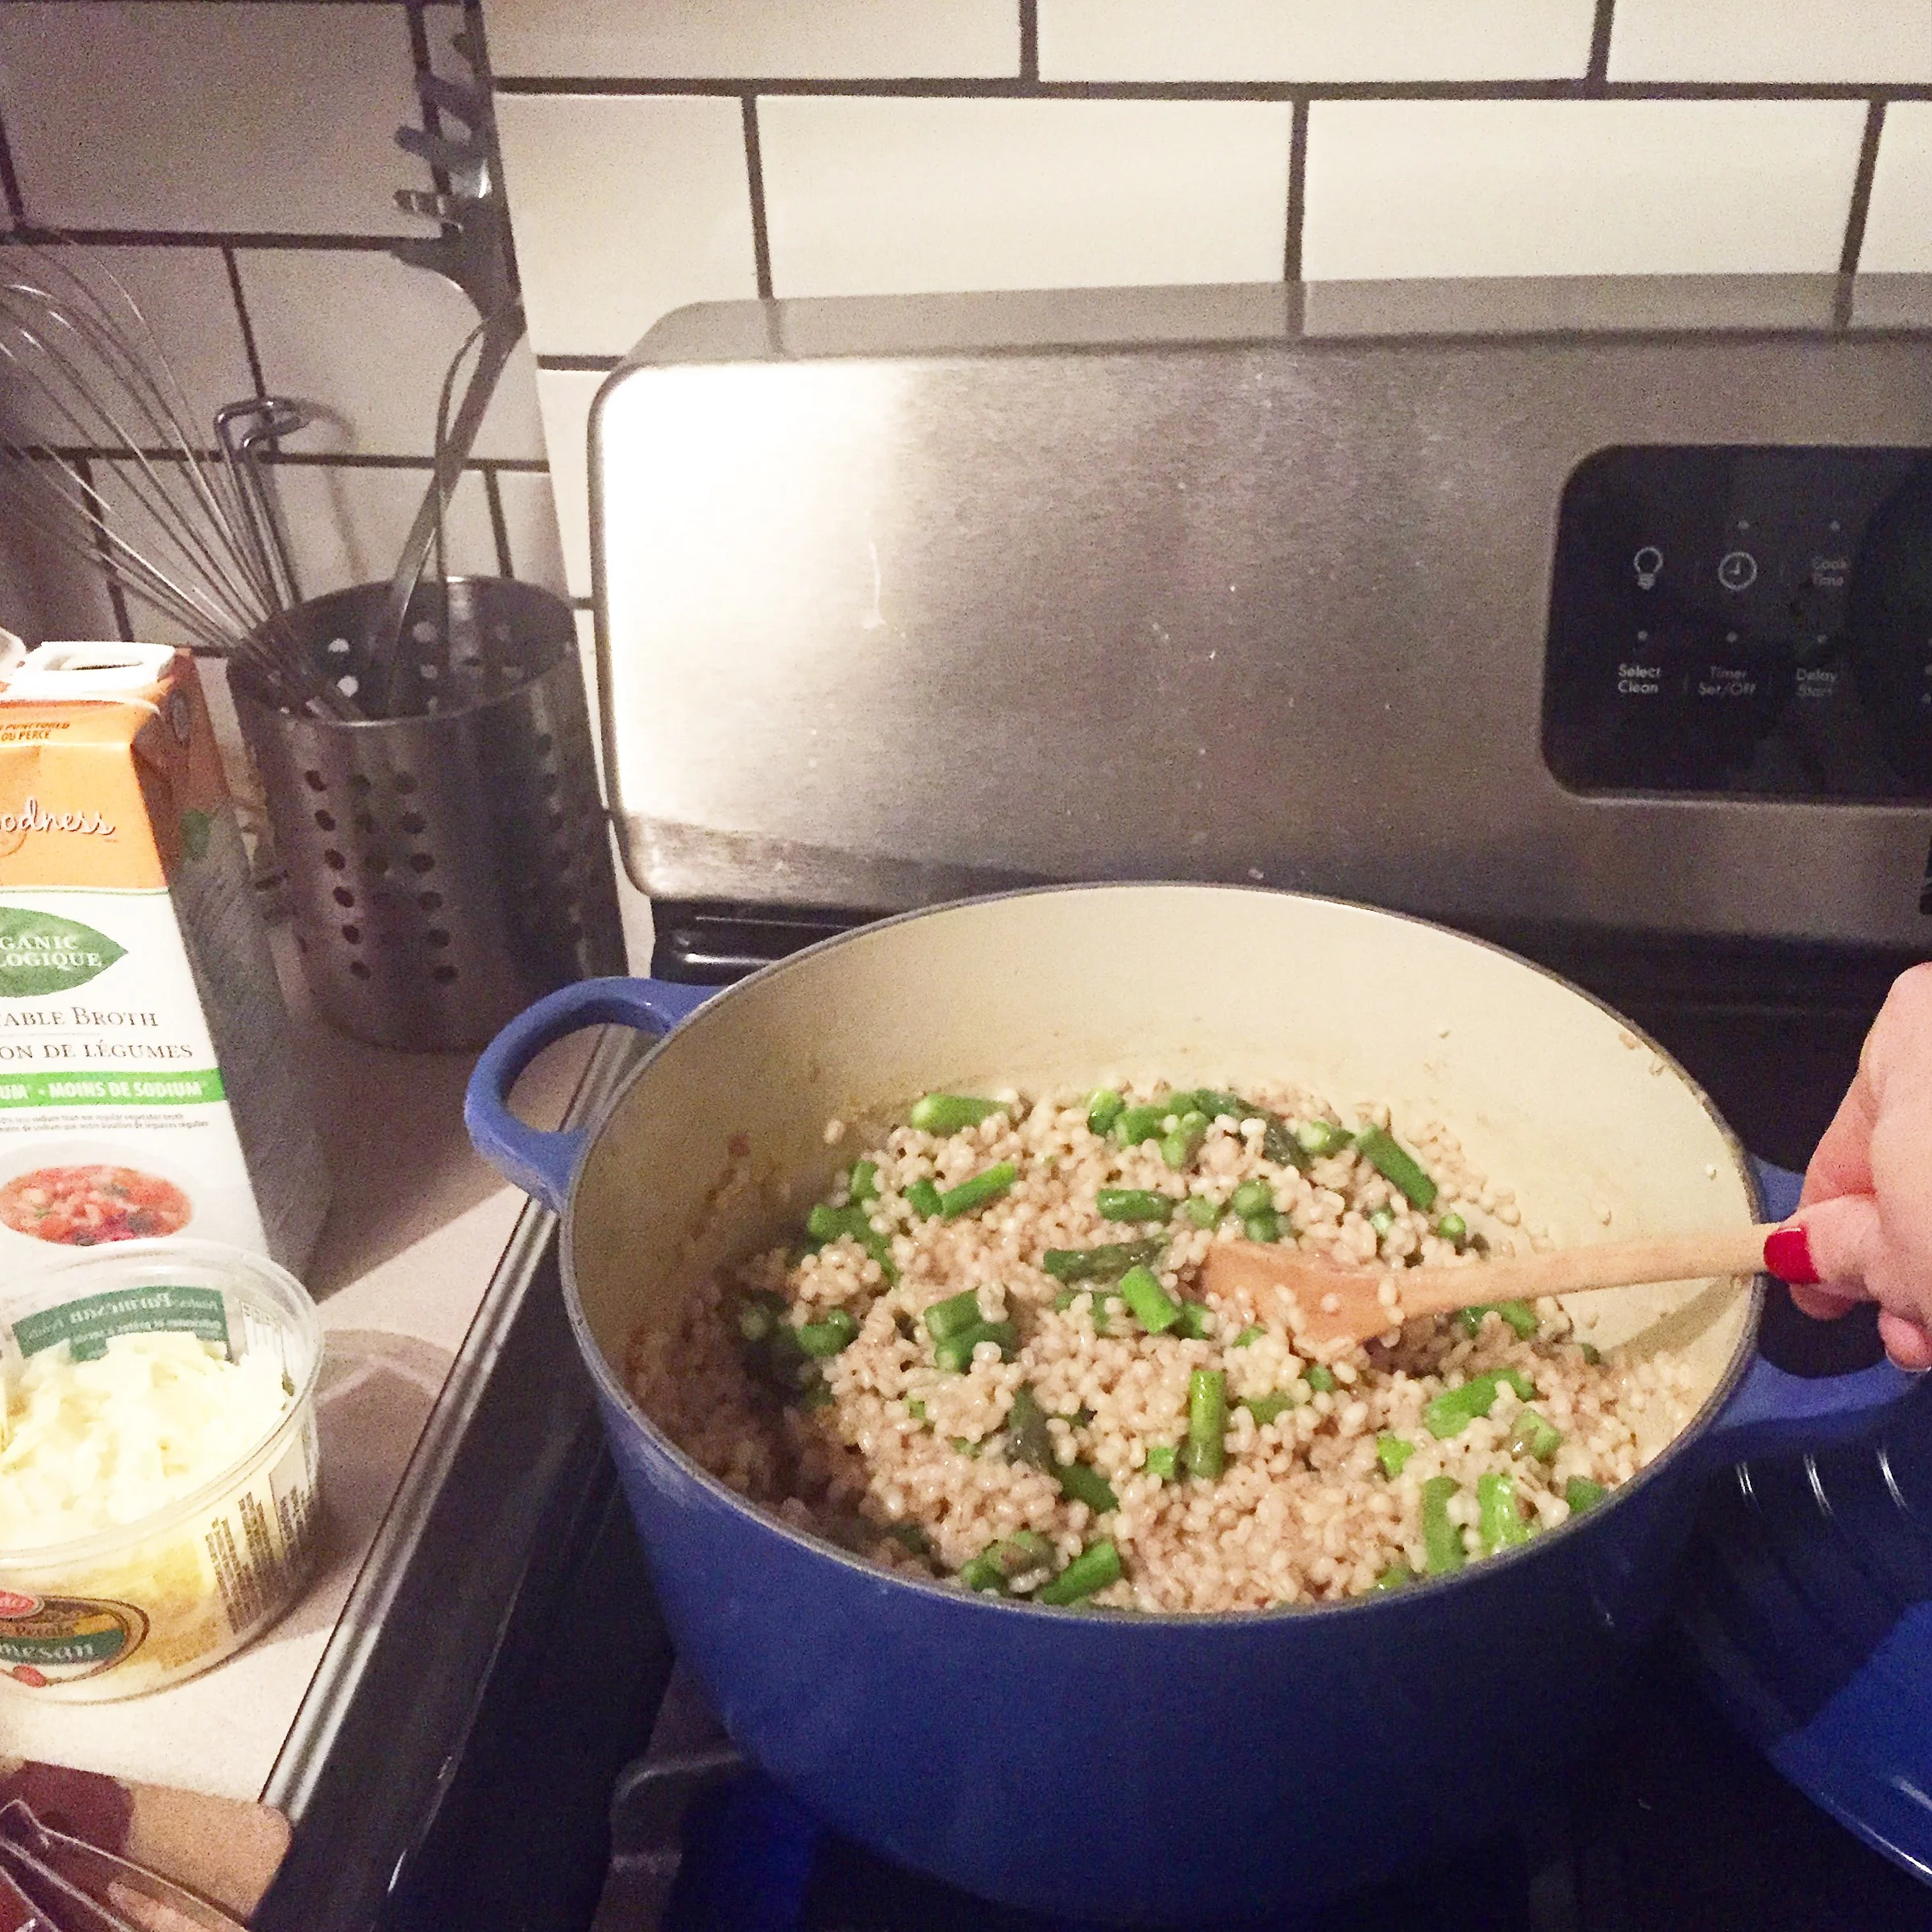
Parmesan Asparagus Barley Risotto
With winter weather making its appearance this week, it seems like the perfect time for some cozy and hearty meals. Here is one of our all time favourites, a delicious Parmesan Asparagus Barley Risotto. A great alternative to rice risottos and a little more forgiving when cooking. Hope you enjoy it as much as we do.
With winter weather making its appearance this week, it seems like the perfect time for some cozy and hearty meals. Here is one of our all time favourites, a delicious Parmesan Asparagus Barley Risotto. A great alternative to rice risottos and a little more forgiving when cooking. Hope you enjoy it as much as we do.
Ingredients
- 2 Tbsp olive oil
- 1 large onion, finely chopped
- 1 large clove garlic, finely chopped or crushed
- 1 ½ cups pearl barley
- 1 cup white wine
- 4 cups vegetable broth
- 1 bunch asparagus
- salt & pepper to taste
- ½ -1 cup grated parmesan
Instructions
- Heat oil in a large pot over medium heat and sauté onion until soft, about 5 minutes. Add garlic and cook 1 minute more.
- Add barley and cook stirring frequently for 2 minutes. Add wine and cook until absorbed. Add ½ cup broth at a time while stirring frequently and allow barley to absorb broth well before adding more.
- Add asparagus with last ½ cup broth and cook until liquid is absorbed. Remove from heat, add parmesan and season with salt and pepper to taste. Serve with fresh parmesan topping.
- Great for leftovers : )
- Care

Garlic Scape Basil Pesto
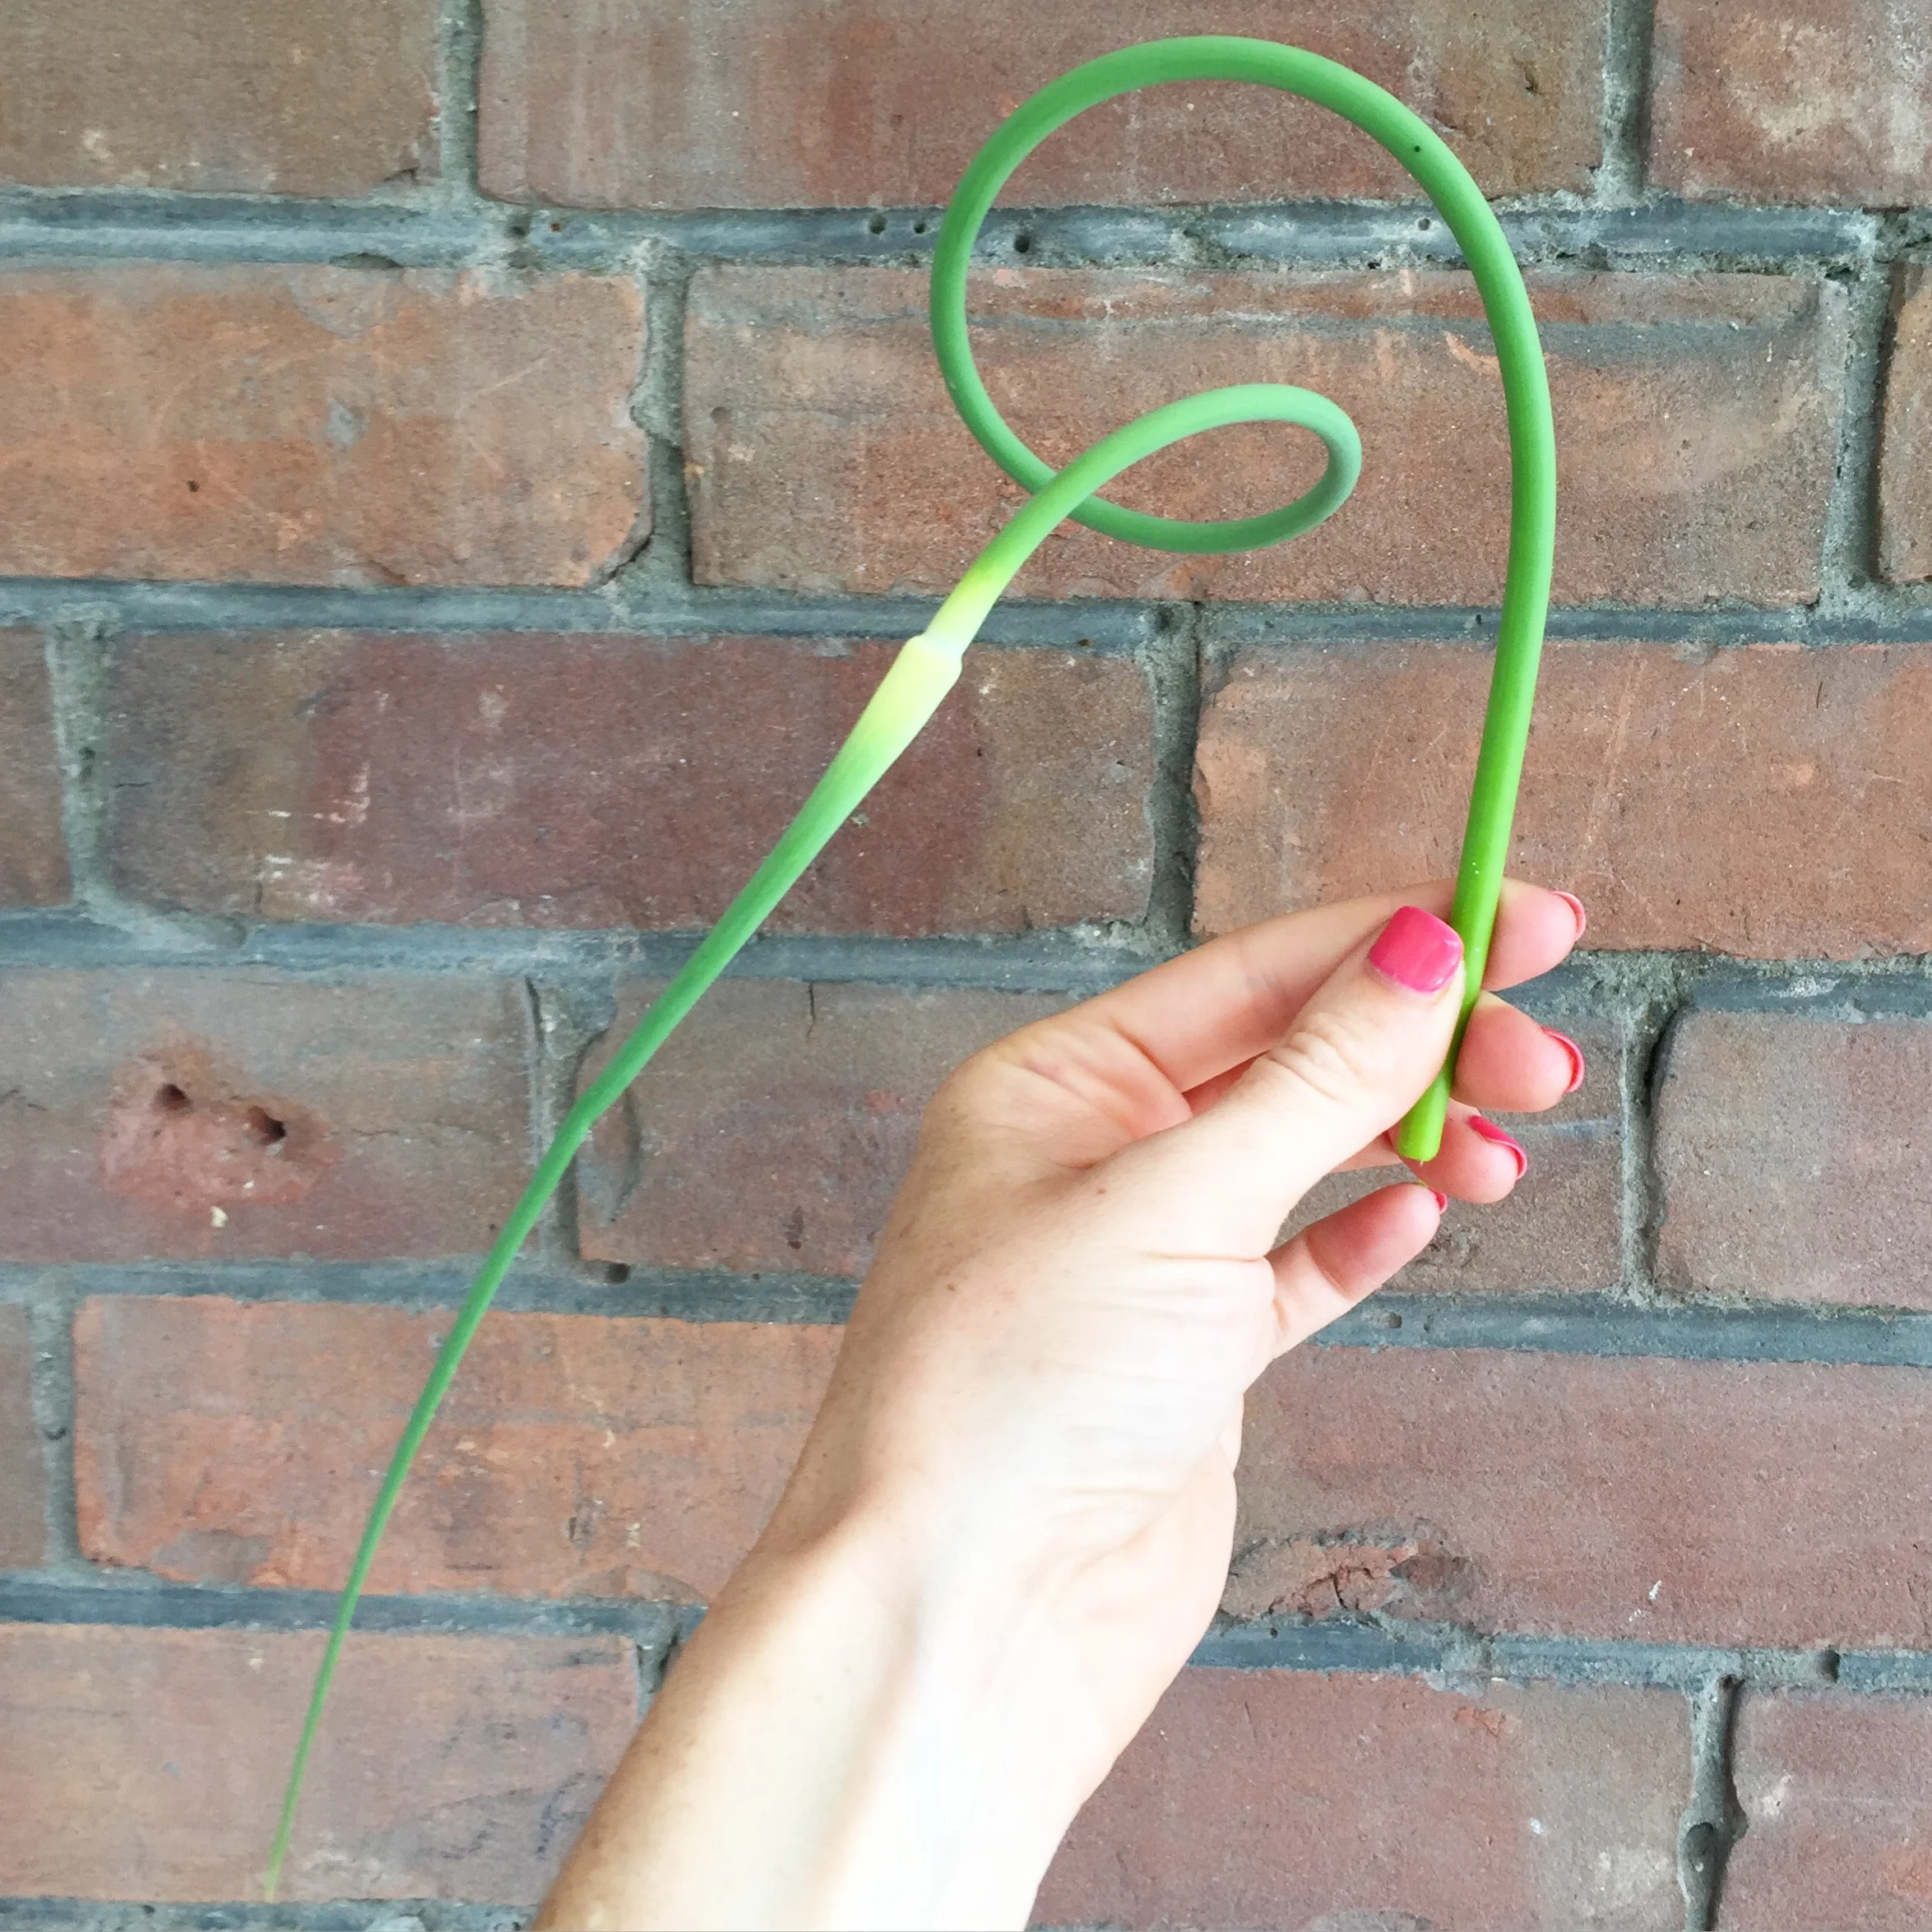
It's Garlic Scape season, so I thought I would share a yummy scape recipe with all of you. It's our first year with homegrown scapes, so after harvesting them, I busily researched all of the great things you can make with these delicious garlic greens. I decided to make pesto, so that the scapes could be preserved and savoured later in the year when they're long gone.
It's Garlic Scape season, so I thought I would share a yummy scape recipe with all of you. It's our first year with homegrown scapes, so after harvesting them, I busily researched all of the great things you can make with these delicious garlic greens. I decided to make pesto, so that the scapes could be preserved and savoured later in the year when they're long gone.
Although I found several versions of garlic scape pesto online, none were exactly what I wanted, so I combined a few to create this recipe. It's hands down one of the most delicious things I've ever made. I'm extra proud since we grew the scapes & basil ourselves. If you have some scapes lying around in your garden, or find some at you local farmers market I highly recommend making this. You won't regret it! Best part, it uses 7 simple ingredients and takes only minutes to mix up.
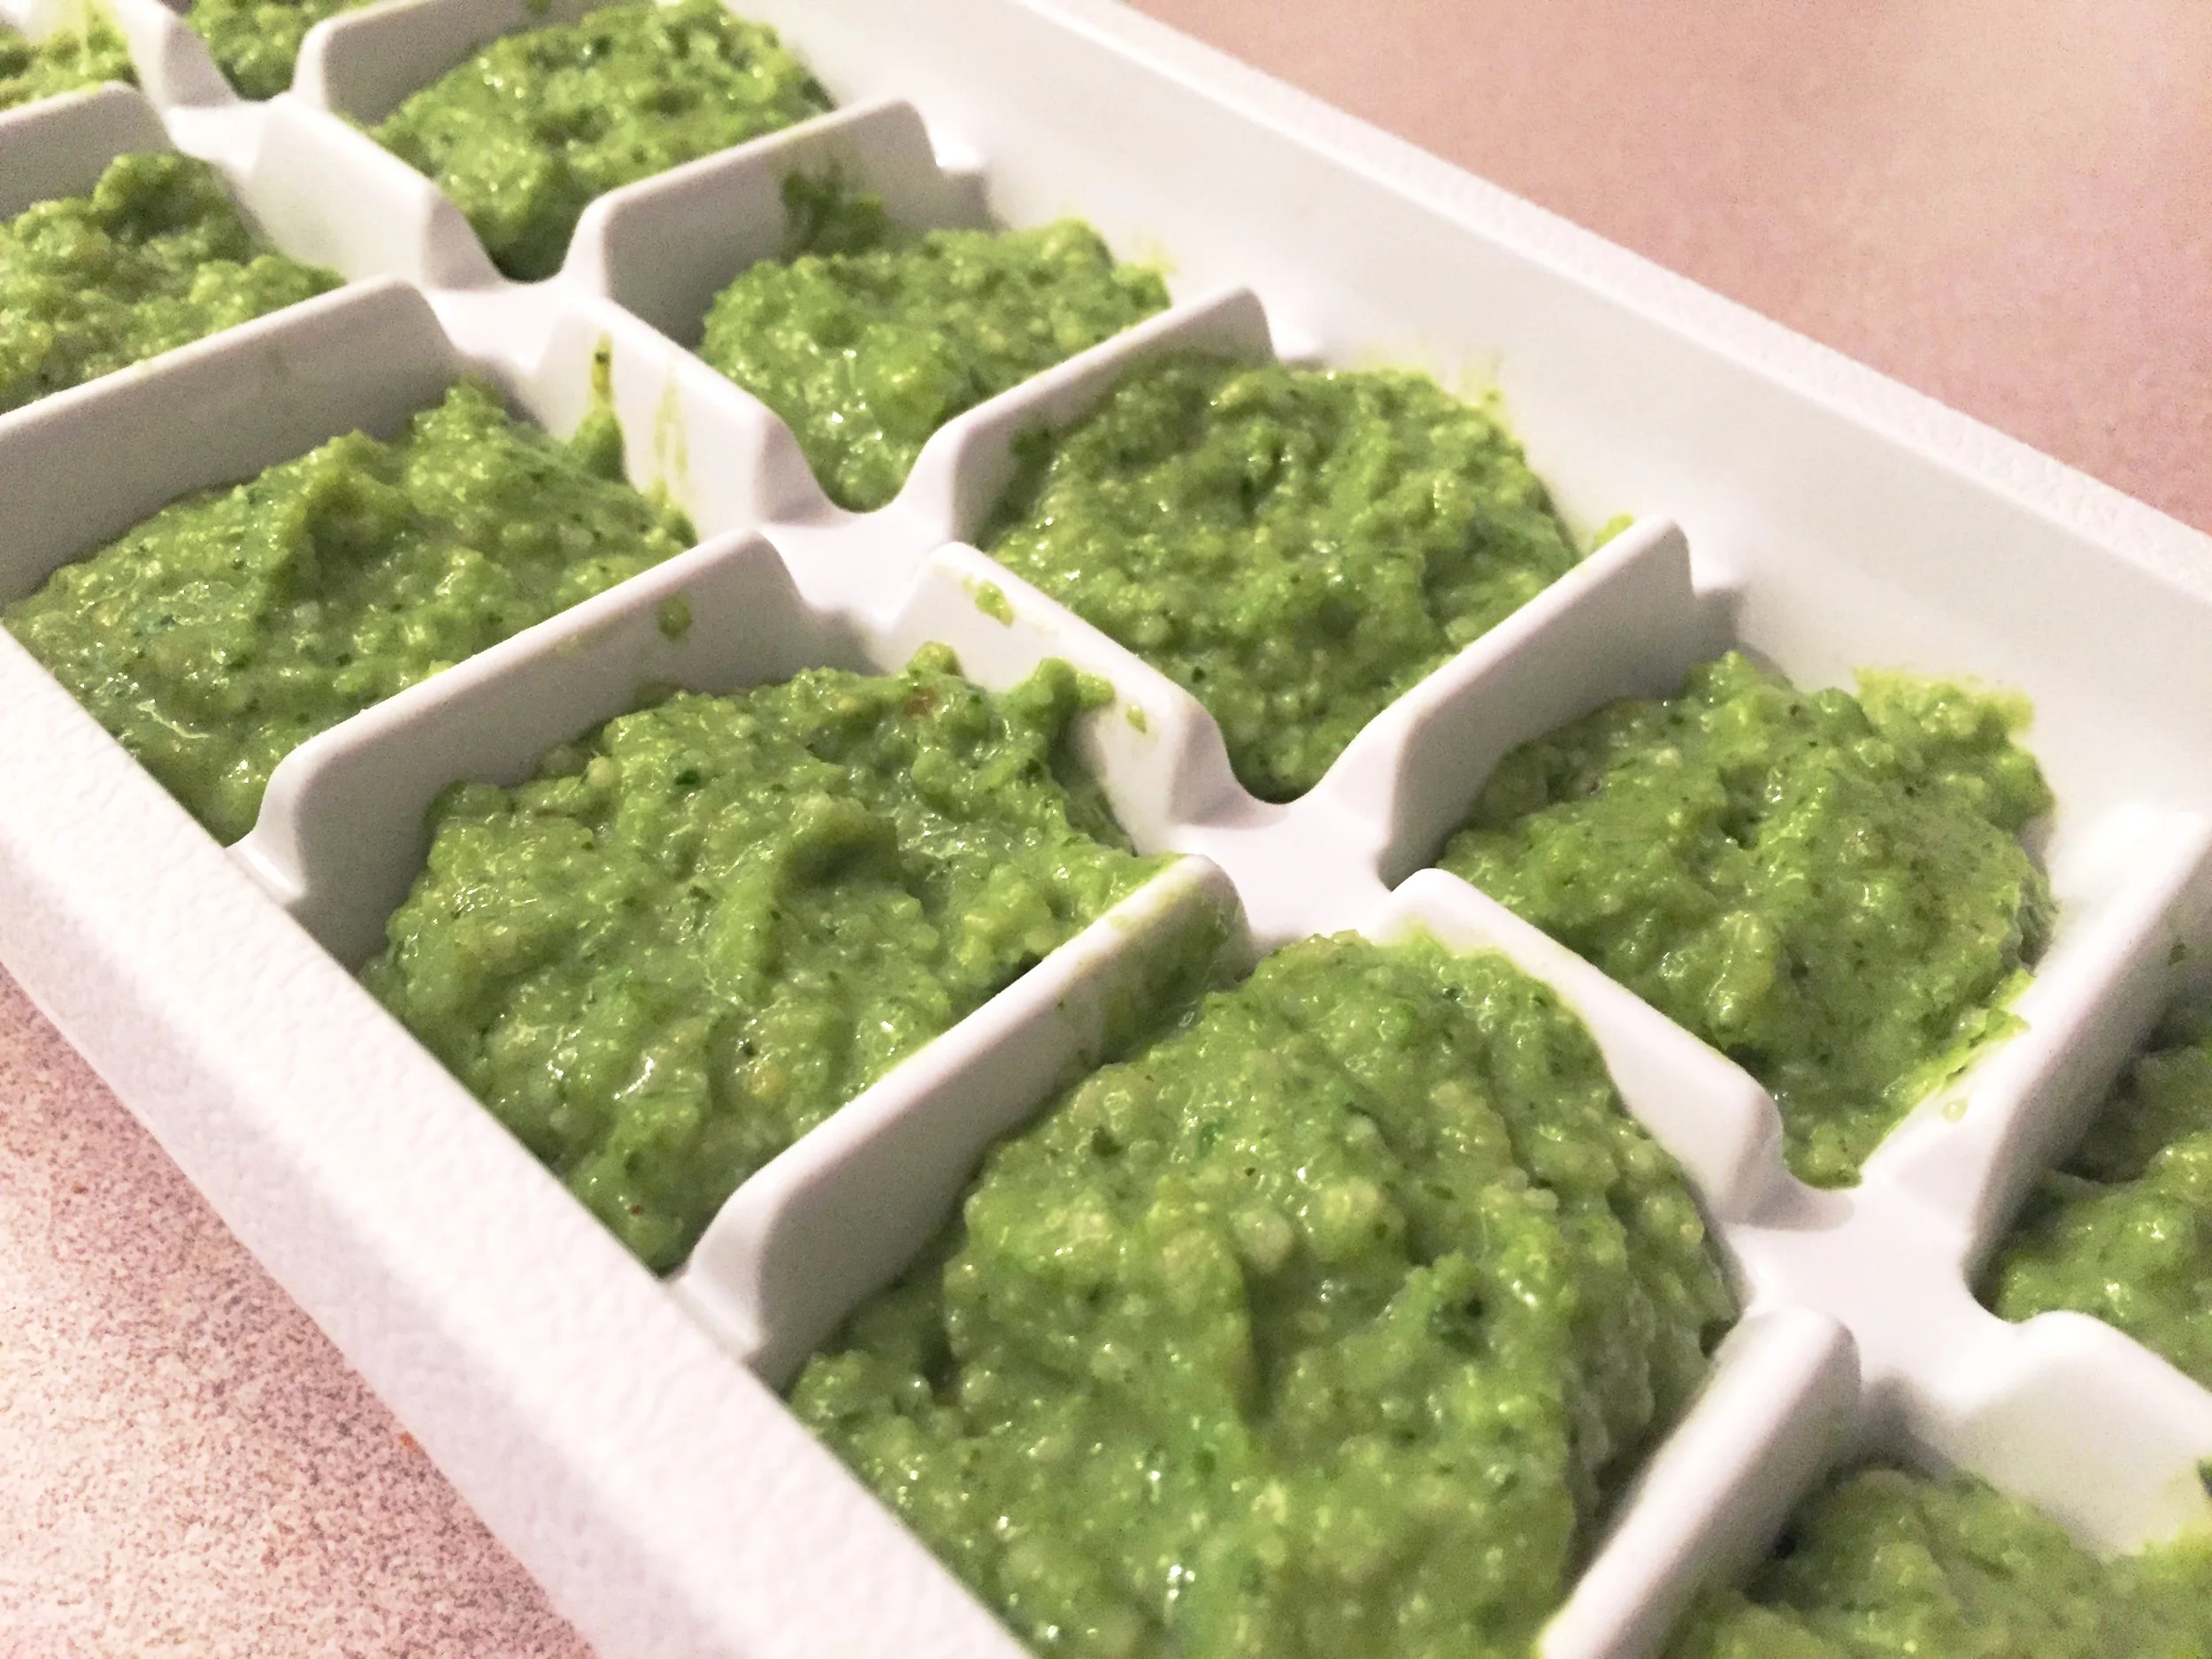
*Note: Freeze your pesto in an ice cube tray and then pop out cubes and store in an airtight freezer safe container or freezer bag. Ideal for single use on sandwiches, salads or pasta.
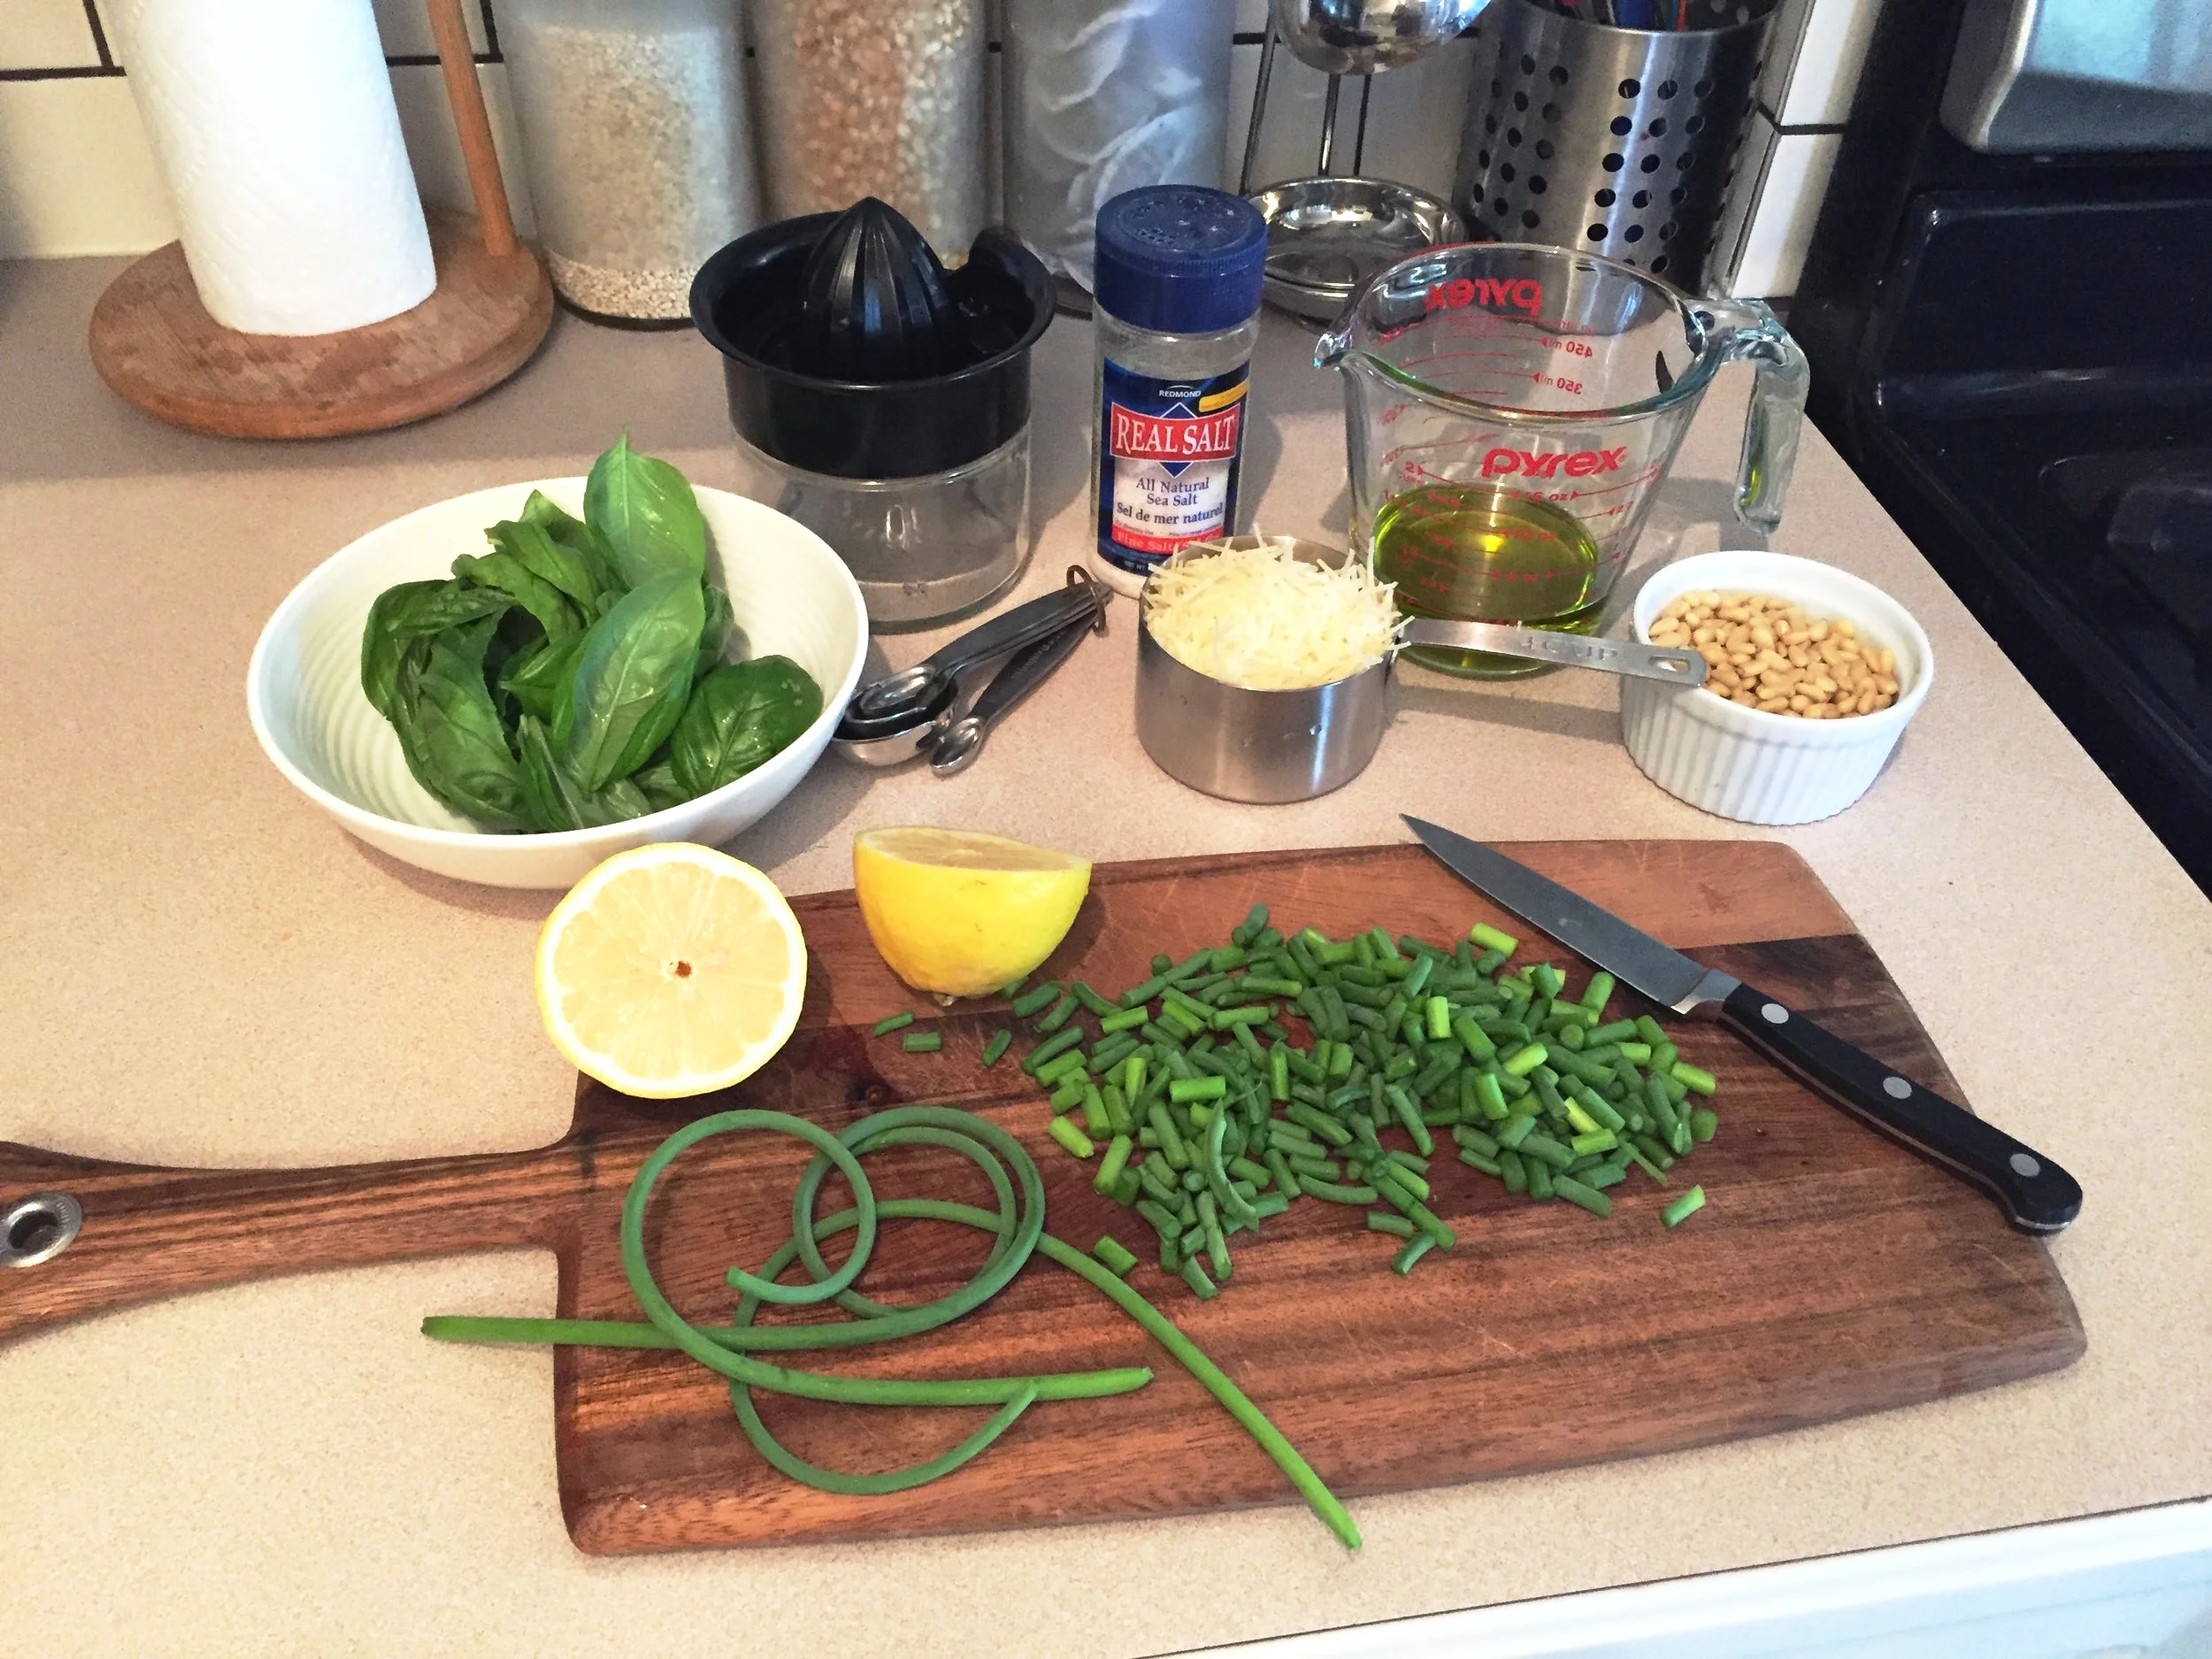
Ingredients:
- 1 cup fresh clean basil leaves
- 10 garlic scapes, cleaned, bud removed, and cut into 1" pieces
- 1/4 tsp sea salt
- 1/2 of a lemon juiced
- 1/2 cup olive oil
- 1/2 cup pine nuts
- 1 cup freshly grated parmesan
Instructions:
- Add basil, garlic scapes & salt to food processor and blend until almost smooth, scrape down sides with spatula.
- Add lemon juice, olive oil, pine nuts & parmesan and blend until smooth scraping sides with spatula.
- Pour pesto into ice cube trays, freezer bags or mason jars and freeze for several months, or keep pesto in the fridge if you plan to use it within a week or so. The flavours will meld together and mellow over time when frozen.
Excellent on pastas, sandwiches, or salads. Enjoy!
- Care
Raw Vegan Energy Balls
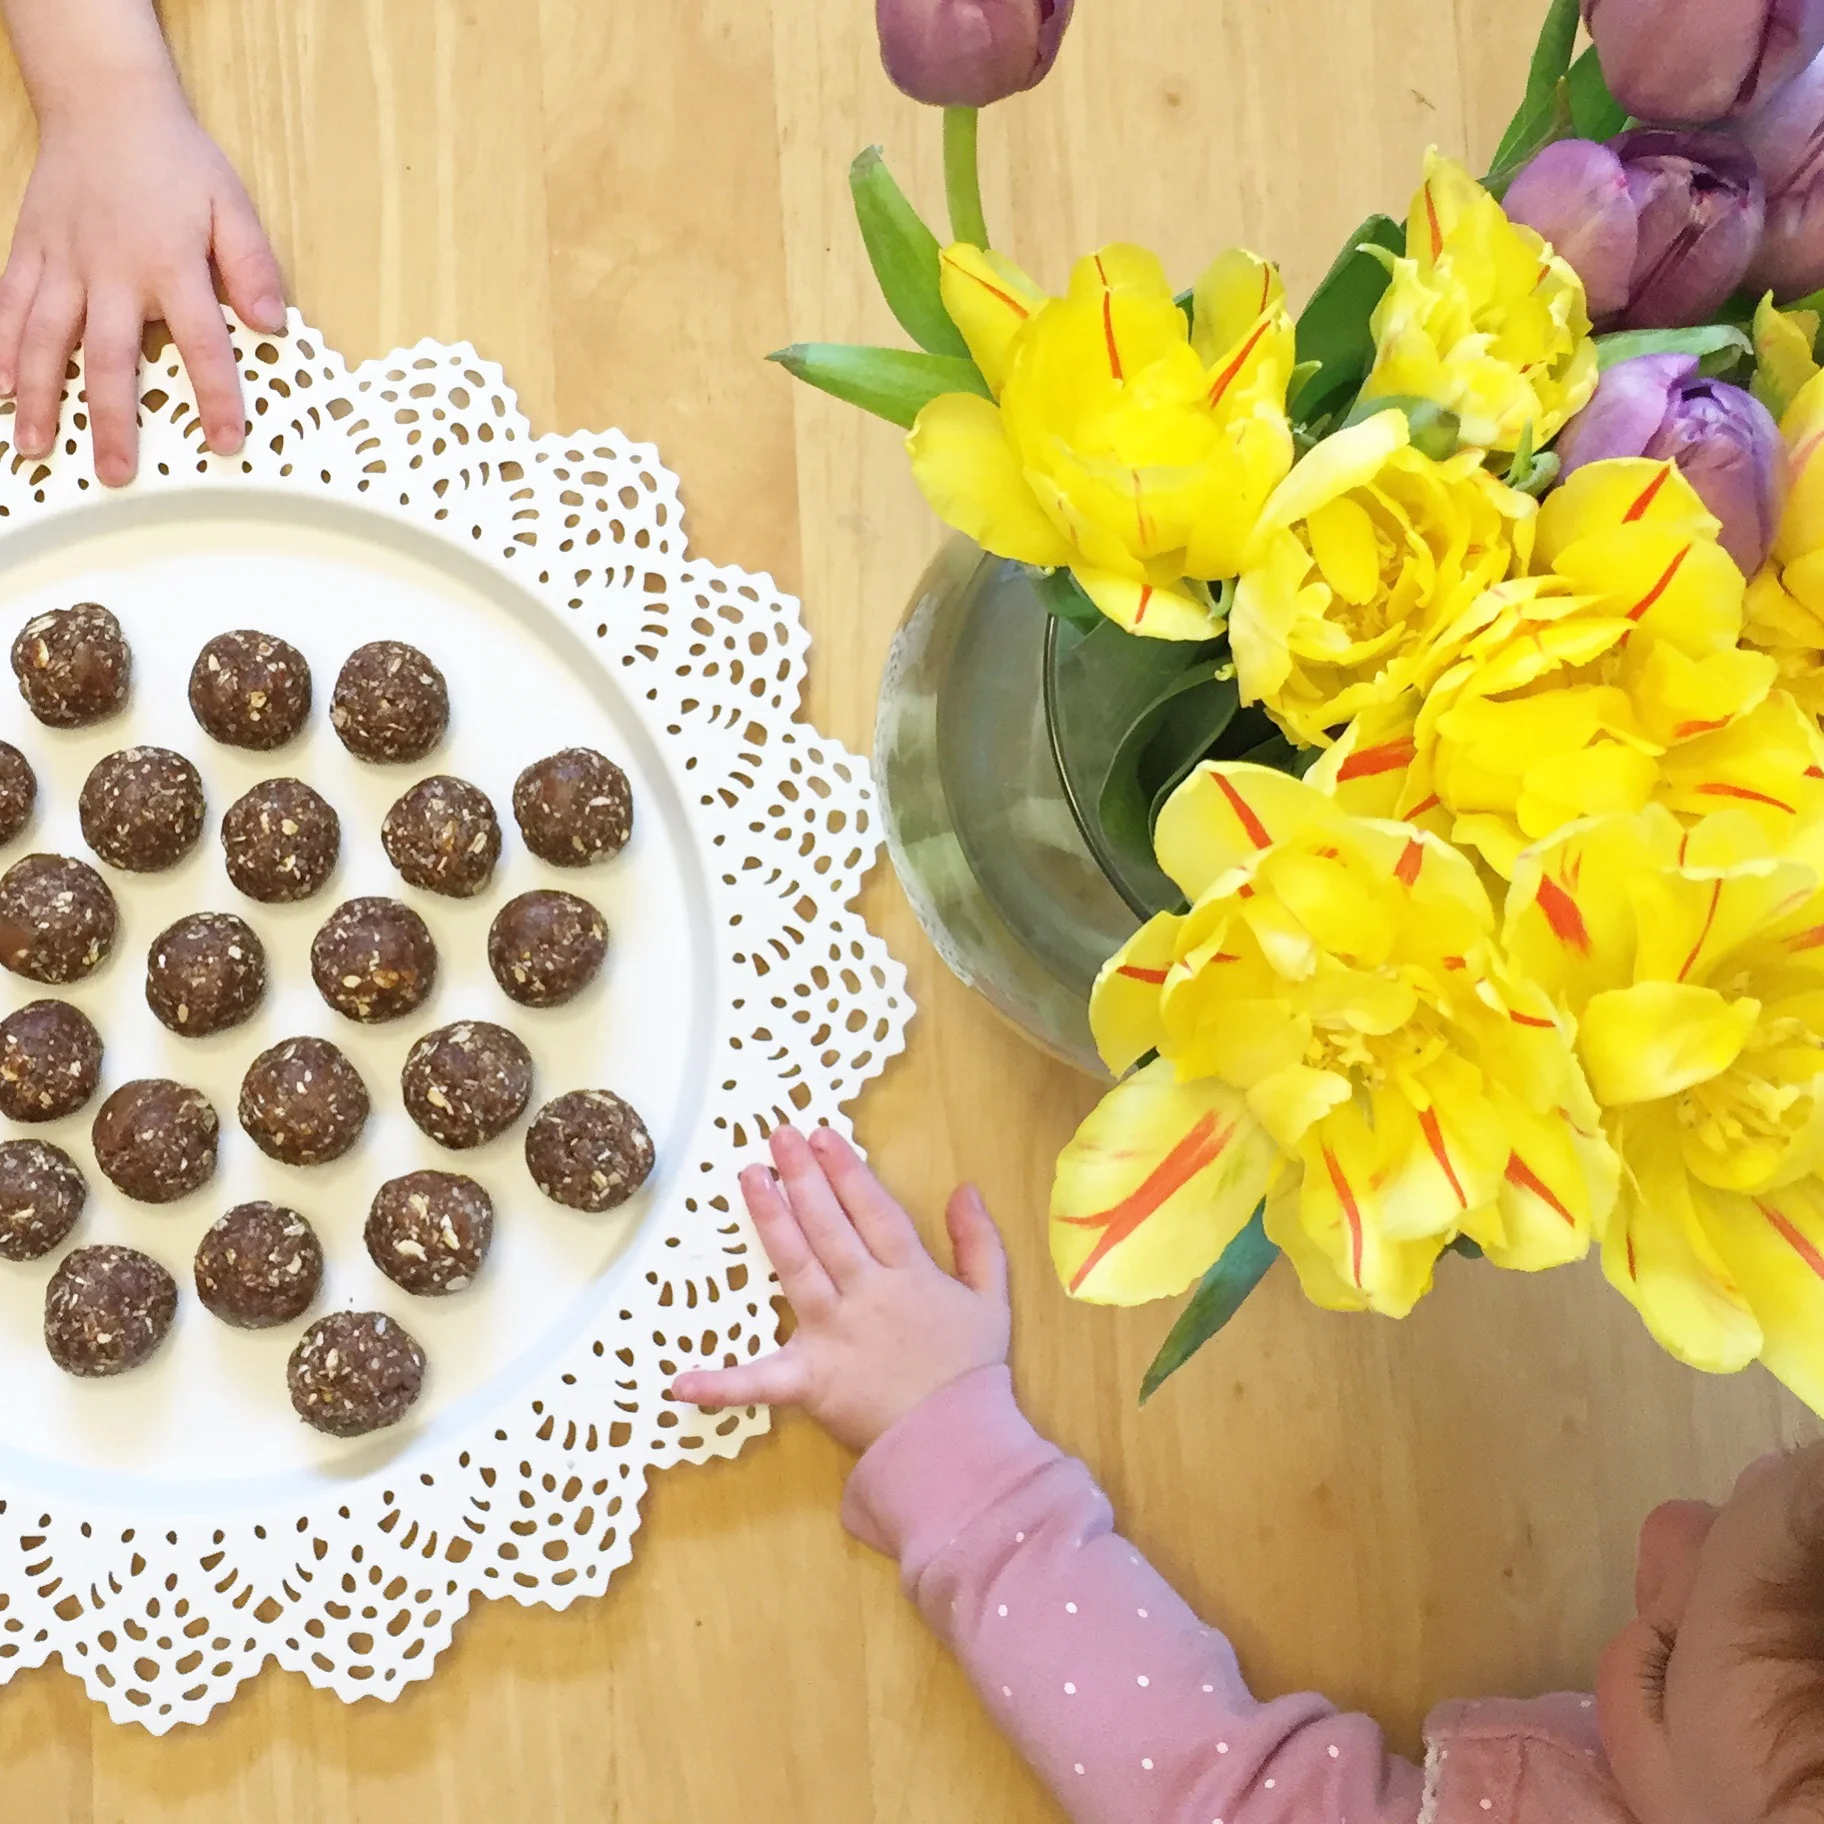
When I tried this recipe for Raw Vegan Energy Balls by Rachel Schwartzman ND a few weeks ago I immediately knew I needed to share it. They're such a simple, healthy & tasty little treat that the whole family will love.

When I tried this recipe for Raw Vegan Energy Balls by Rachel Schwartzman ND a few weeks ago I immediately knew I needed to share it. They're such a simple, healthy & tasty little treat that the whole family will love.
I made a double batch so I could take some to share with my Prenatal Class and decided to substitute all natural peanut better for the tahini, because that's what we had, and I didn't want to make a trip to the store. They were amazing!! Everyone who tried them loved them. Even the kids! (As you can tell by this pic of them grabbing for seconds before I could even take a photo!)
Since then my prenatal class students have been begging me for the recipe, and my kids have been begging me for more. So today I fulfill both of those wishes. Here is Rachel's delicious recipe for everyone to try, and I'm off to make up a quick batch for the kids. A perfect pick me up snack for a grey day like today.
Enjoy!
- Care
*Rachel is a Naturopathic Doctor & Birth Doula with The West End Doulas. If you would like any information about her services feel free to check out her website, send her an email or give her a call at 416.371.3422. You can also follow Rachel on her beautiful Instagram feed.

Perfect Food For Fall - Roasted Squash Soup & Drop Biscuits
As the days become shorter and cooler, and sweaters and boots begin to appear, I make the transition over into fall cooking. After a summer of non-stop BBQ'ing I'm usually ready to return to my stove and my cozy kitchen to make some warm delights. Risottos, stews, roasts, casseroles, soups and biscuits are exactly what fall weather calls for.
As the days become shorter and cooler, and sweaters and boots begin to appear, I make the transition over into fall cooking. After a summer of non-stop BBQ'ing I'm usually ready to return to my stove and my cozy kitchen to make some warm delights. Risottos, stews, roasts, casseroles, soups and biscuits are exactly what fall weather calls for.
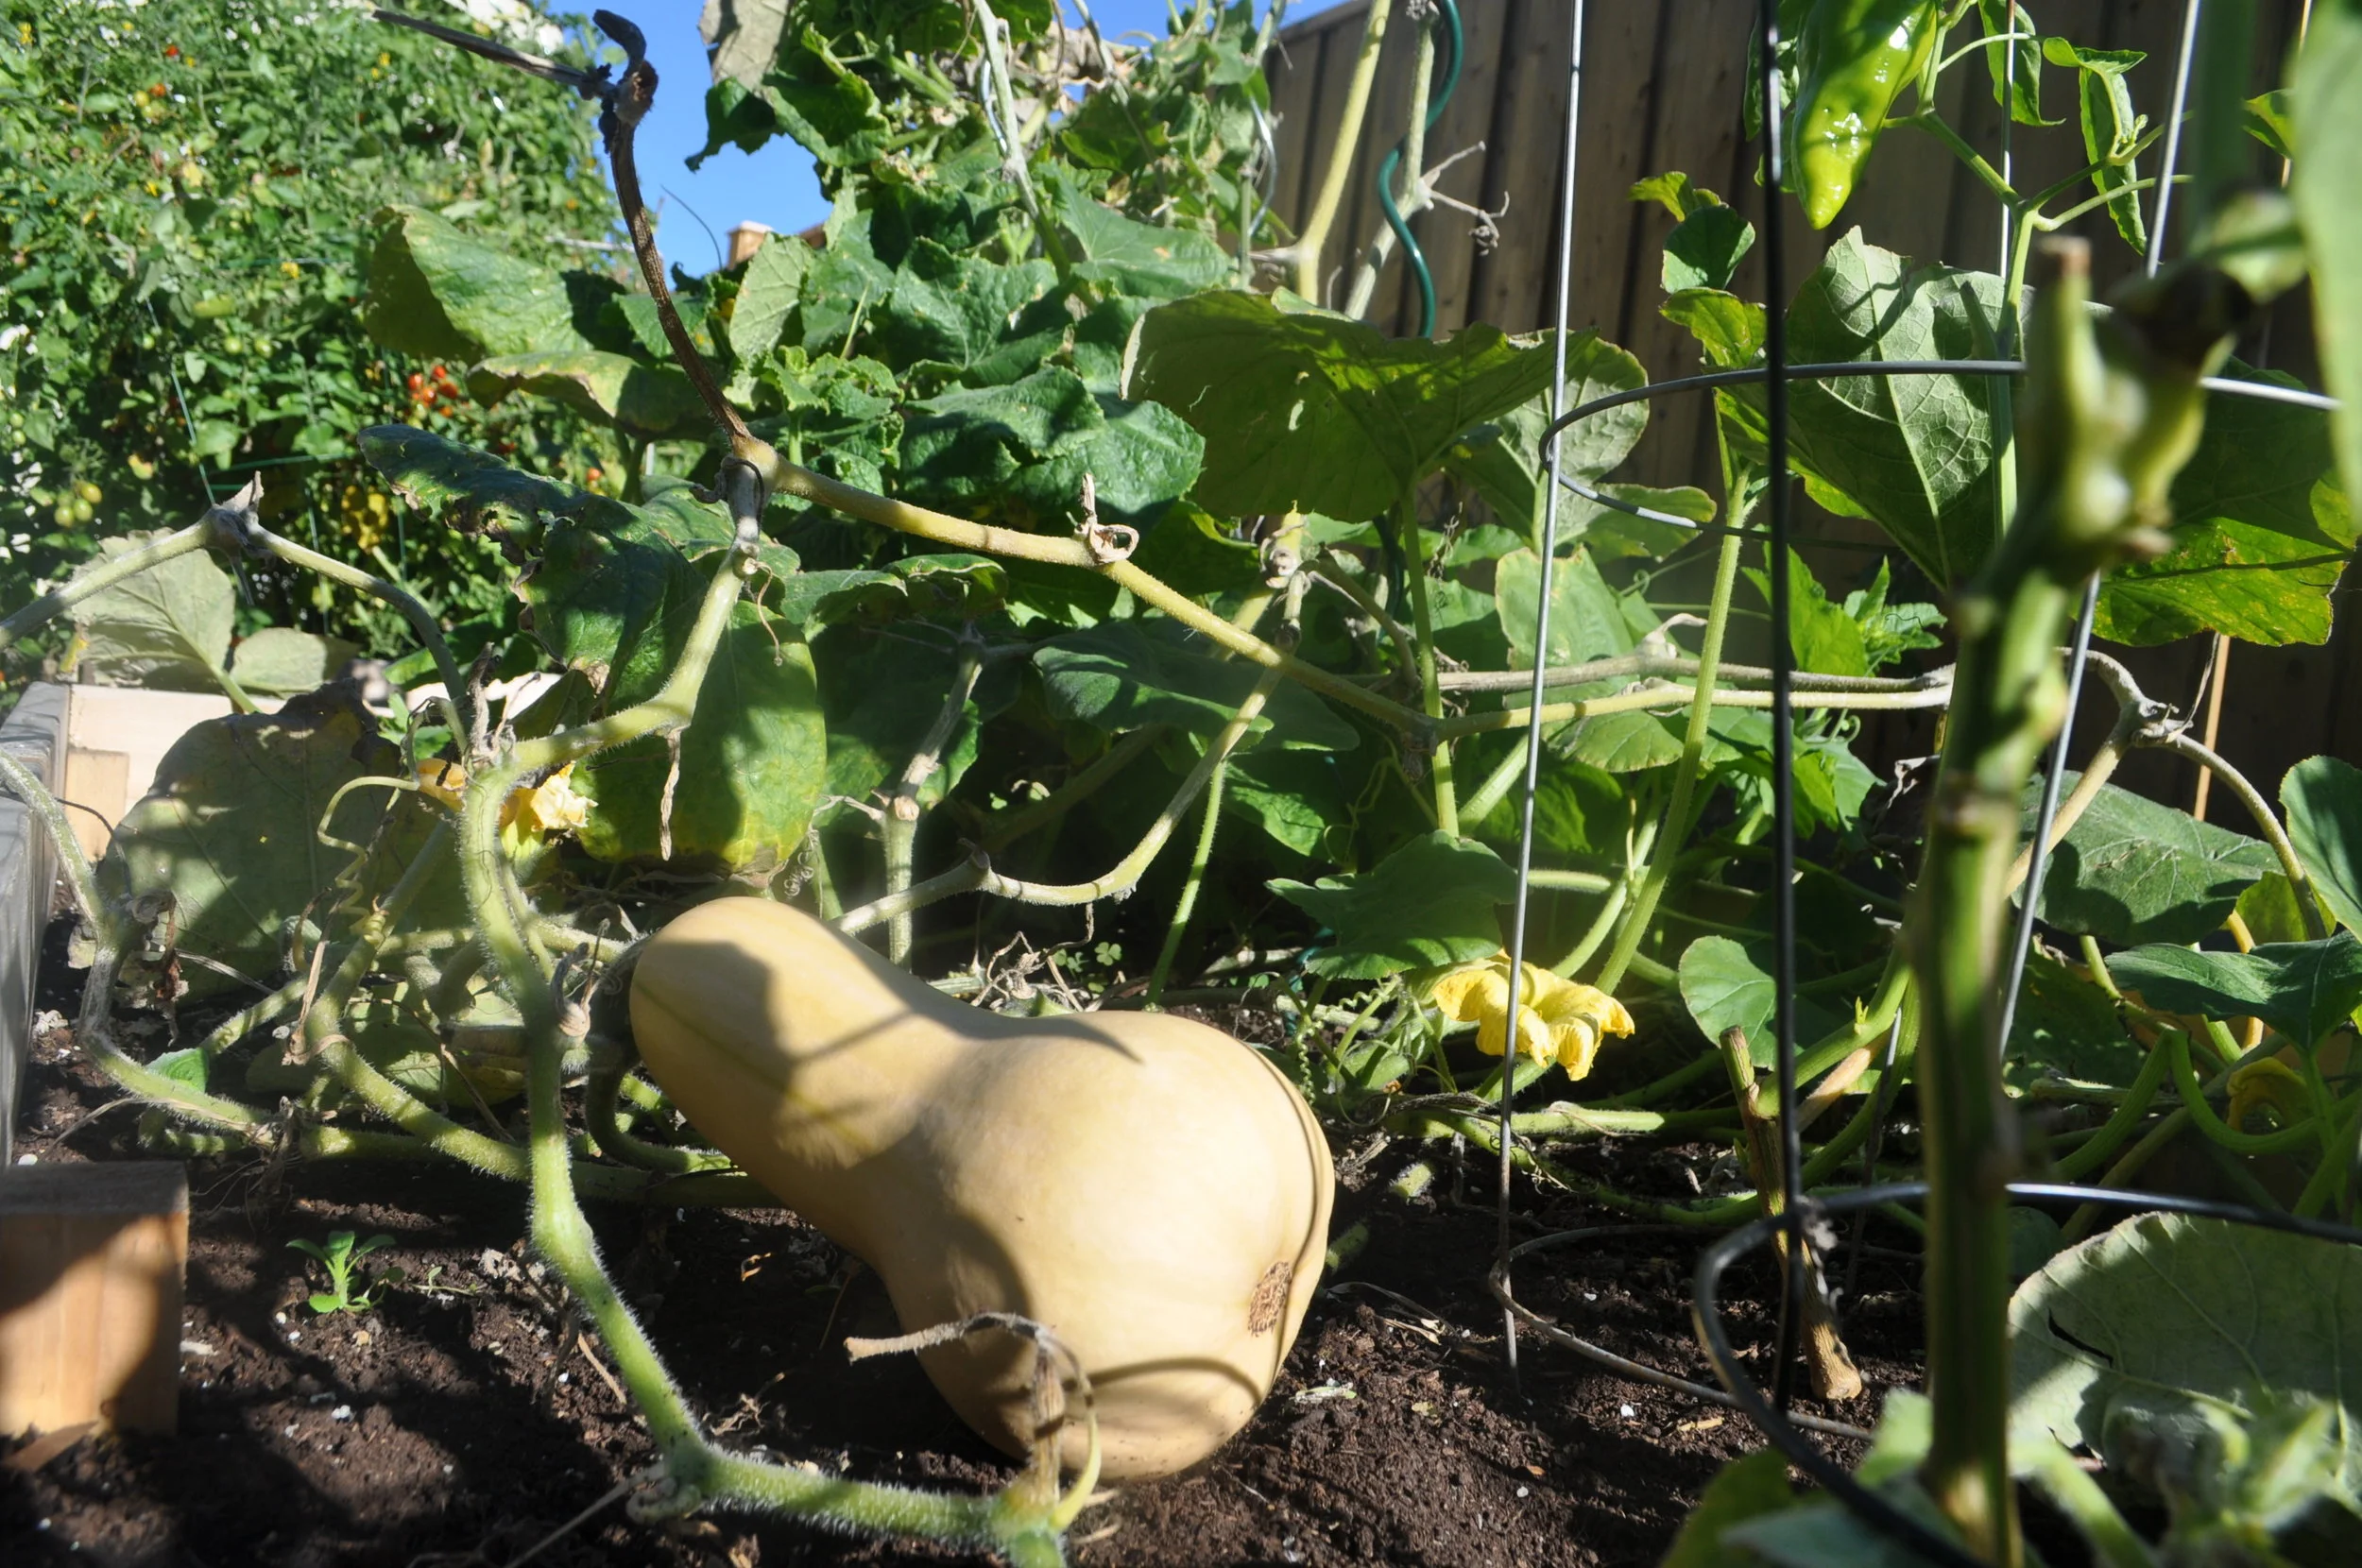
One of my family's all time favourites is this Roasted Squash & Apple Soup (recipe below). I don't remember who gave me the recipe, but it's one that I make frequently once the cold weather arrives. I'm especially excited because this year we get to make it with squash from our own garden.
I love to pair this soup with these super simple Pull Apart Drop Biscuits from Canadian Living. The first time I made these biscuits for my mom she was so impressed that she immediately gave up on her mother's recipe she had been using for 40+ years in favour of these. That's how good they are! Plus they're so simple to make. The wet dough takes minutes to prepare, and no need to cut out individual biscuits. Just break off clumps and roll in a little flour before placing on the pan to bake. So easy!
Hope your family enjoys this fall meal as much as mine.
Happy Fall Cooking!
- Care
Roasted Squash Soup
Ingredients
- 1-2 squash (butternut, acorn or buttercup)
- 1 Tbsp Olive Oil
- 1 Cup Onion Finely Diced
- 1 Tbsp Butter
- 4 Cups Vegetable or Chicken Broth
- 2 Apples, Peeled & Chopped
- 1 Cup Cream or Whole Milk
- Cinnamon to taste
- S&P to taste
Instructions
- Cut Squash in Half, remove seeds, brush with oil & sprinkle with S&P and Cinnamon. Roast in oven for 45 mins at 375
- In a large saucepan melt butter and cook onion until soft
- Add cooked squash (removed from skin) apple & broth and bring to a boil
- Reduce heat and simmer for 20 mins
- Add S&P and cinnamon to taste
- Puree with a handheld blender *optional
- Add cream & serve
- Enjoy!